Showing posts with label mixed media. Show all posts

Friday, May 1, 2026

Paper & Book Camp 2.0, Shake Rag Alley, April 2026

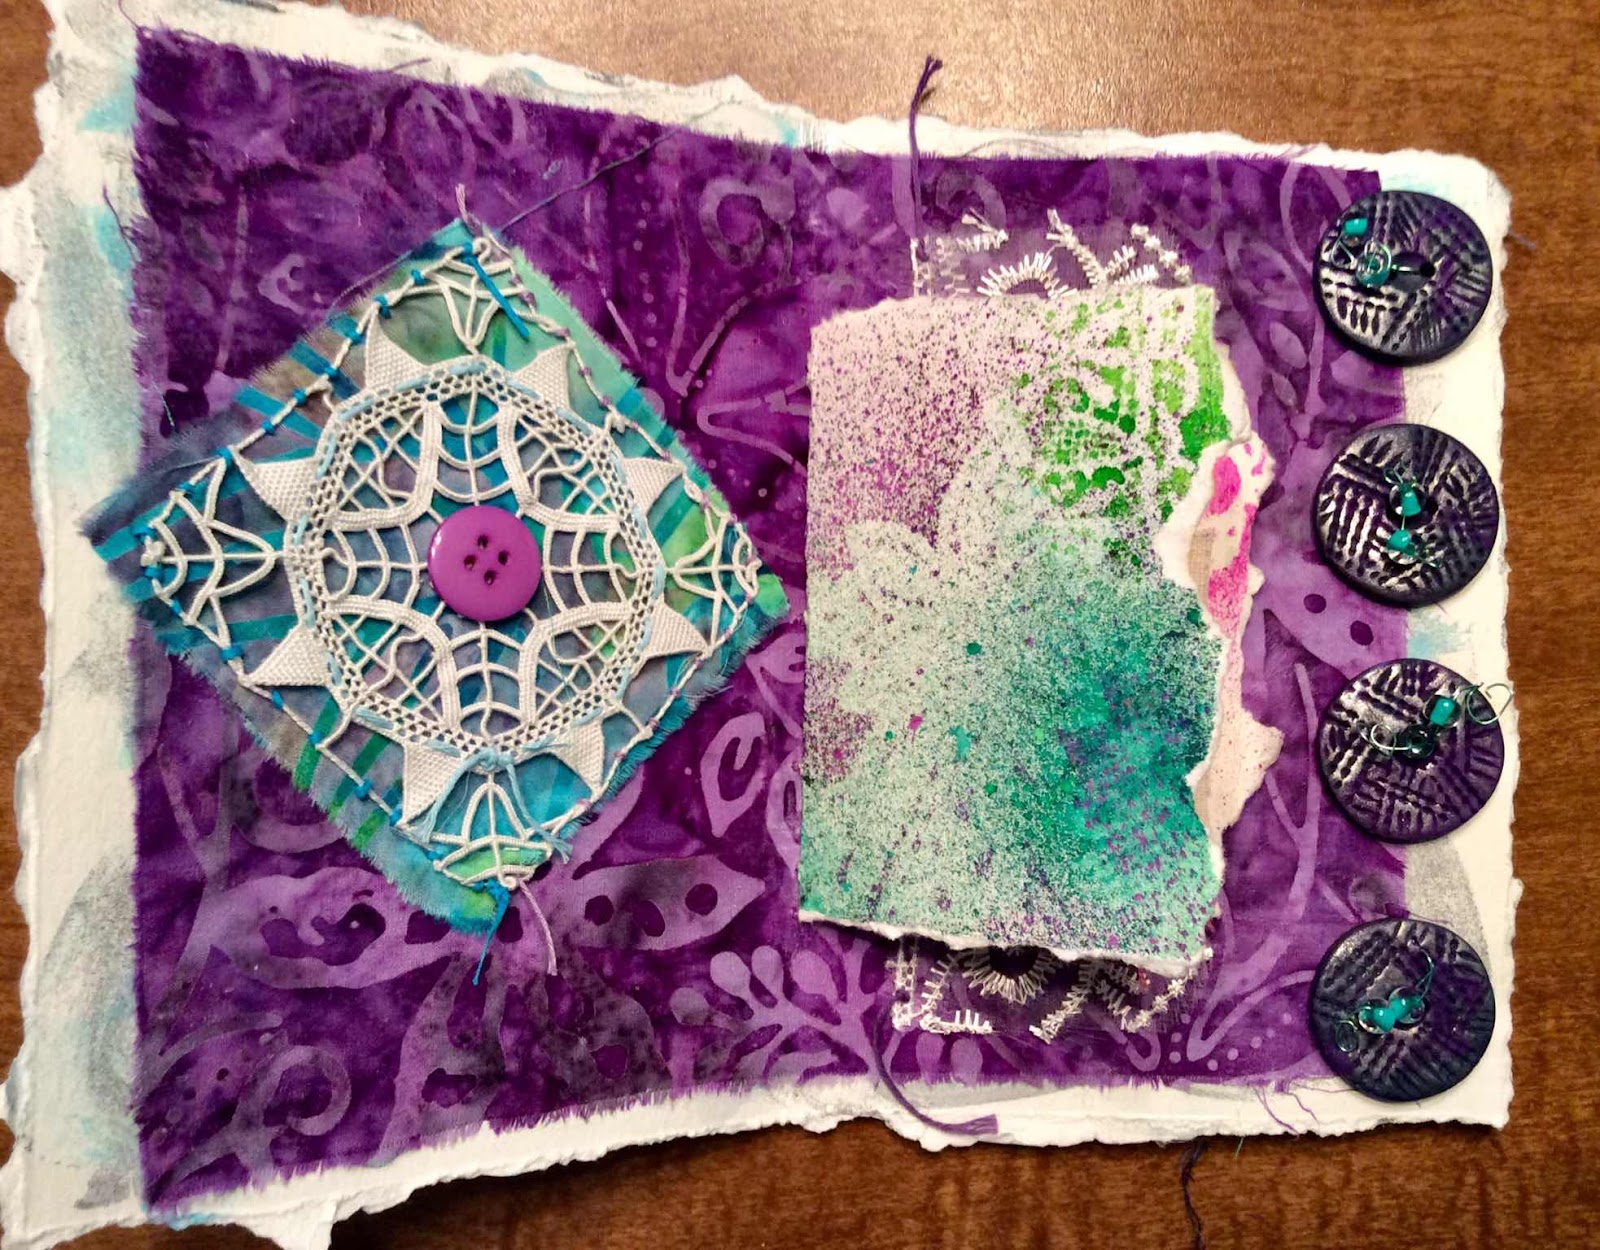
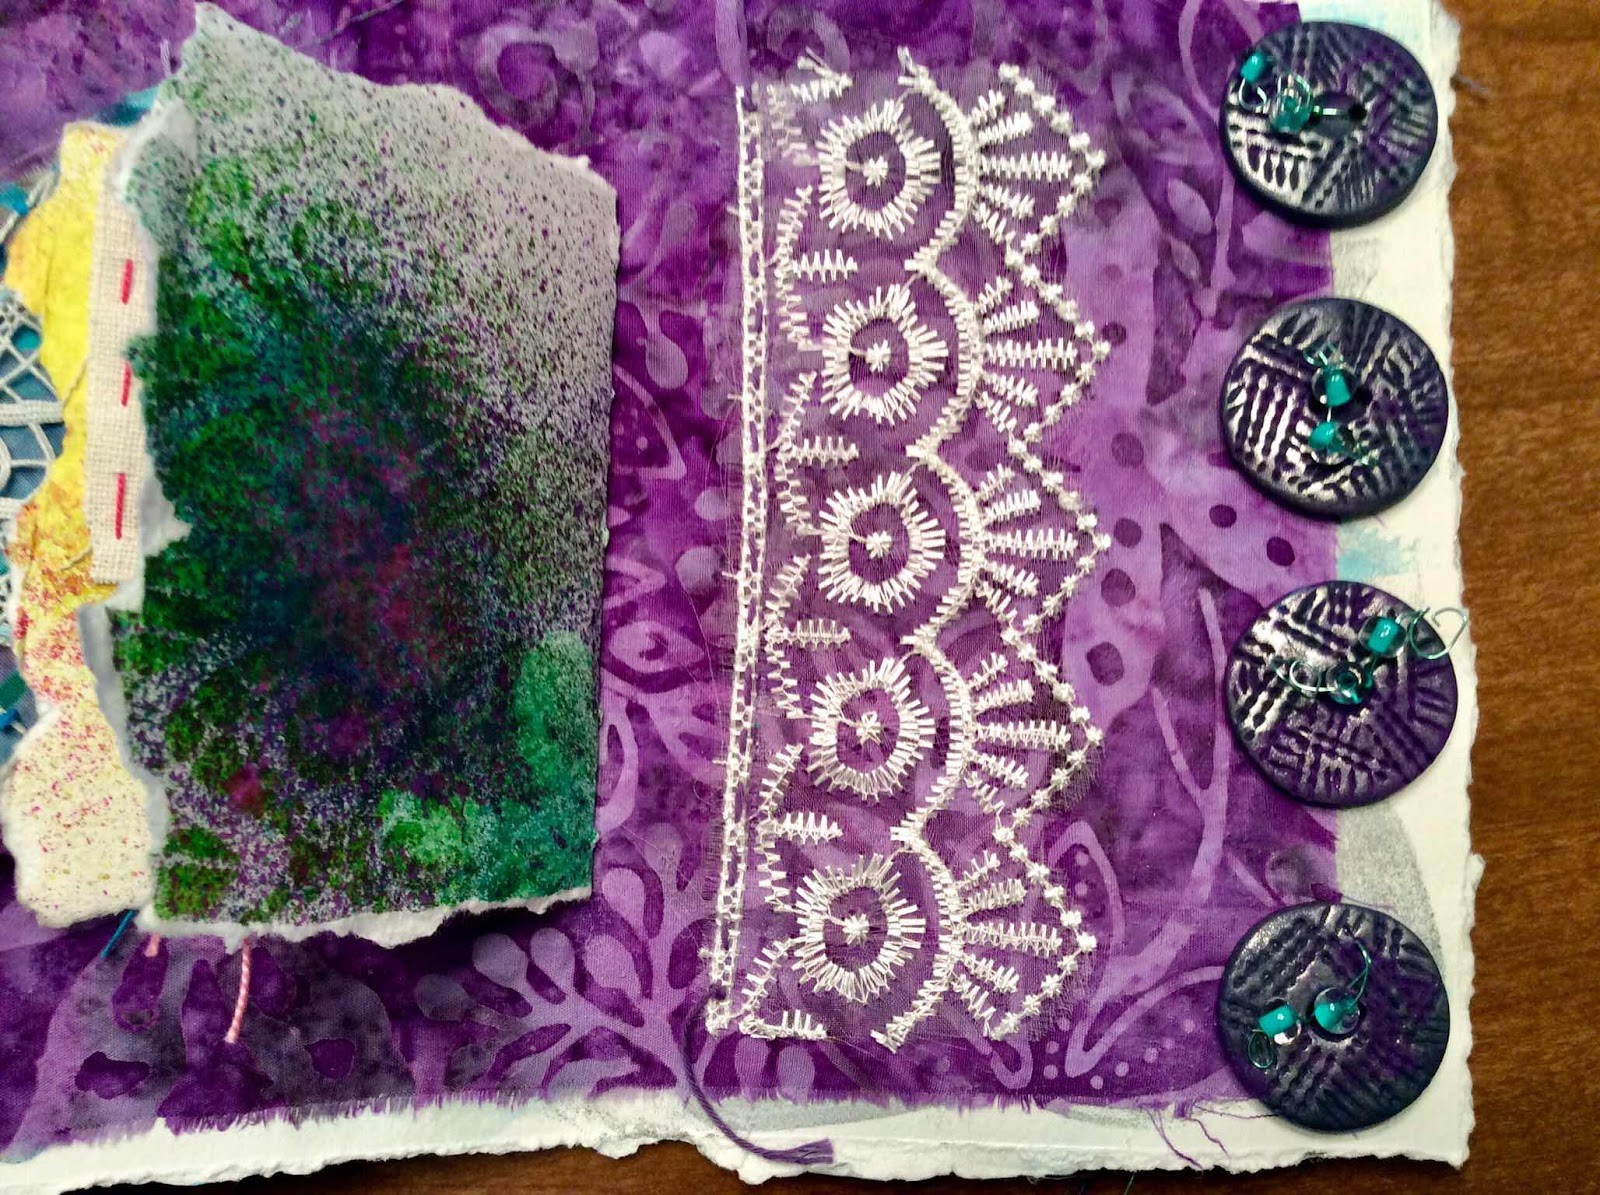
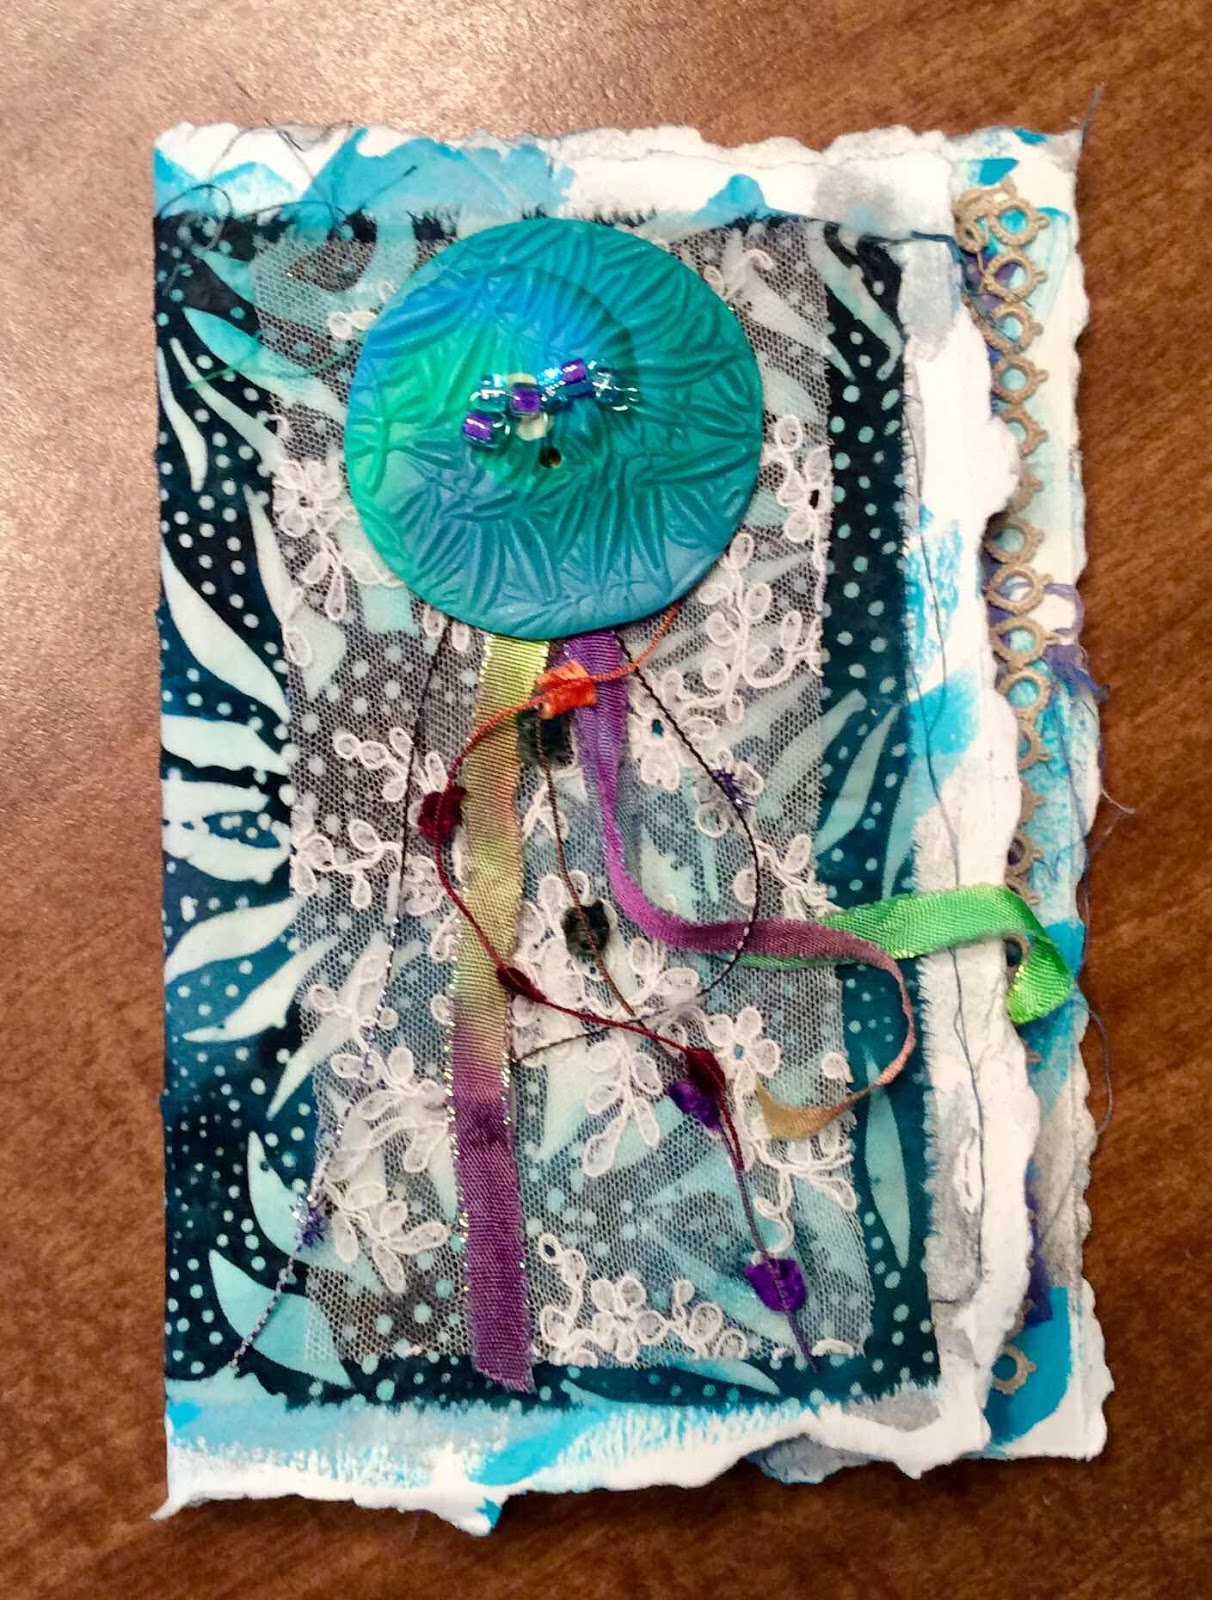
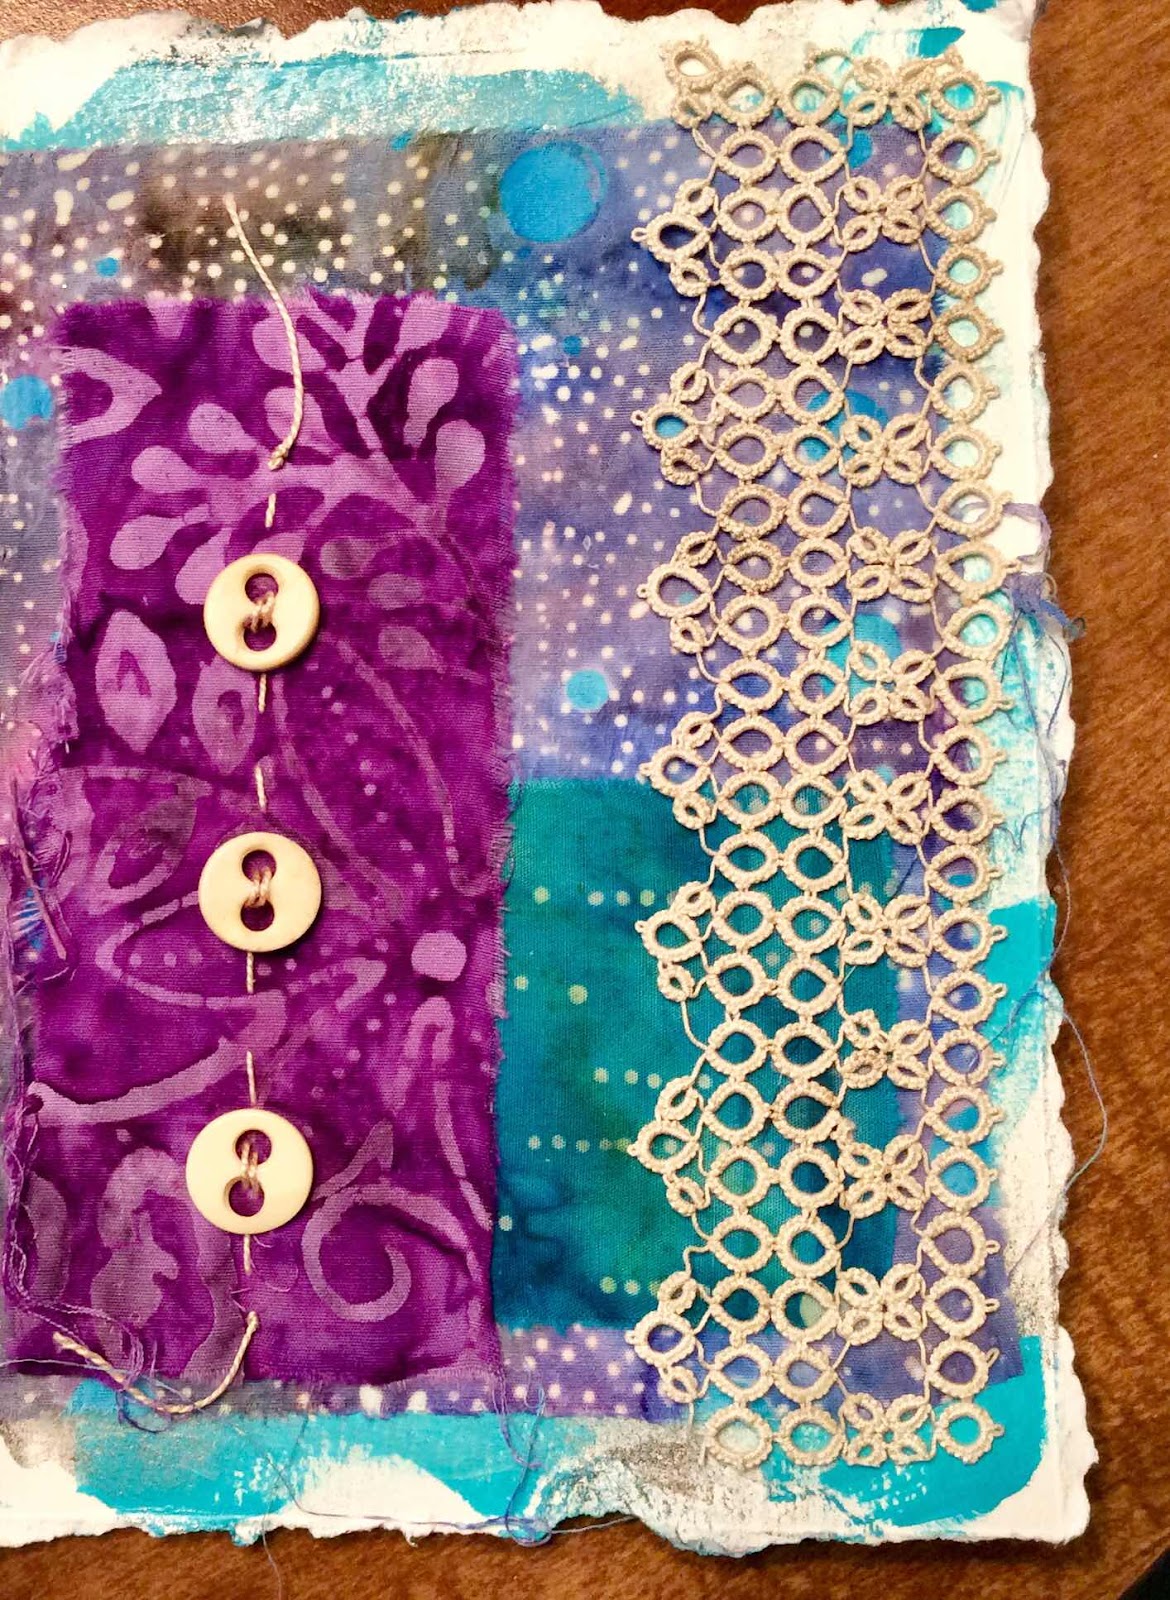
This multi-day workshop was held April 24th - 26th at beautiful Shake Rag Alley in Mineral Point, WI.  I take many classes there.  I'm also a volunteer at Shake Rag.  Karen Robison, our instructor (and a friend) is a wonderful teacher.  She is very knowledgeable and down-to-earth! 

Most workshop supplies were provided.  Students were invited to bring additional items from home if desired.  I brought lace, in addition to paper. Lots of lace!

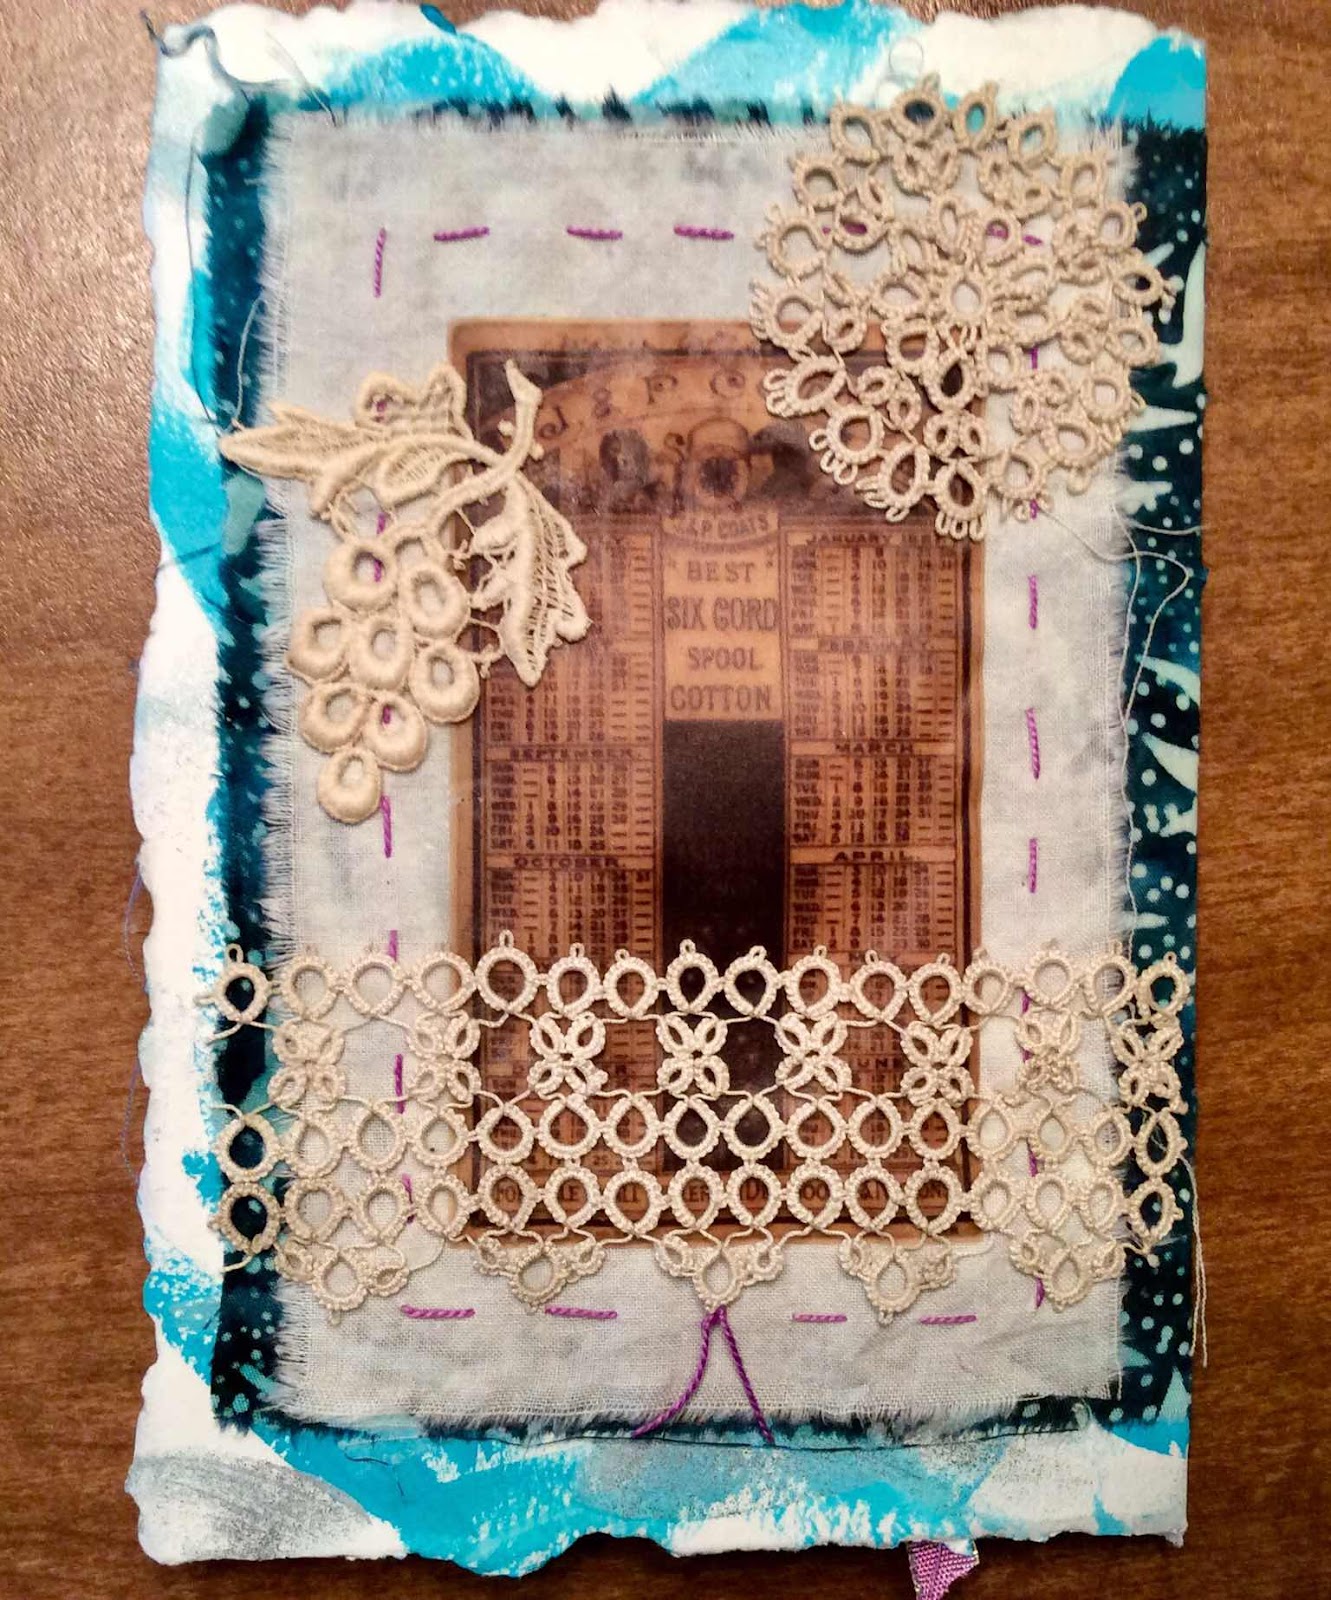
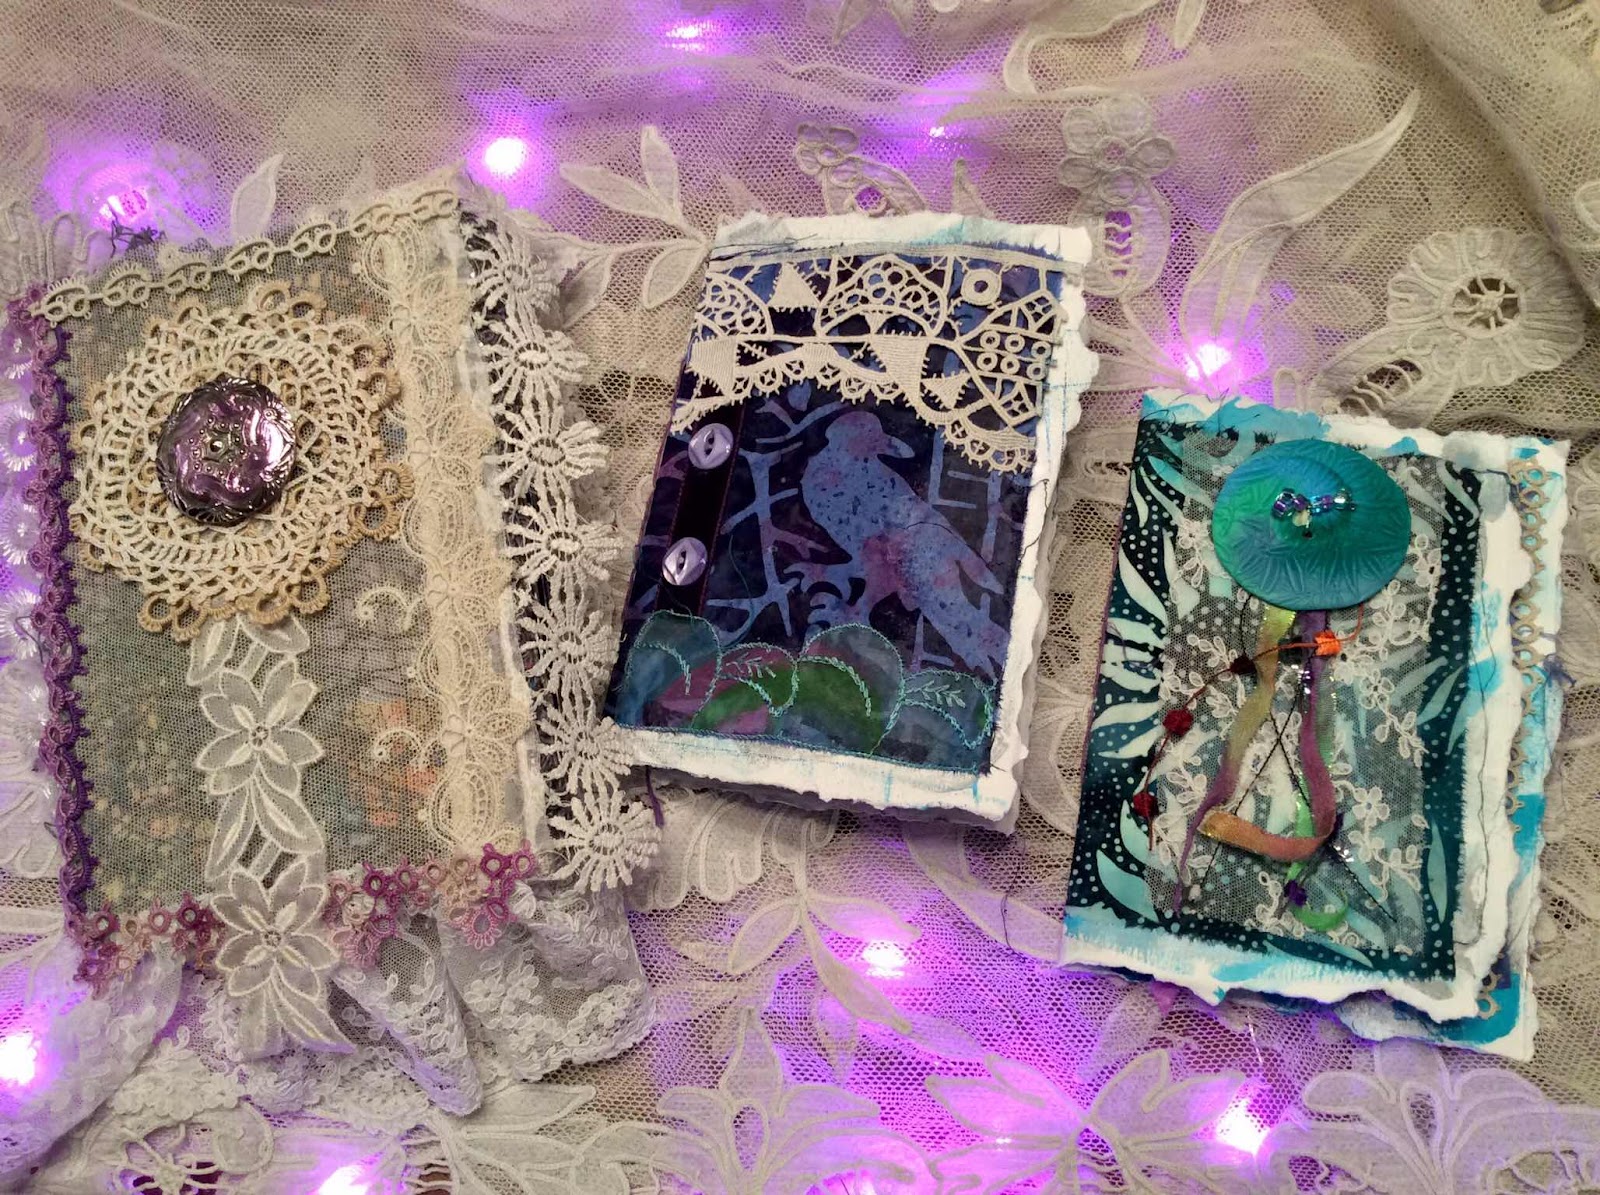
We learned many interesting techniques!  Among them tea dyeing, cyanotype, layering, masking, and more!  Some students choose to bind their papers into books.  Karen showed several binding techniques. Other students are using their dyed/manipulated paper/fiber creations for collage projects.  


All text and images ©️Suzanne Myers Otto


Monday, September 30, 2024

Mindful Mixed Media Art Quilts

I enjoyed my first visit to Woodland Ridge Retreat in Downsville, WI.  This venue, owned by my friend Chris Daly, is in a pretty rural area not far from Menomonie,WI.  I was there to take Deborah Fell’s workshop on art quilts.  Class dates were September 10 - 14.  This was an enjoyable class, with a great teacher, classmates, and retreat owner!  The meals were excellent, as well.  Update: Deborah, our teacher, was quite ill at the time of the workshop.  Sadly, she passed away the following spring.

Below: my workstation and some of the pieces I made in class.


Below: students and teacher (Deborah is in the front row,wearing a green shirt. I'm nearby,wearing a purple quilt show shirt.  Photo by Chris Daly.


All text and images ©️Suzanne Myers Otto

Wednesday, April 28, 2021

Art Supply Chest: From Boring to Beautiful


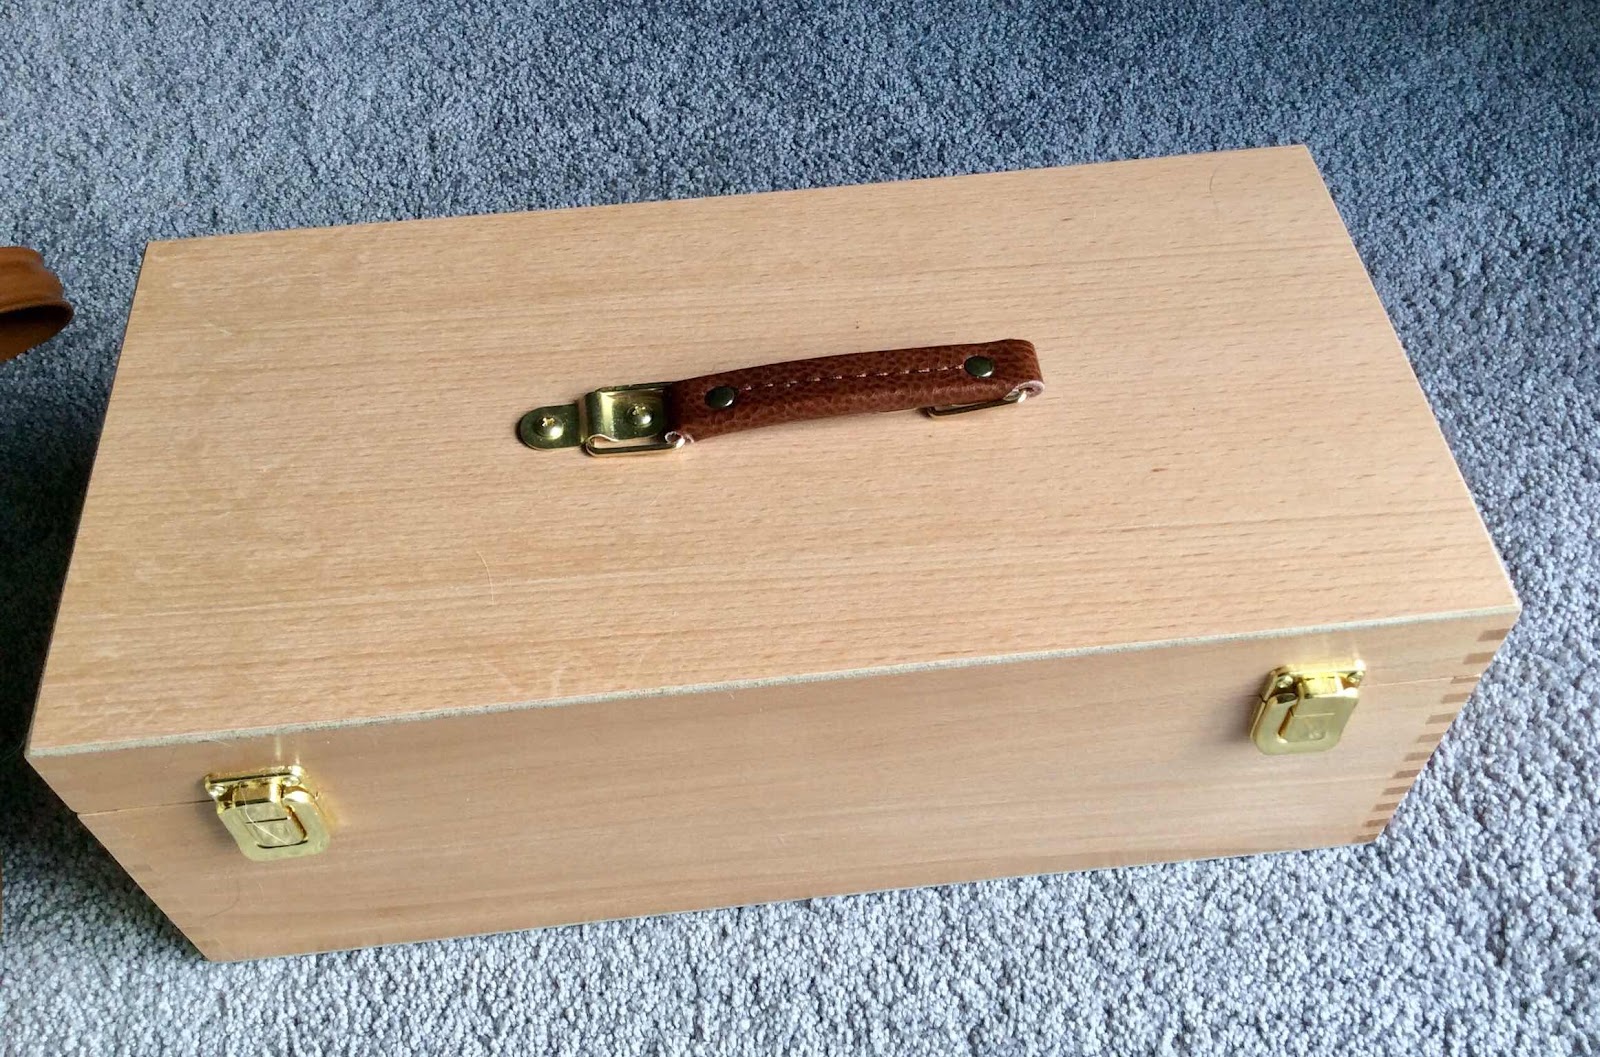
I recently purchased an art supply chest, using a Dick Blick gift card.
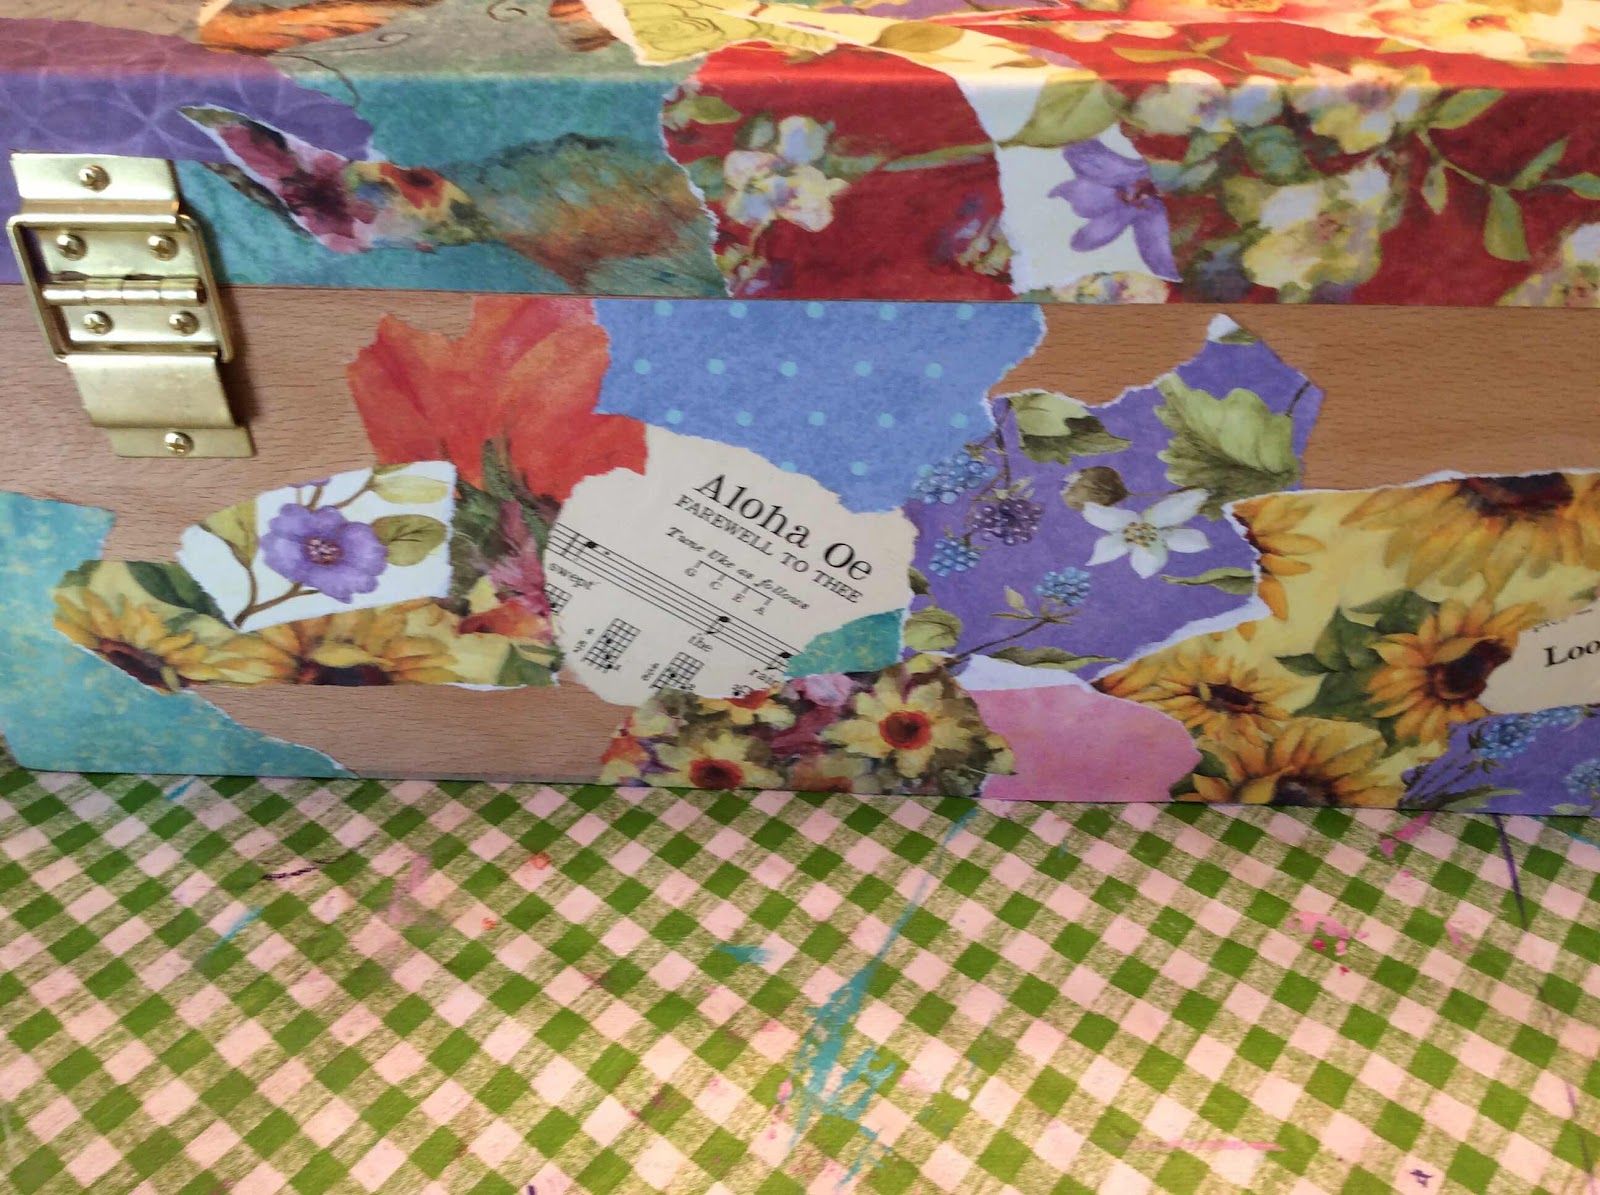
Deciding that the chest looked too plain for me, I opted for collaging the
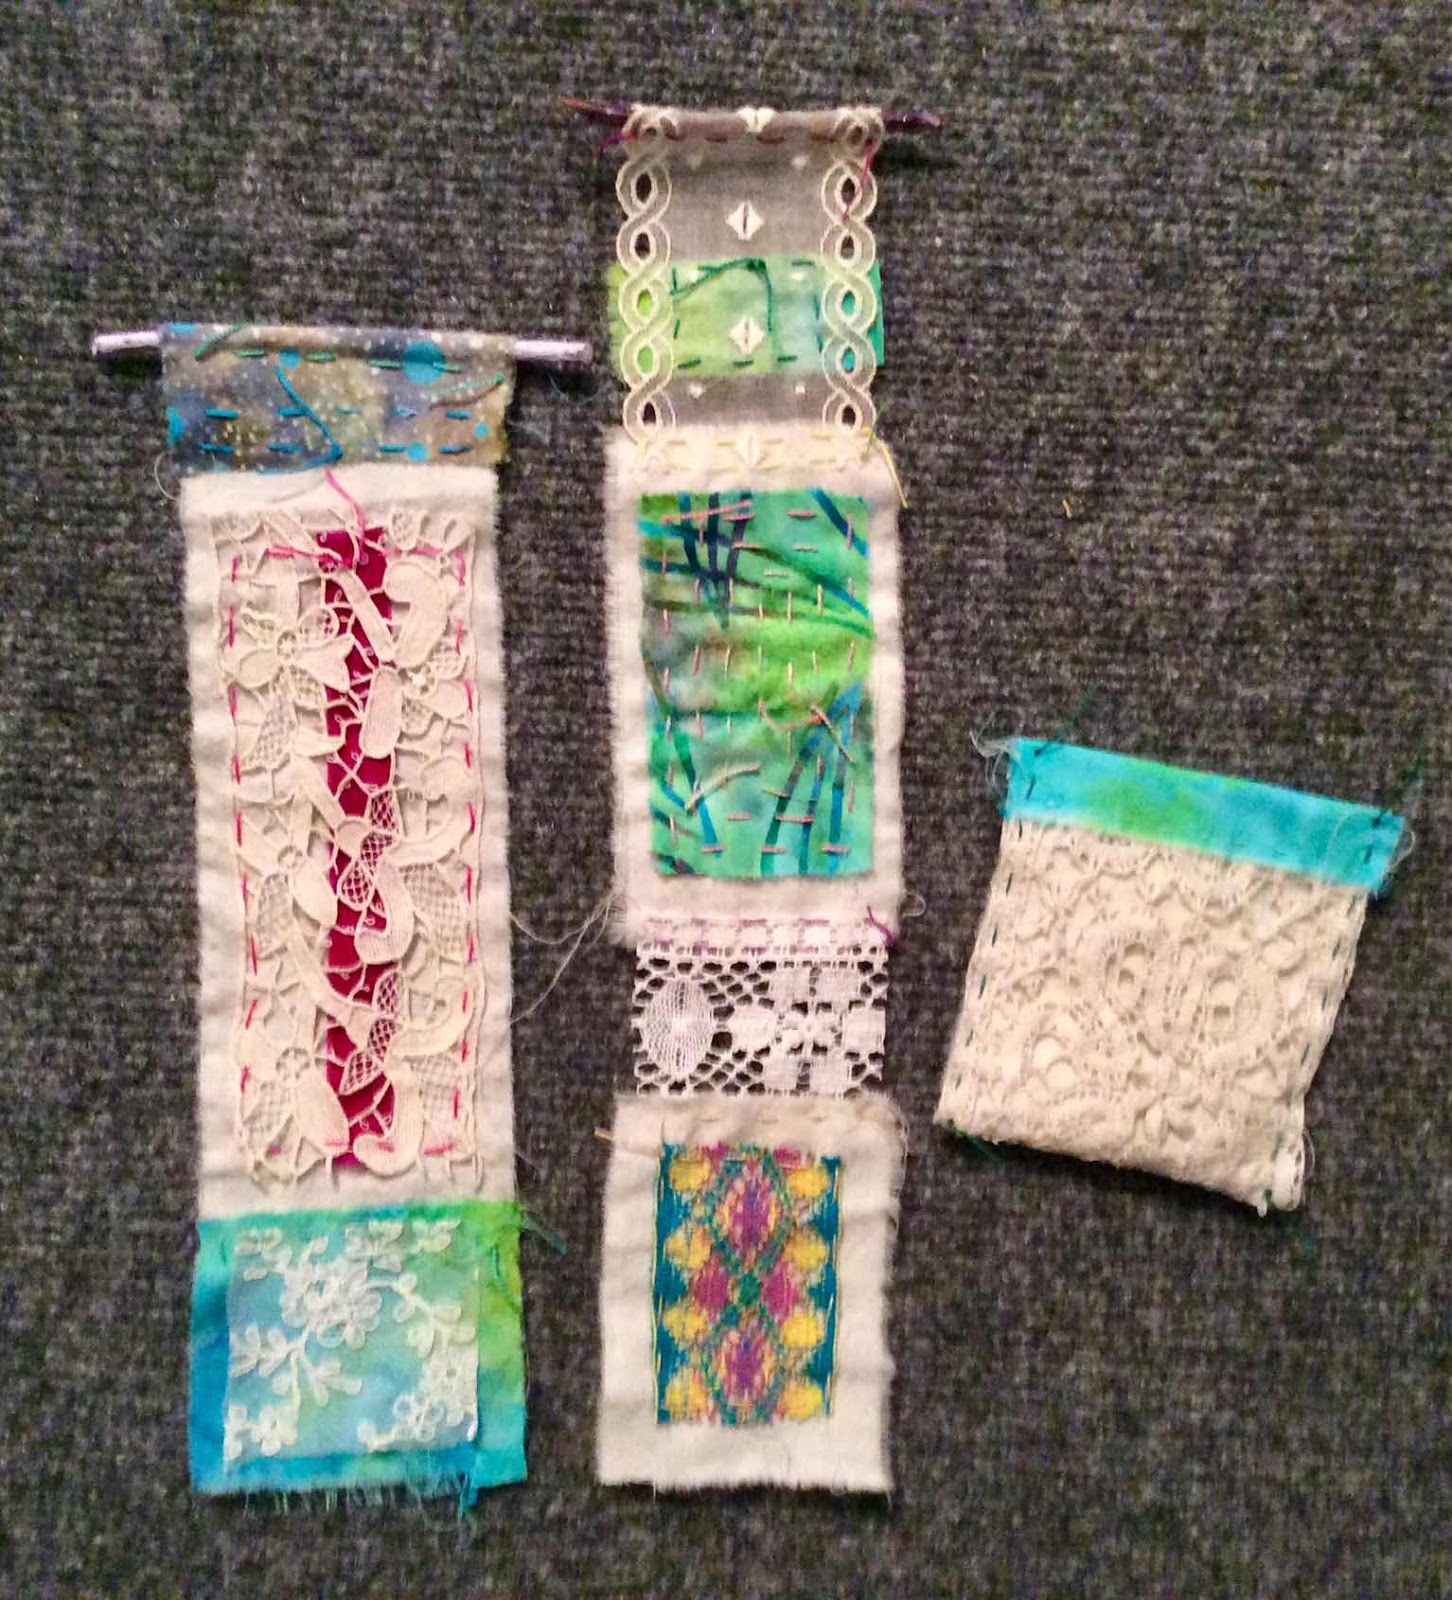
exterior of the wood box.

Chest, on the day of delivery (below).


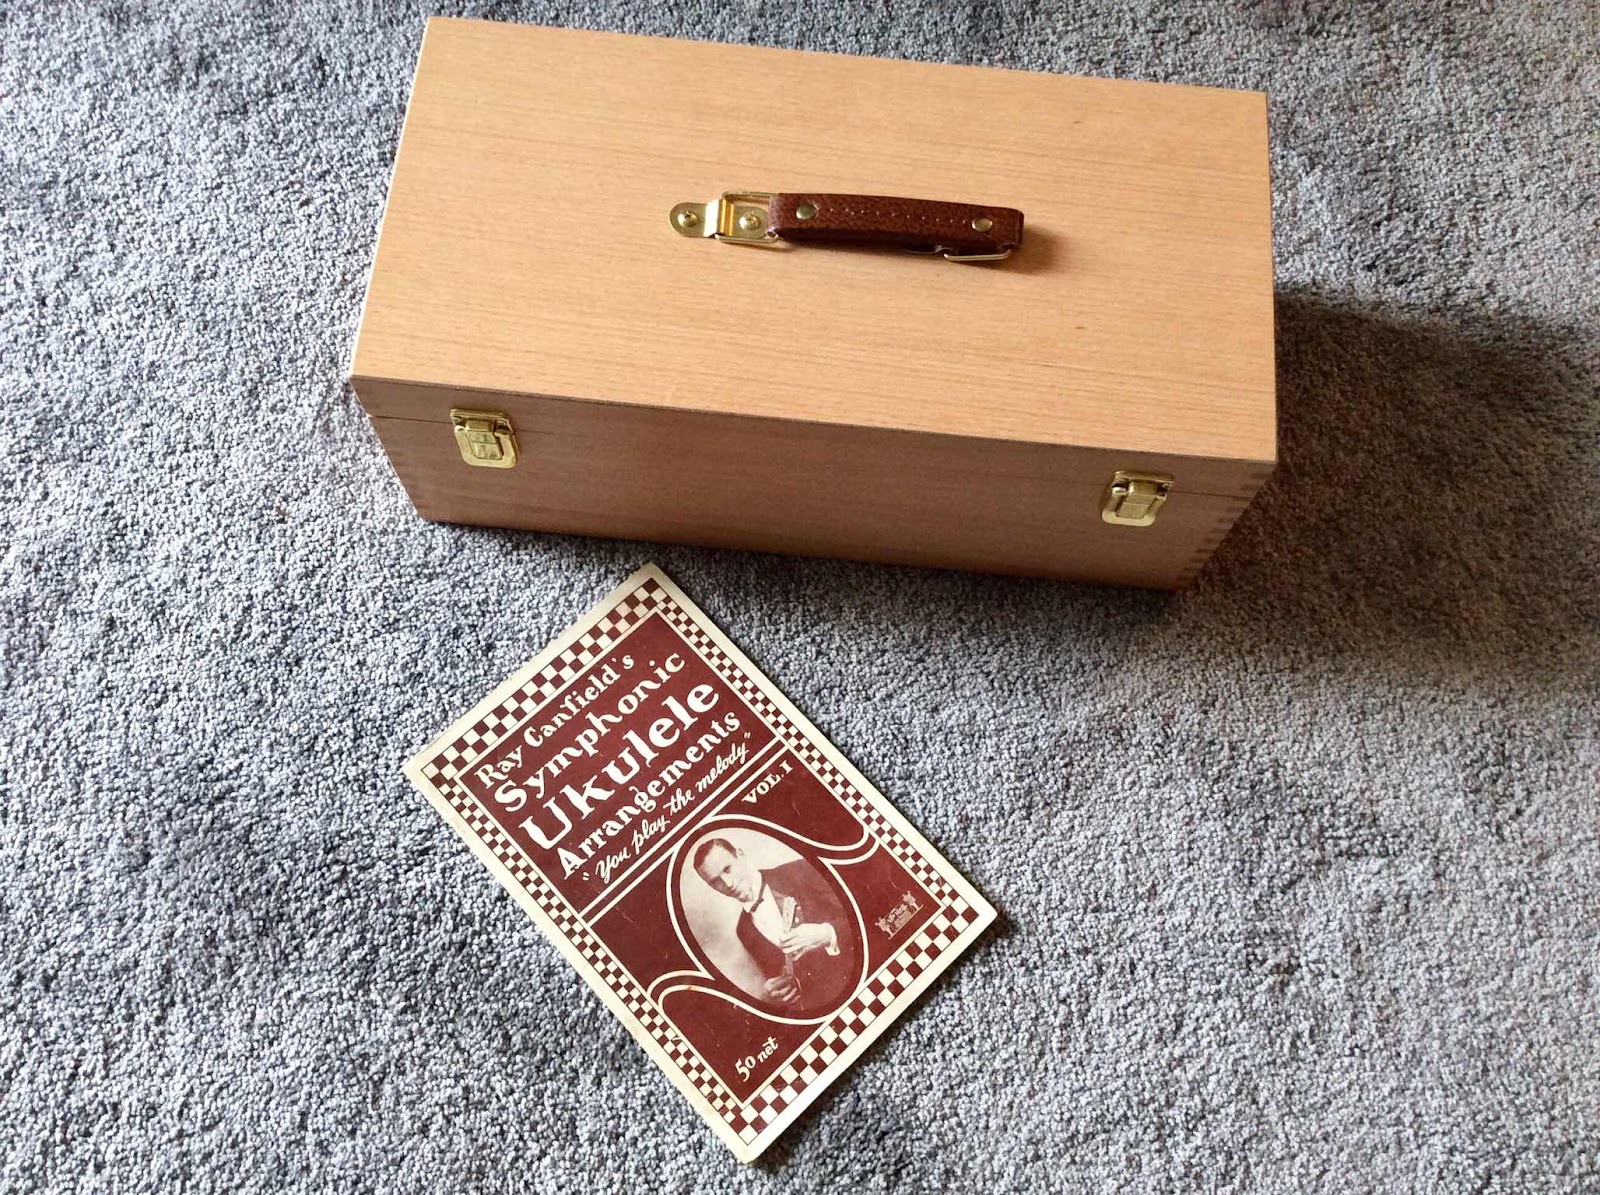
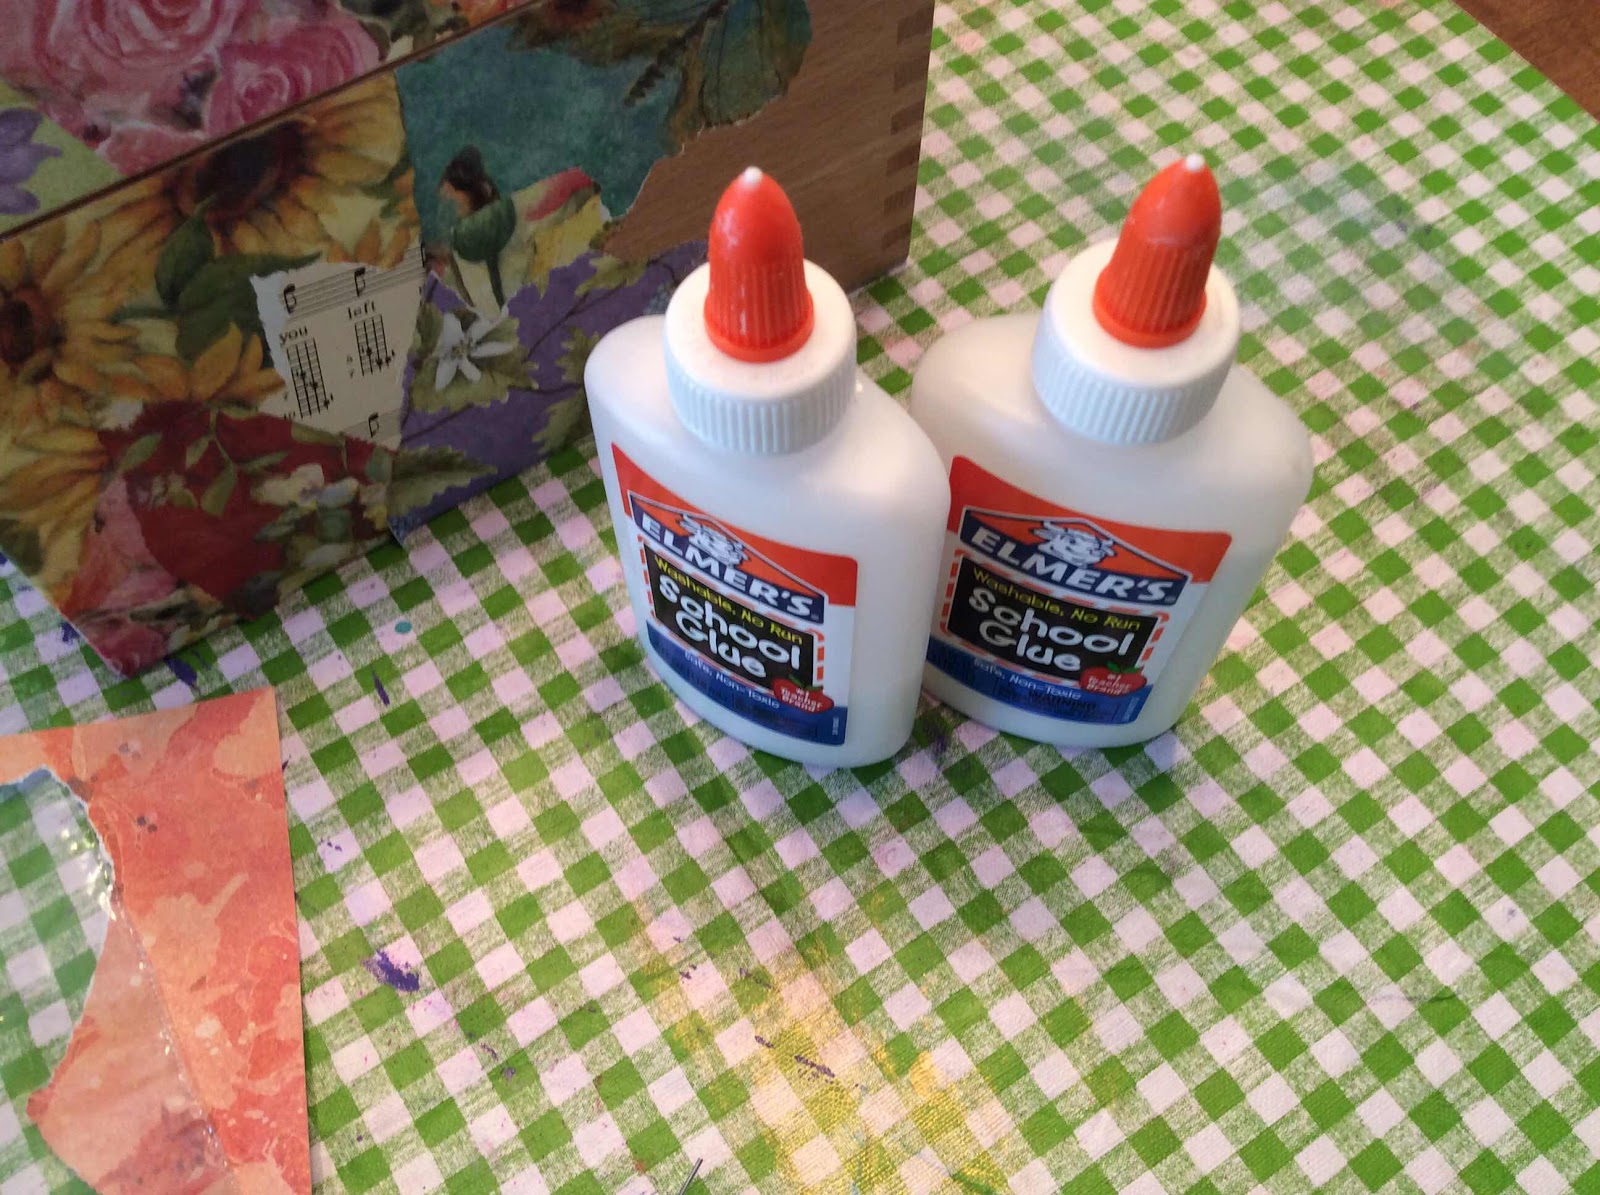
Supplies are gathered.  An old music book (gift from a friend), a thick tablet of
cheerful scrapbooking paper, and Elmer’s glue.


The scrapbooking paper was torn into small pieces, as were some pages from 
the music book.  I did not sand or prepare the outside of the wood box in any way. 
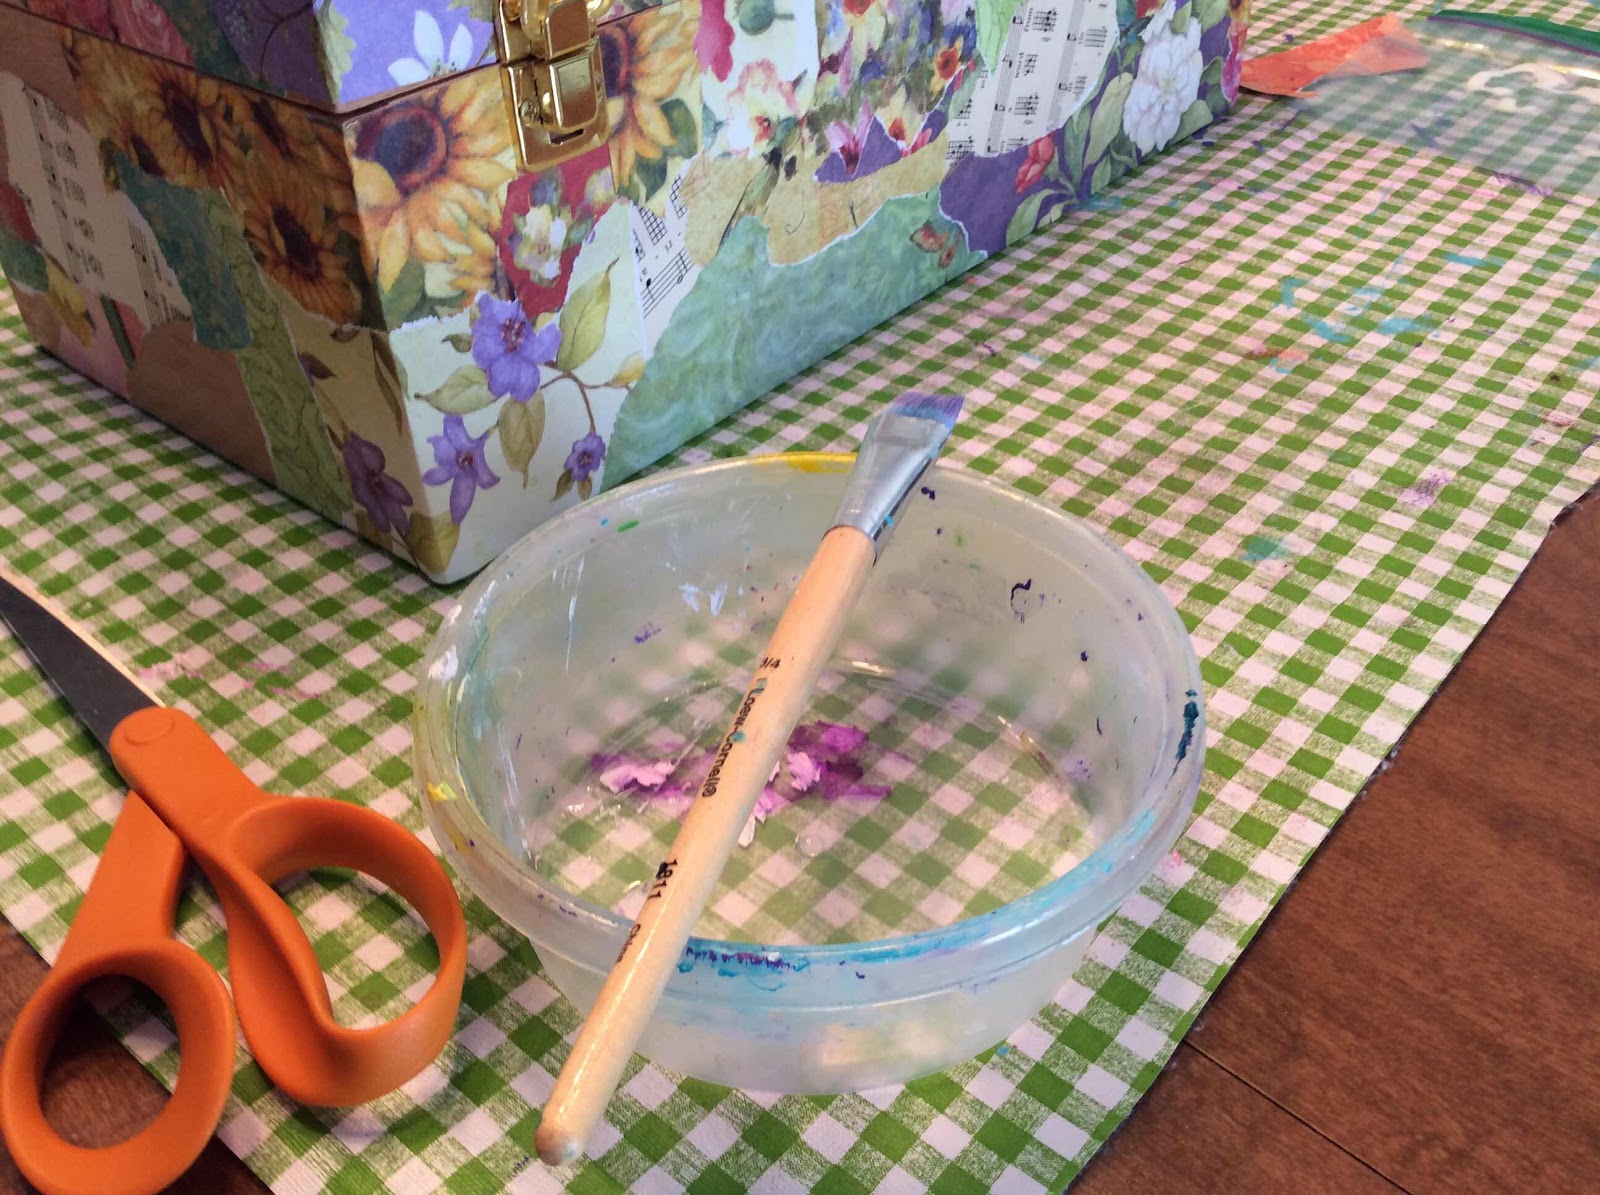
I did remove the tray from inside the box just to get it out of the way.  I started to 
apply the paper pieces using a brush and glue.  Initially, I added the paper 
in a scattered, random fashion.  Then I filled in empty spaces.  I glued pieces up
to the edges of the box lid and bottom, trimming with scissors to get straight
edges where needed.  Pieces were overlapped to fill in empty spots and to go 
around corners.  The raw paper edges add interest!


Once I had the whole box covered with collage and the glue had dried, I coated it 
with Delta Dreamcoat Gloss Varnish.  I applied a second layer of varnish the next day.

Below:  finished box, ready to travel to its first art workshop!


Sunday, February 14, 2021

The Making of a Valentine


I belong to a group of artists.  We all have a connection to the now-closed Valley Ridge Art Studio.  We stay in touch and hold art retreats twice a year.  One member recently set up a Valentine’s postcard exchange.  Names were drawn electronically.  My recipient happens to own a cute Westie named Lulu. I decided my Valentine would feature some reference to Lulu.

Thinking outside the box, I decided to use an 8” x 10” canvas for my “postcard”.  I had all of the
supplies on hand to create a valentine (no surprise there, as Valentine's Day is my favorite holiday).

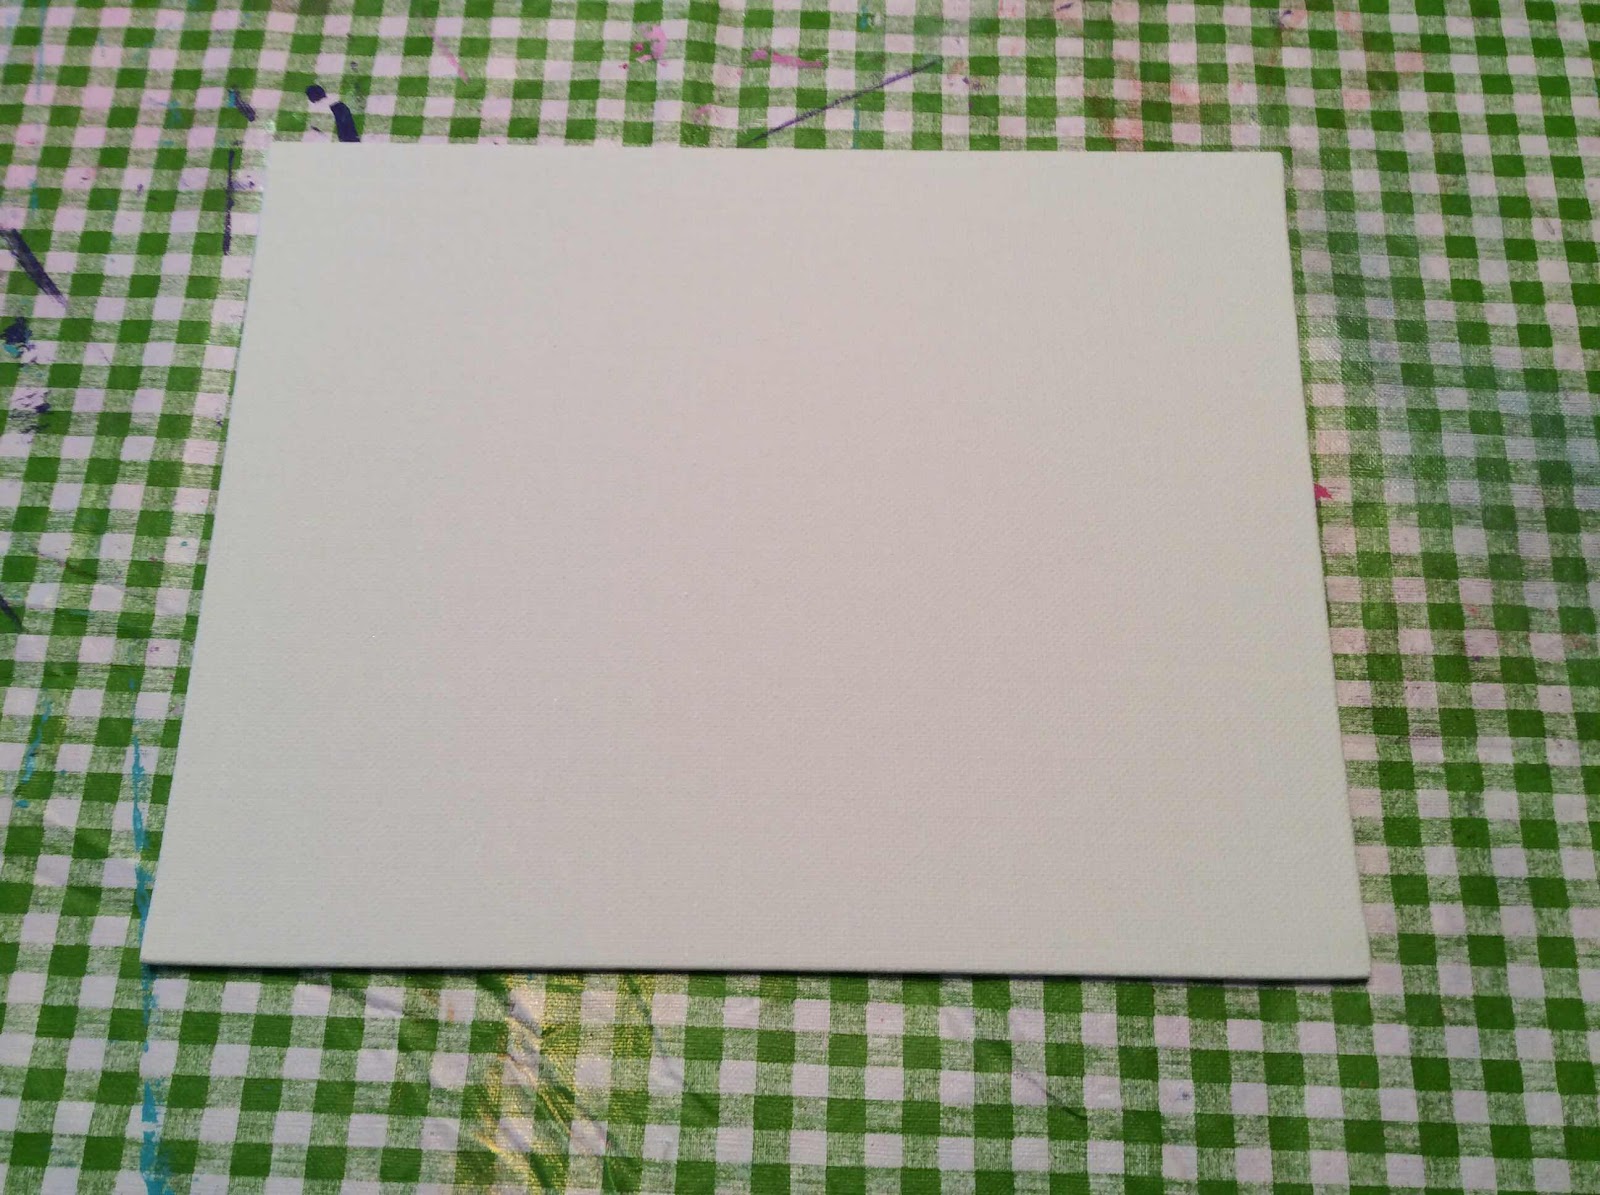
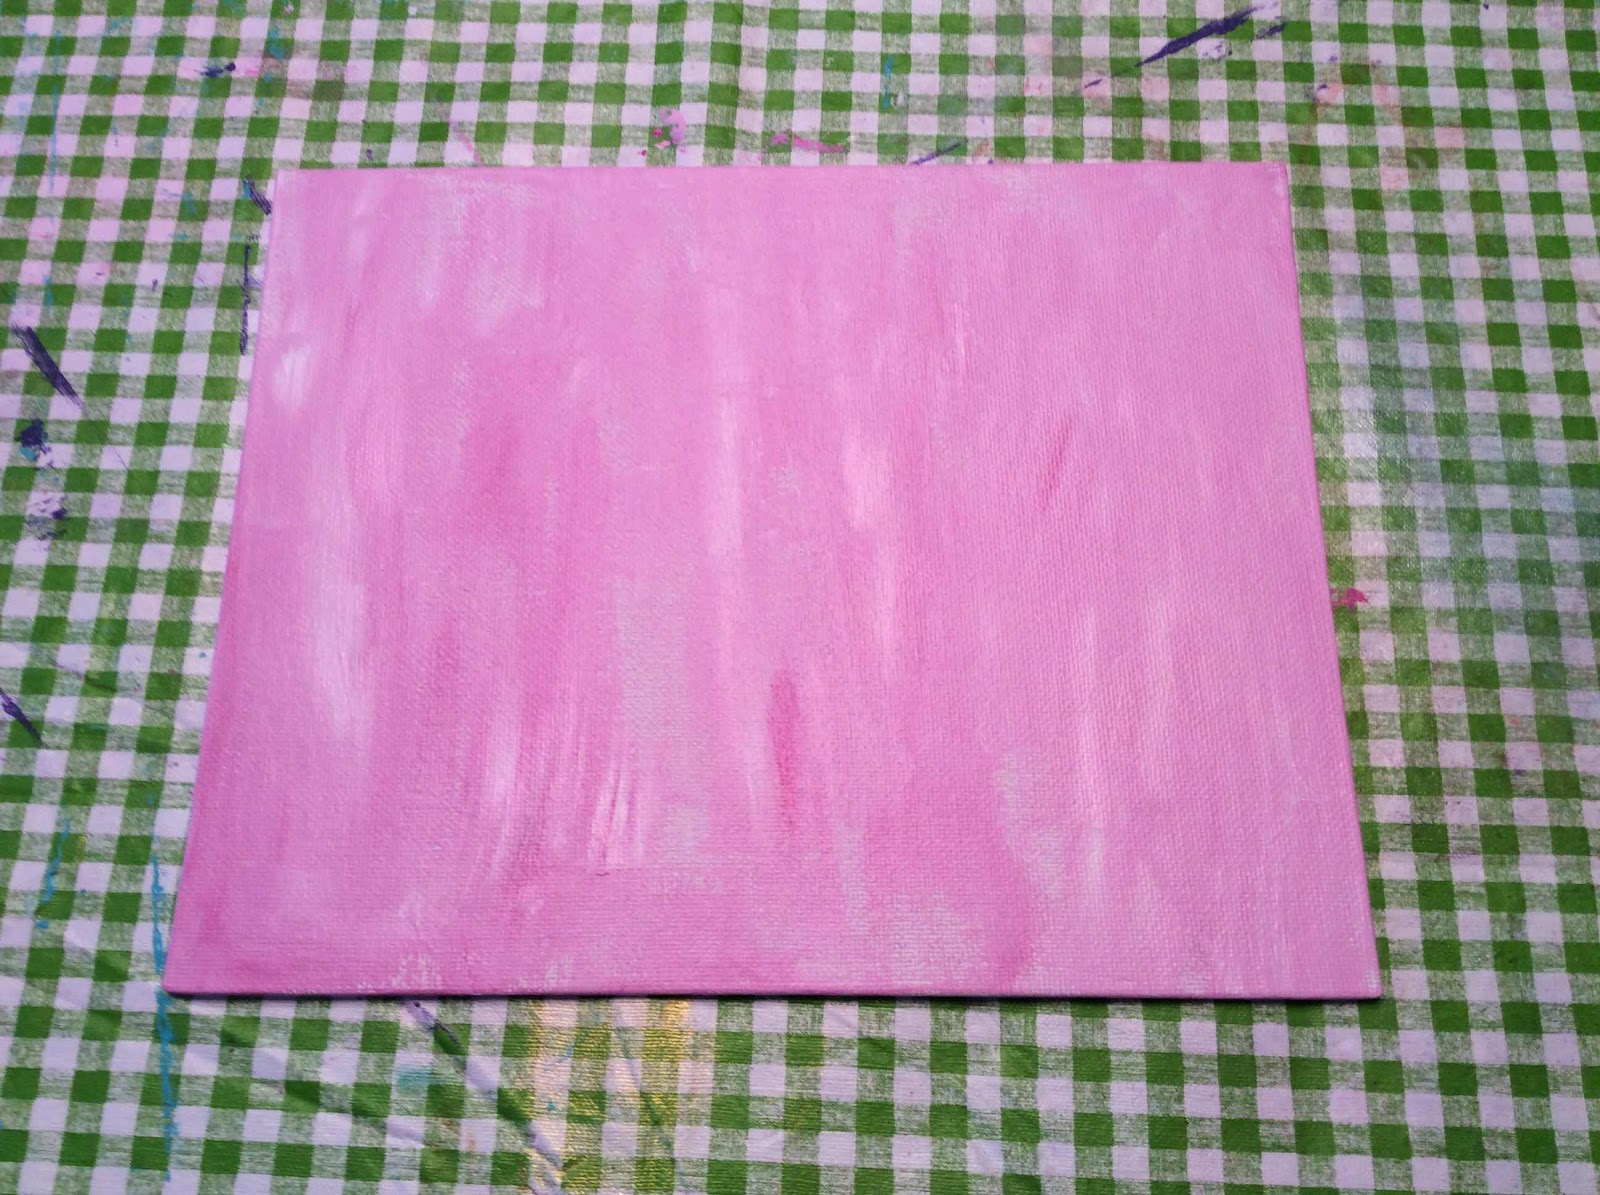
I started with a white canvas, then mixed some acrylic paint and painted the canvas pink.


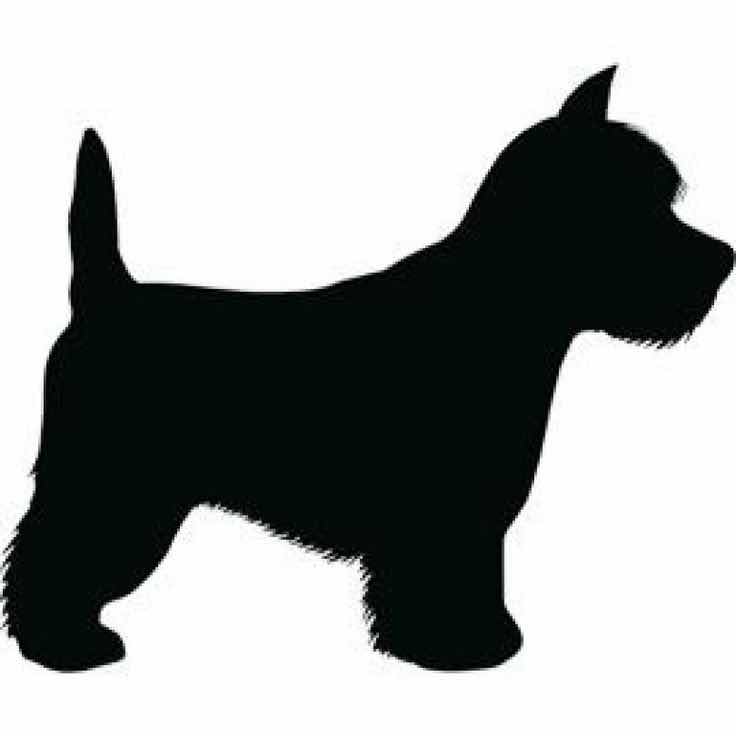
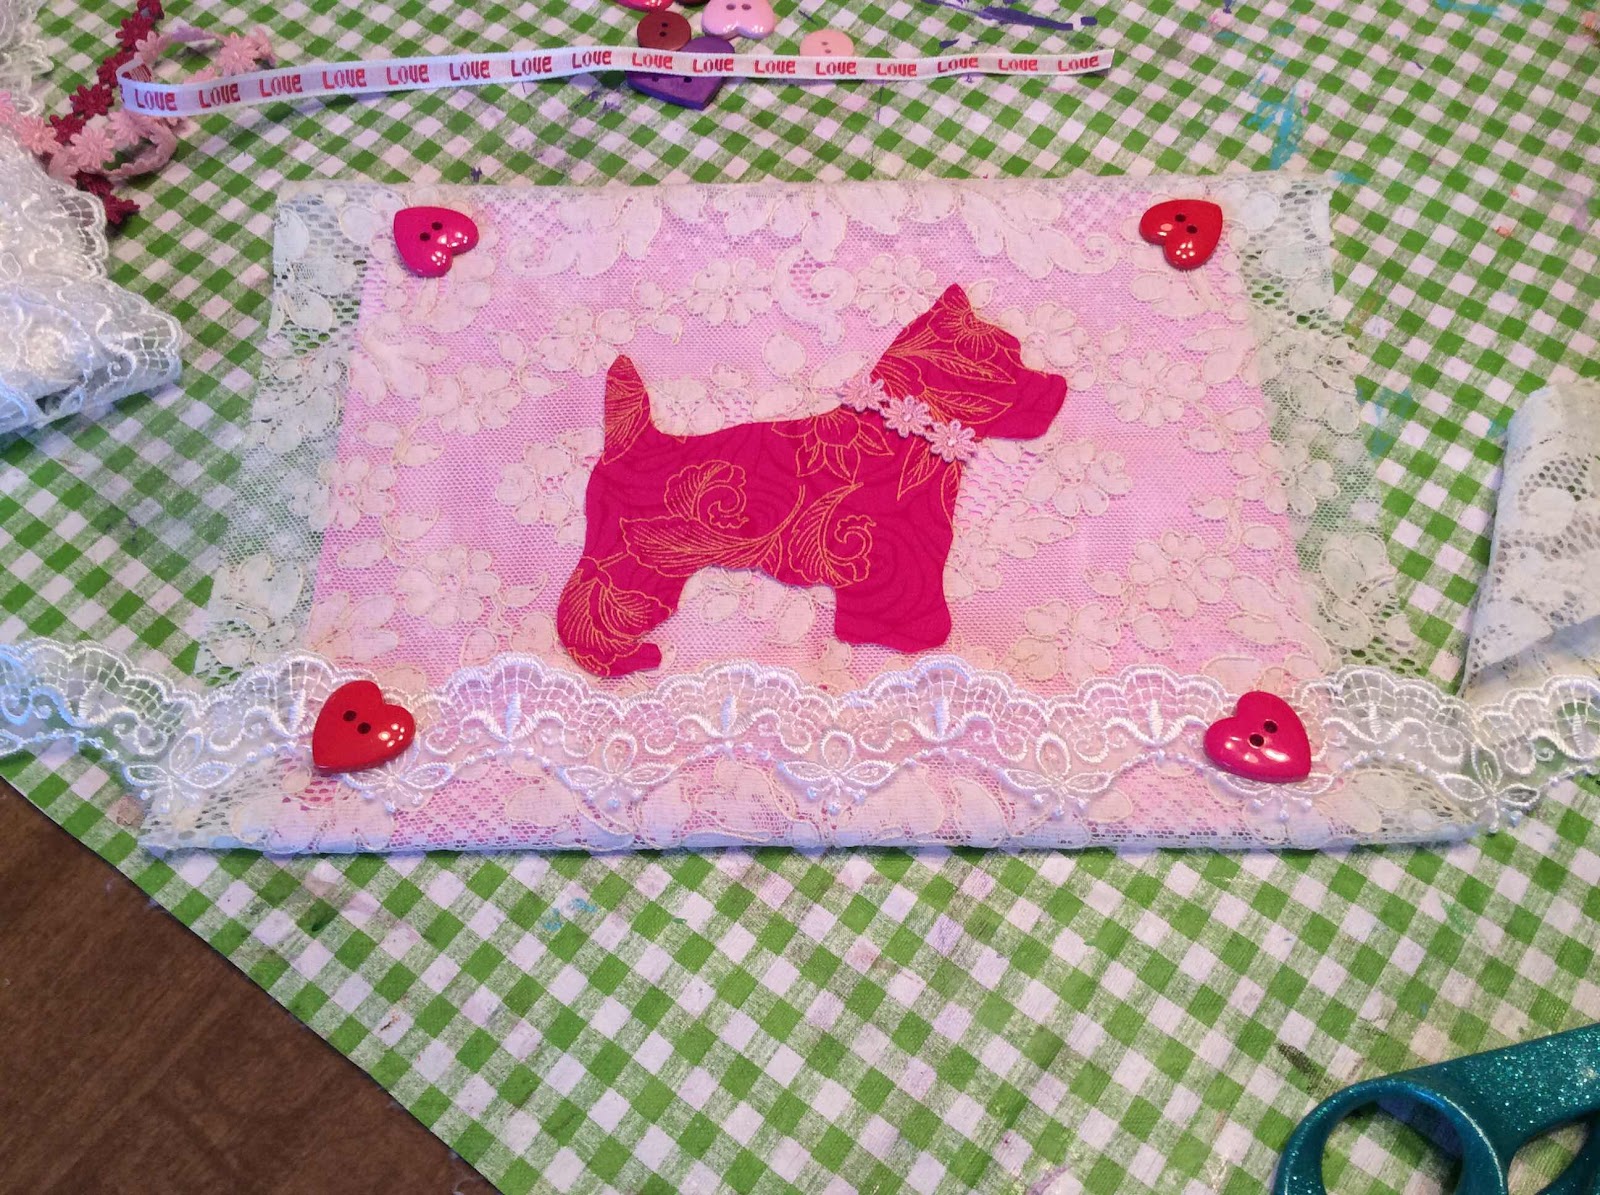
I then searched online and located a silhouette of a Westie.  I sized it down, literally
using my fingers on my iPad.  I then very lightly traced the outline onto a 
piece of printer paper. I cut out the shape, then outlined it onto heavy paper.
That served as my pattern.  I fused interfacing onto some pretty dark pink fabric,
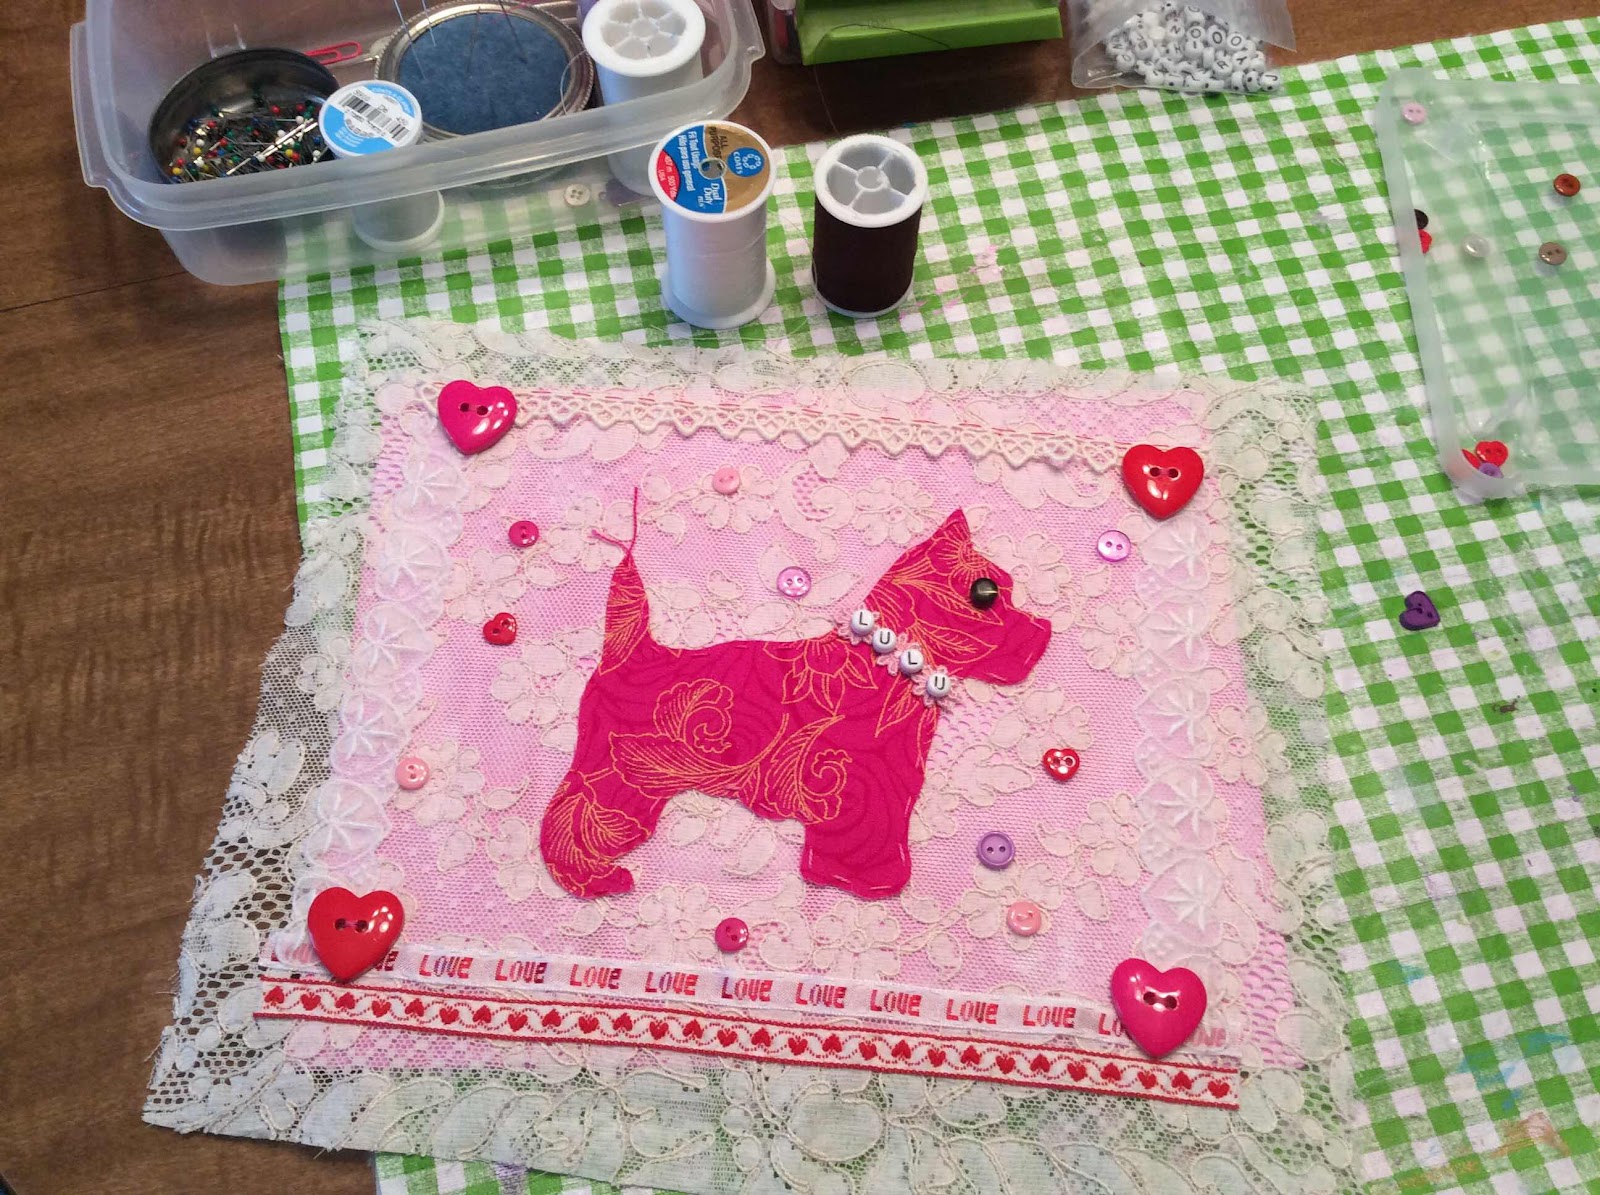
And cut the shape from that.  From there, I stitched the dog shape onto my background
of antique alencon lace.


The pictures that follow show how I tested different arrangements and trims.


Once I declared the surface finished, I wrapped the excess lace around to the
back.  I used glue on the back (also underneath the dog appliqué and in a few
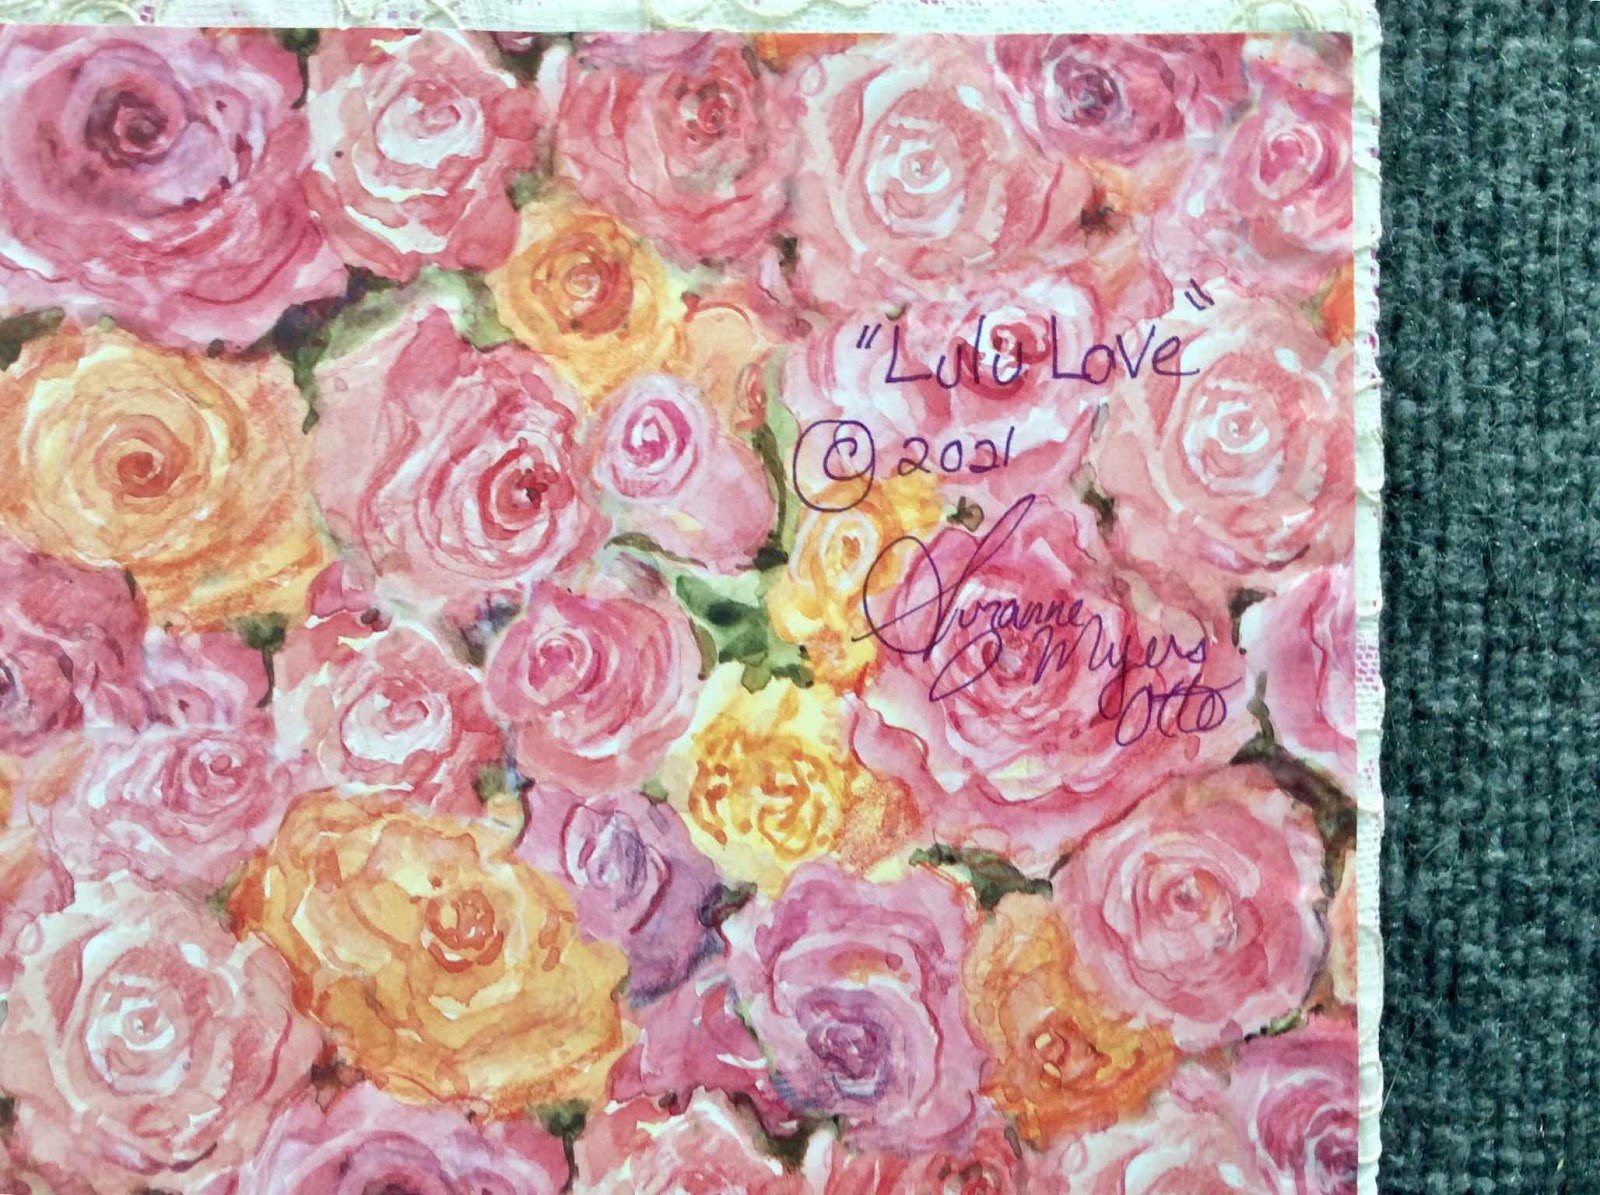
other, discreet spots).  I glued scrapbook paper to the backside of the canvas.


Here is a photo of my completed valentine.  I titled it “Lulu Love”.  Hope you
like it!


Sunday, January 10, 2021

Online Workshop Taken

Happy New Year!

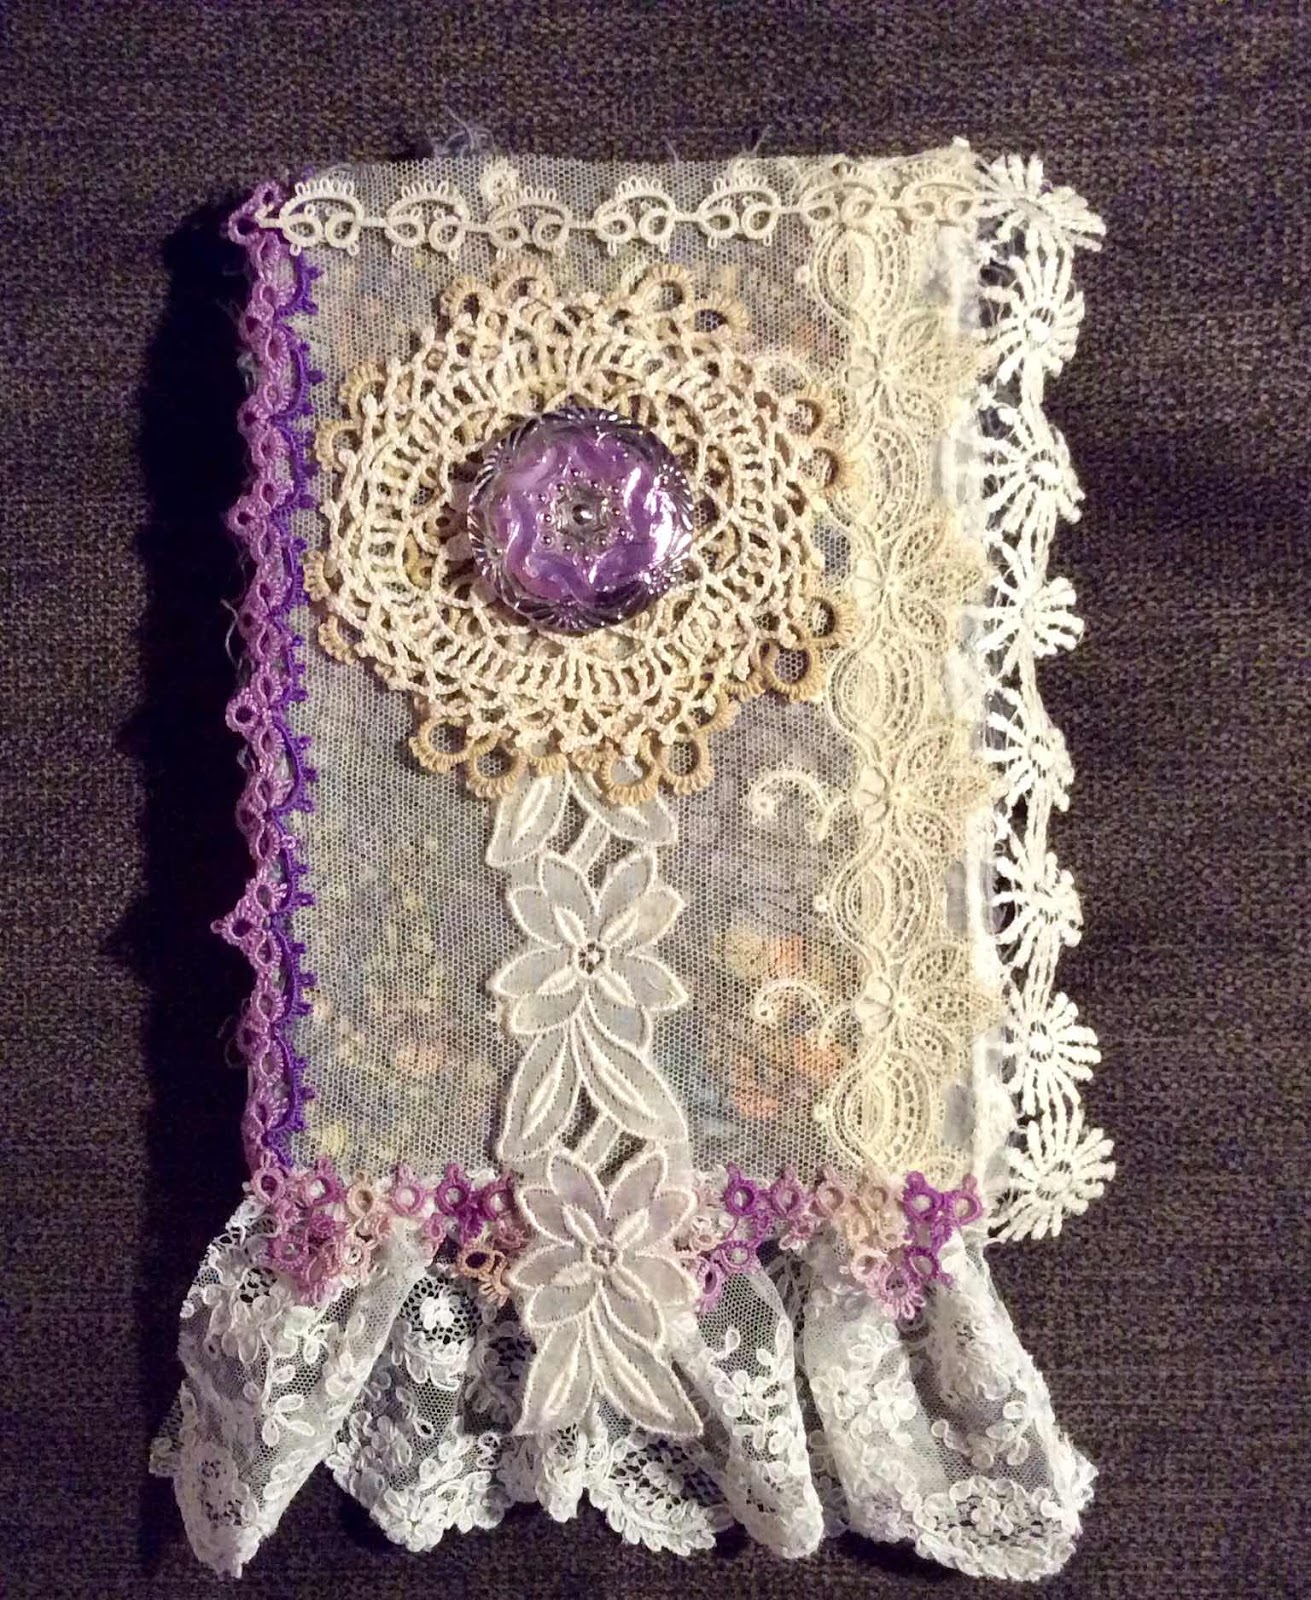
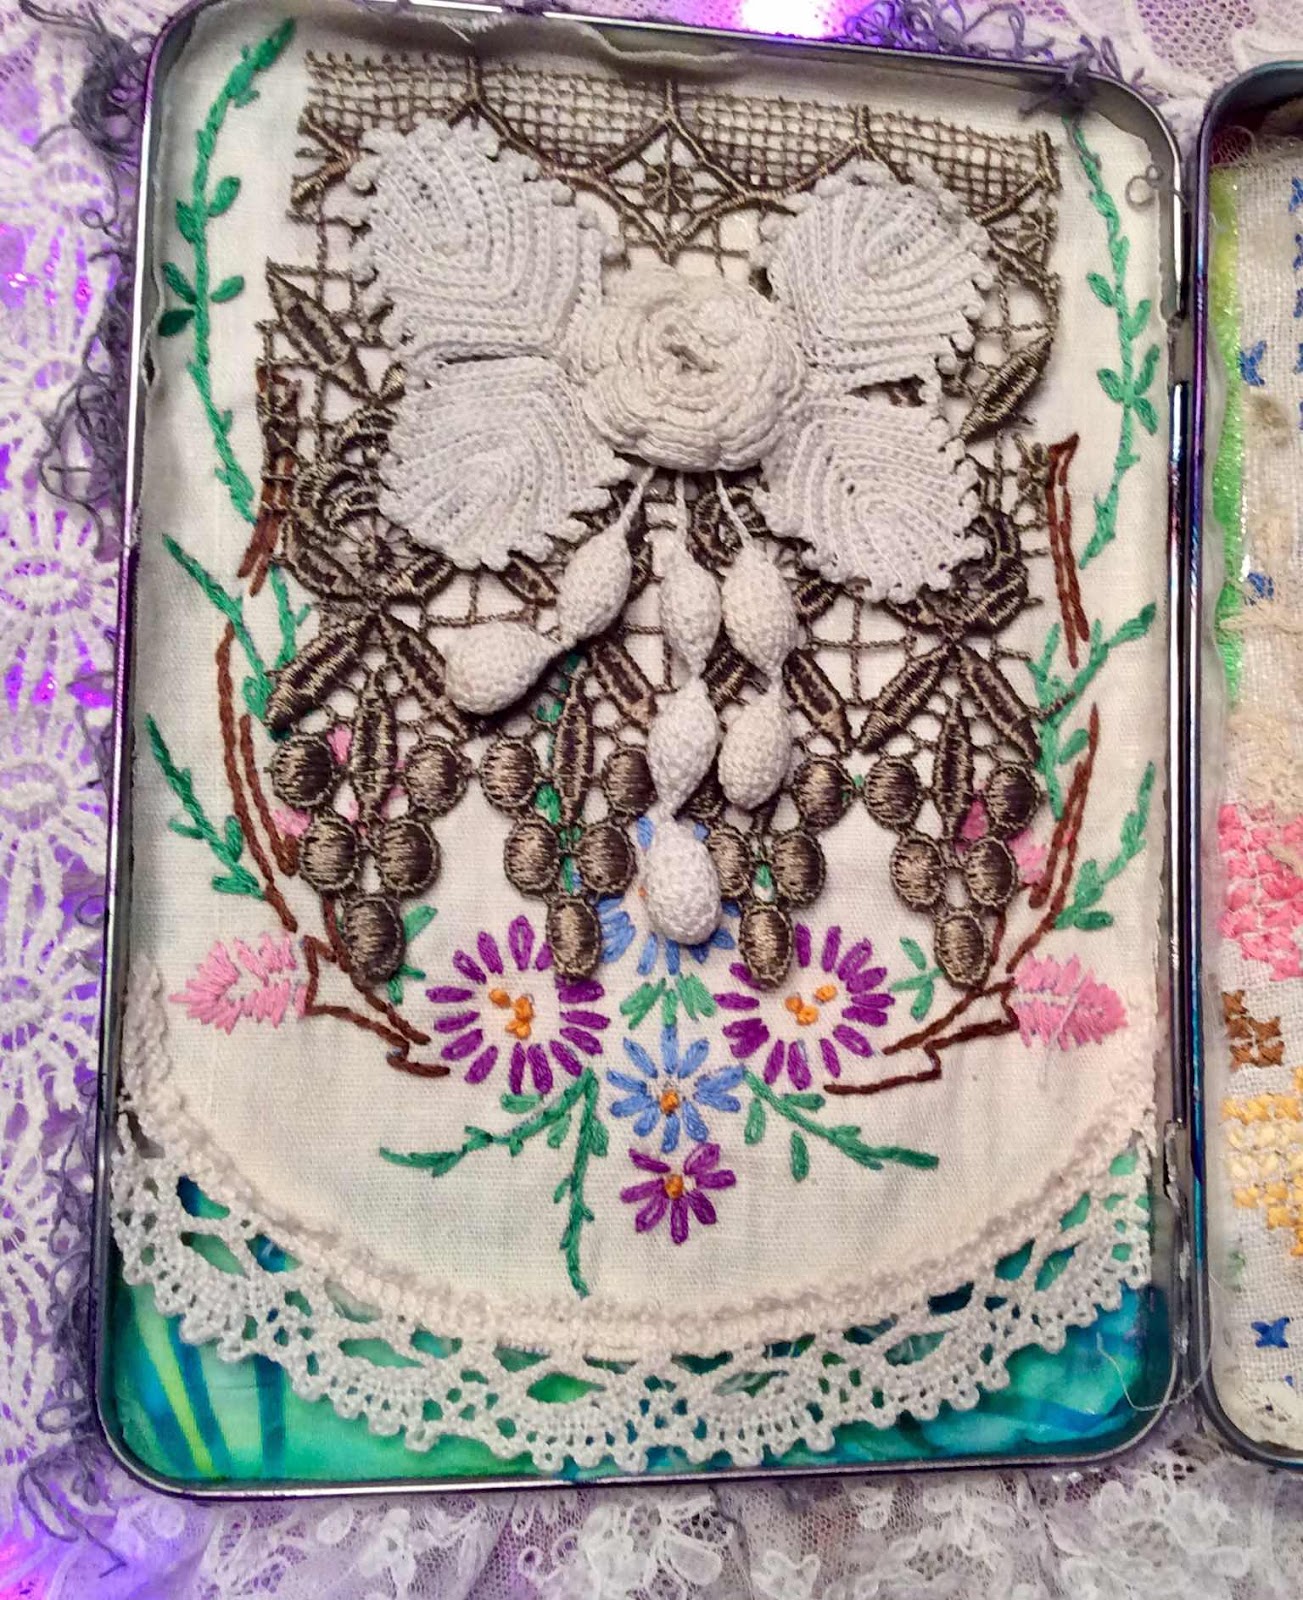
I recently had the pleasure of taking my first-ever online workshop.  The class, offered through Jeanne Oliver (dot com) was a mixed-media class titled “The Bookmaker”.  It was taught by Roxanne Evans Stout.  Students created a “book”, starting with a vintage or contemporary tin. Various techniques were learned and our books soon started to take shape.  I thoroughly enjoyed the class!

Not owning a vintage tin, I purchased a new tin online.  My tin measured 5” x 7” x 1”.  Because my tin was new, and lacking the character of an older tin, I pretty much covered the entire surface.  “Pages” were made from watercolor paper torn to size.

While many students incorporated rusted nails, washers, etc. in their books, I took my own path.  I made use of my large collections of fabric, buttons, and lace!

Please view my photos:


Paper & Book Camp 2.0, Shake Rag Alley, April 2026

This multi-day workshop was held April 24th - 26th at beautiful Shake Rag Alley in Mineral Point, WI.  I take many classes there.  I'm a...