Wednesday, June 30, 2021

Trip to Washington Island, WI


I recently traveled northeast, from Madison to Washington Island.  I was last there 
in 2017, enjoying a weeklong vacation!  The purpose of this trip was to take a 
weaving class offered by the Sievers School of Fiber Arts.  I will cover Washington 
Island sights, and Sievers and the weaving class, in the next few blog posts.

The class started June 14th.  My travel started early on Sunday morning June 13th.

I took a slightly scenic route from Madison to Manitowoc, and on to northern 
Door County.  After stopping in Manitowoc for coffee and food, I headed north.  
My original plan to stop in Two Rivers was shelved due to major road work 
on highway 42.  I created my own detour around the construction, ultimately
arriving in Kewaunee.  A pretty Lake Michigan coastal town, Kewaunee offered 
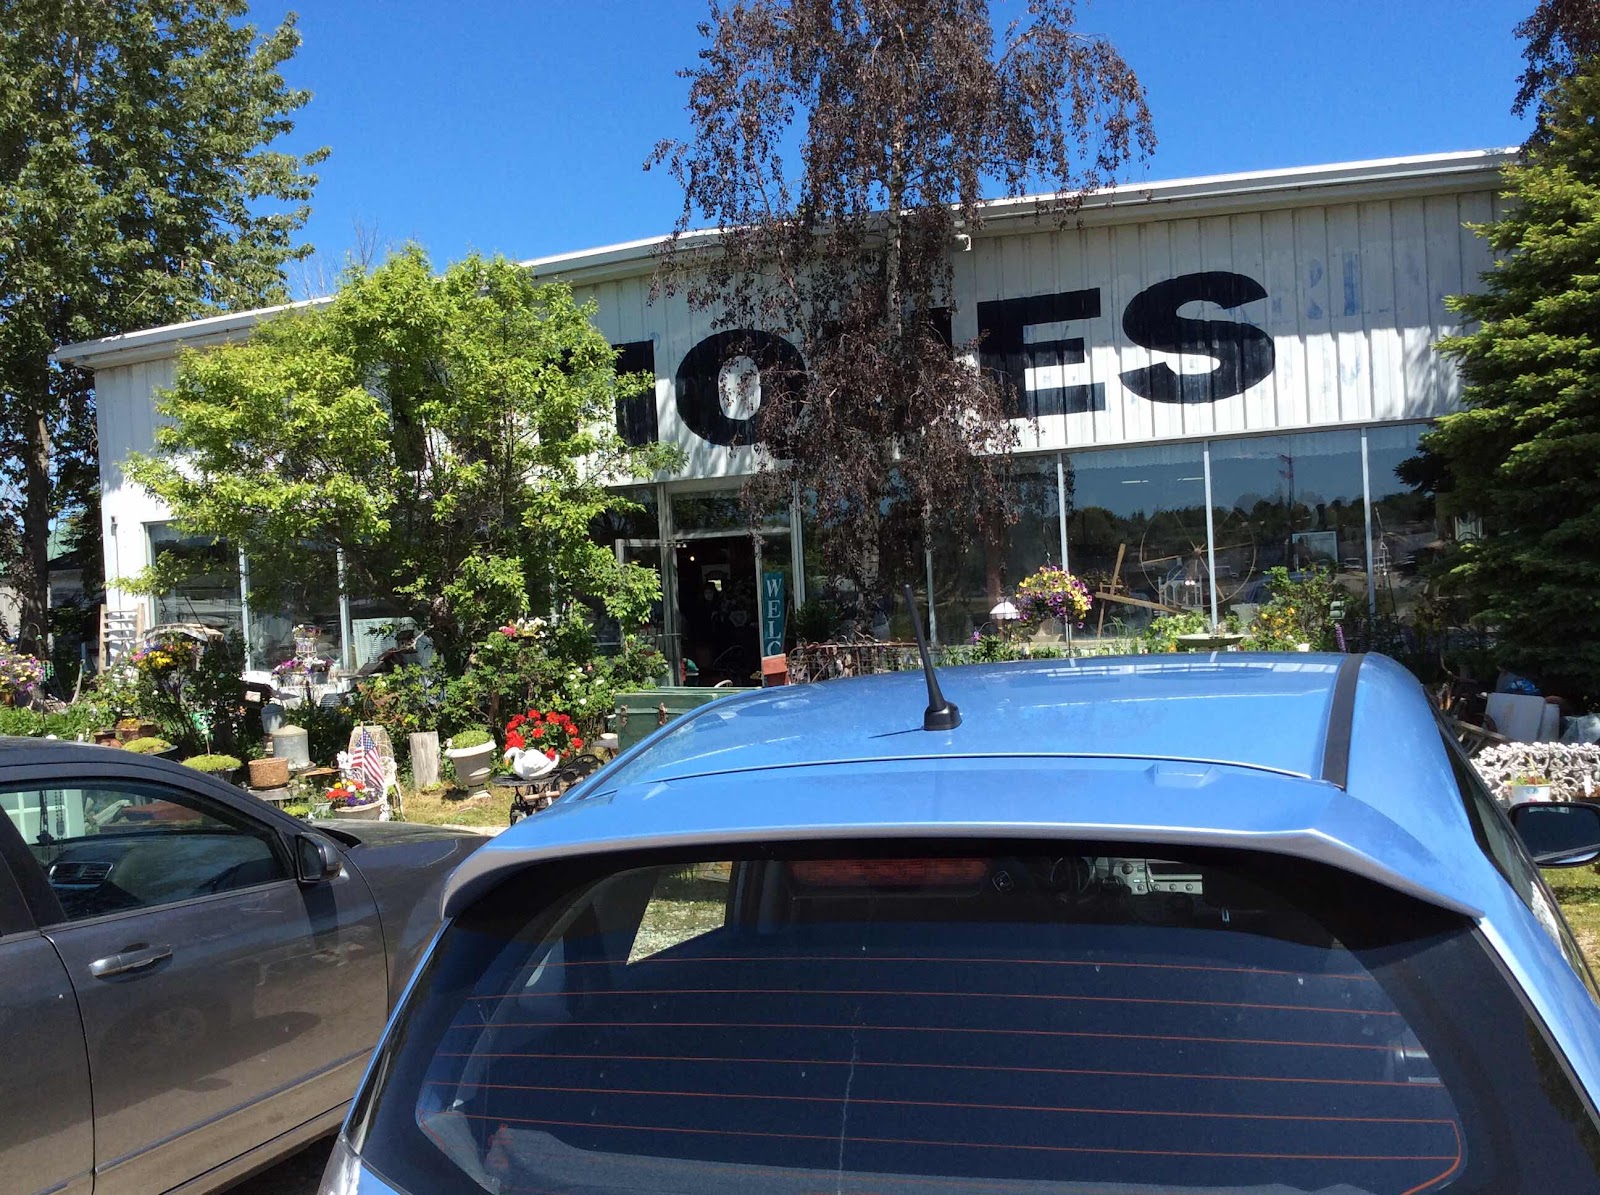
an interesting antiques mall for exploration.  It didn’t look large from the outside, 
but it is, in fact, quite cavernous!

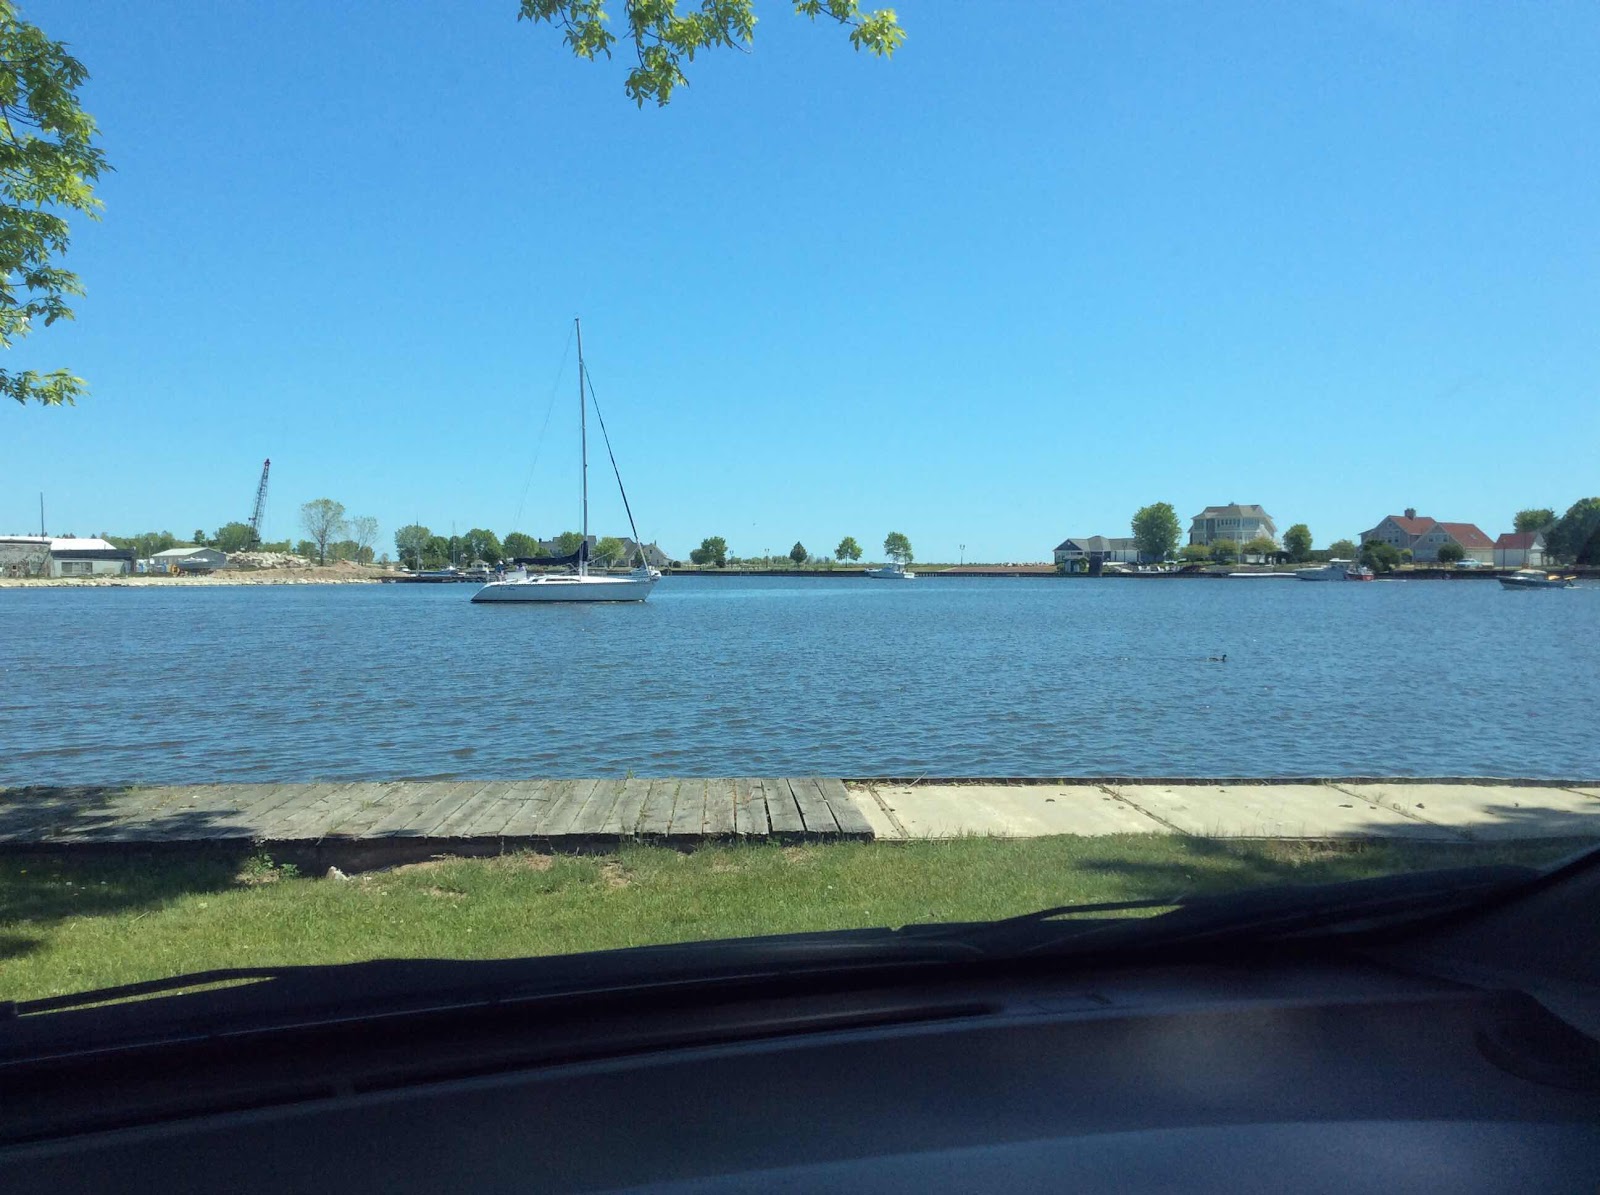
Photo: Lake Michigan breakwater, at Kewaunee.  As you can see, I had a 
beautiful day for my road trip!


Below:  Kewaunee Antiques Mall
I found a nice vintage tablecloth at this mall.


After my stop in Kewaunee, I drove on to Algoma.  My “must see” list
included the Quilted Fish, a small store packed full of fabrics and other goods.
The owner and fellow customers were very friendly and welcoming.


After my quilt shop stop I “put the pedal to the metal” to make up for time lost
due to slow service at my earlier restaurant stop and, due to road construction.
I beelined through pretty Door County towns.  I made a stop at a grocery 
store in Sister Bay to pick up some refrigerated goods (I had a cooler with me).

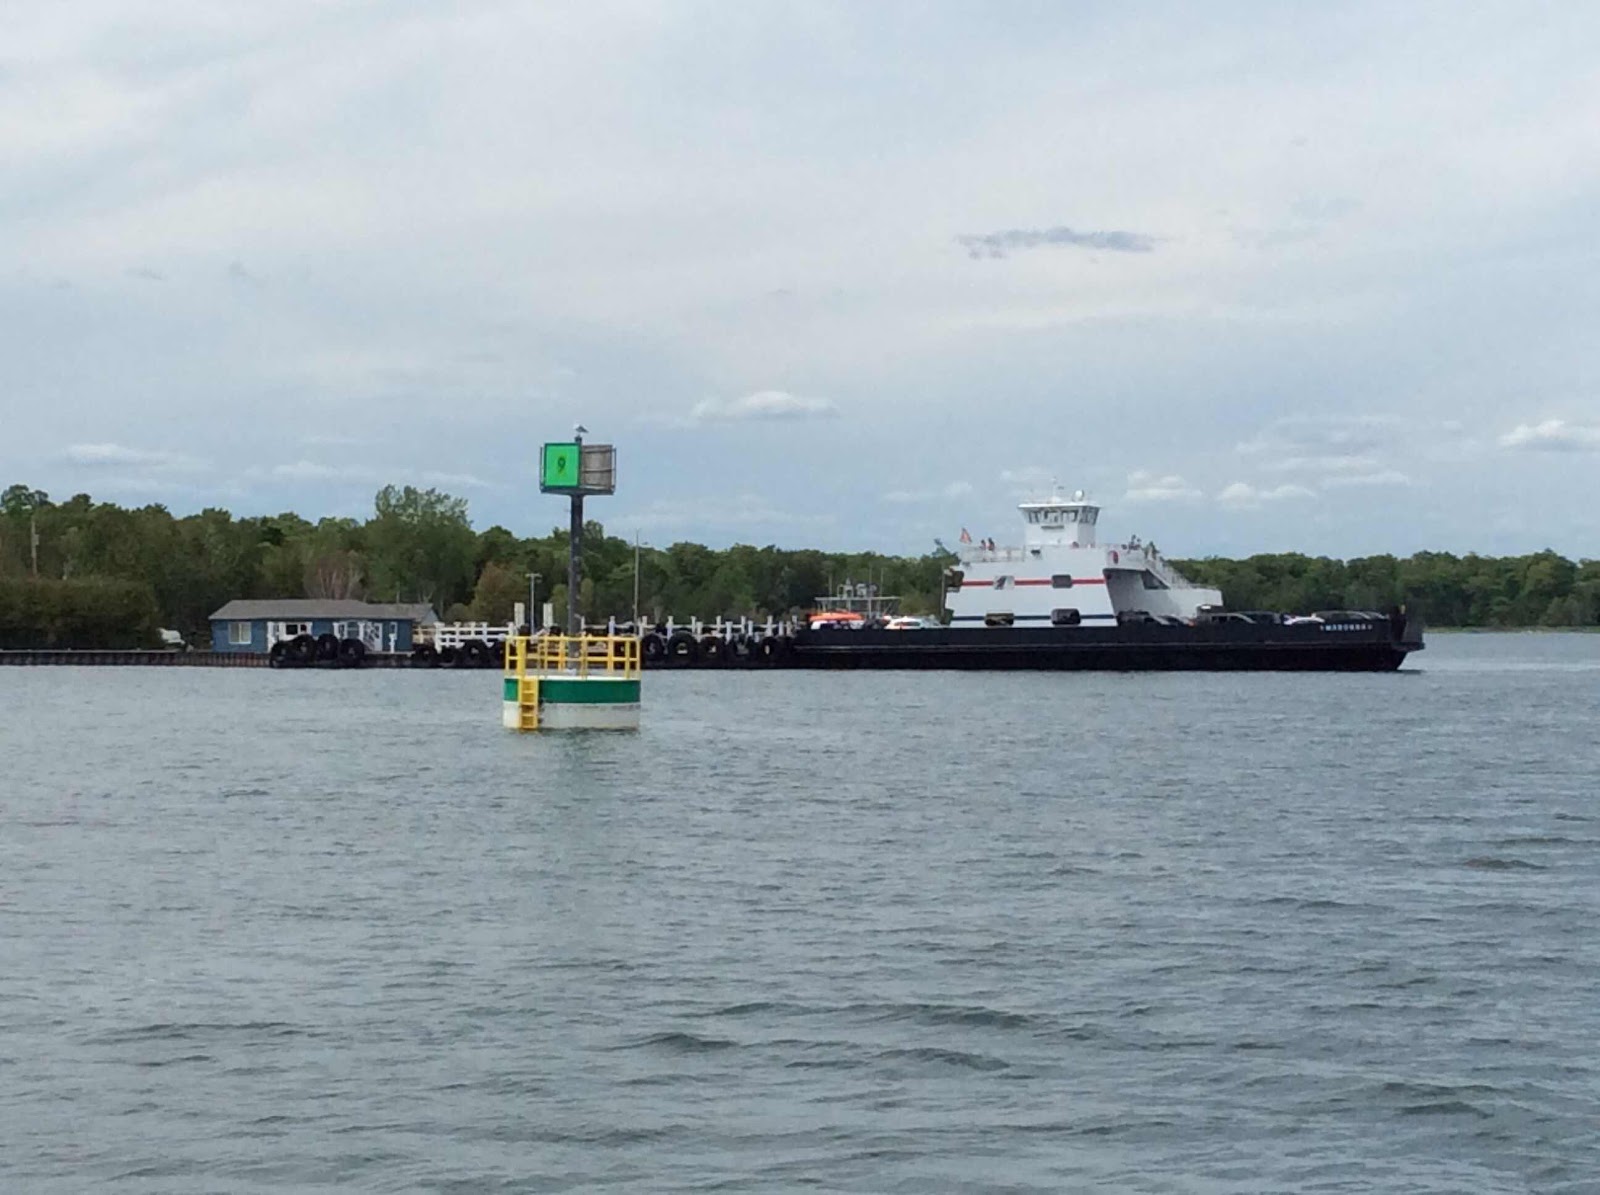
When I reached the Washington Ferry Dock, in Northport, a ferry had just
arrived.  I had less than a five minute wait before driving onto the ferry!
Current roundtrip cost for a car and driver is $41.  A ferry employee told
me that on summer weekends, the ferries travel back and forth as quickly as
possible . . .the printed schedule basically doesn’t apply.  This worked out
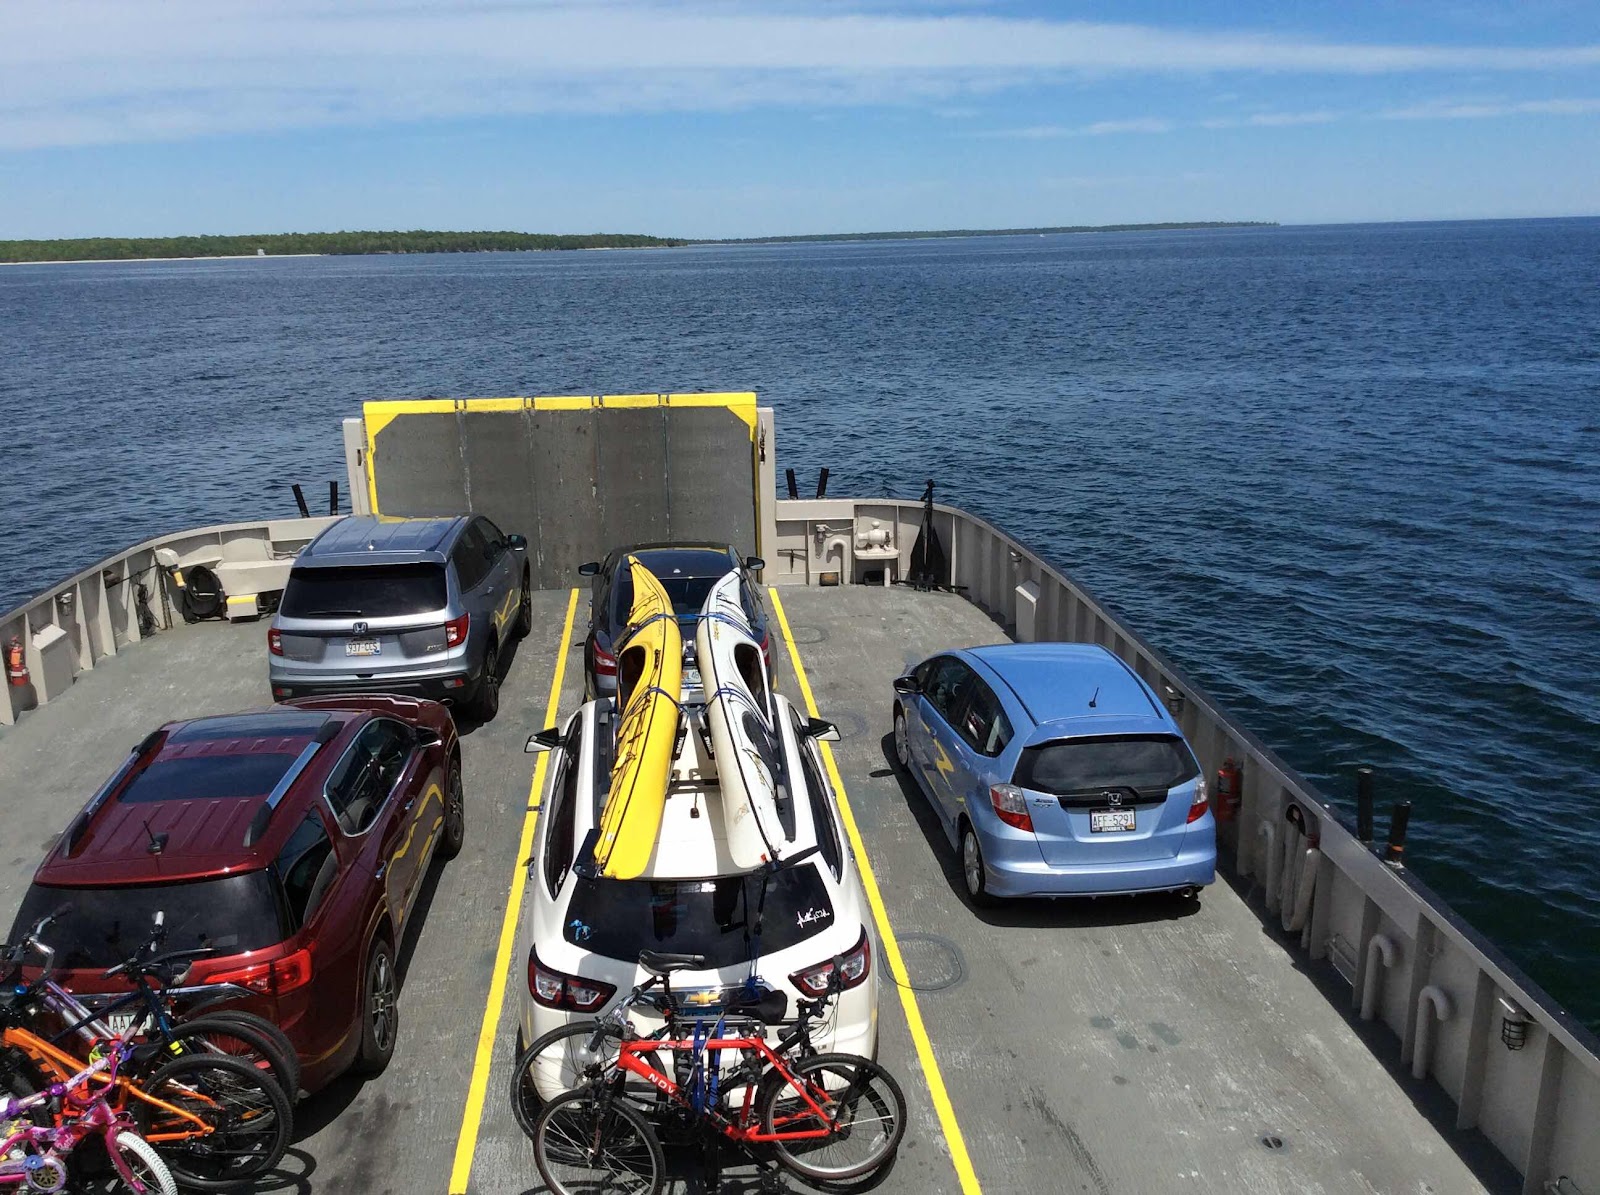
well for me, both coming and going!  The half hour ride to Washington
Island is quite pretty!

Photos below:  onboard the ferry, approaching the Washington Island ferry dock.


Wednesday, May 26, 2021

Fun With Frame Looms


Frame loom weaving is addictive.  These portable looms allow you a chance to 
try weaving with a selection of yarns and trims.  The only downside is that the
size of your woven piece is generally limited by the size of the loom.  

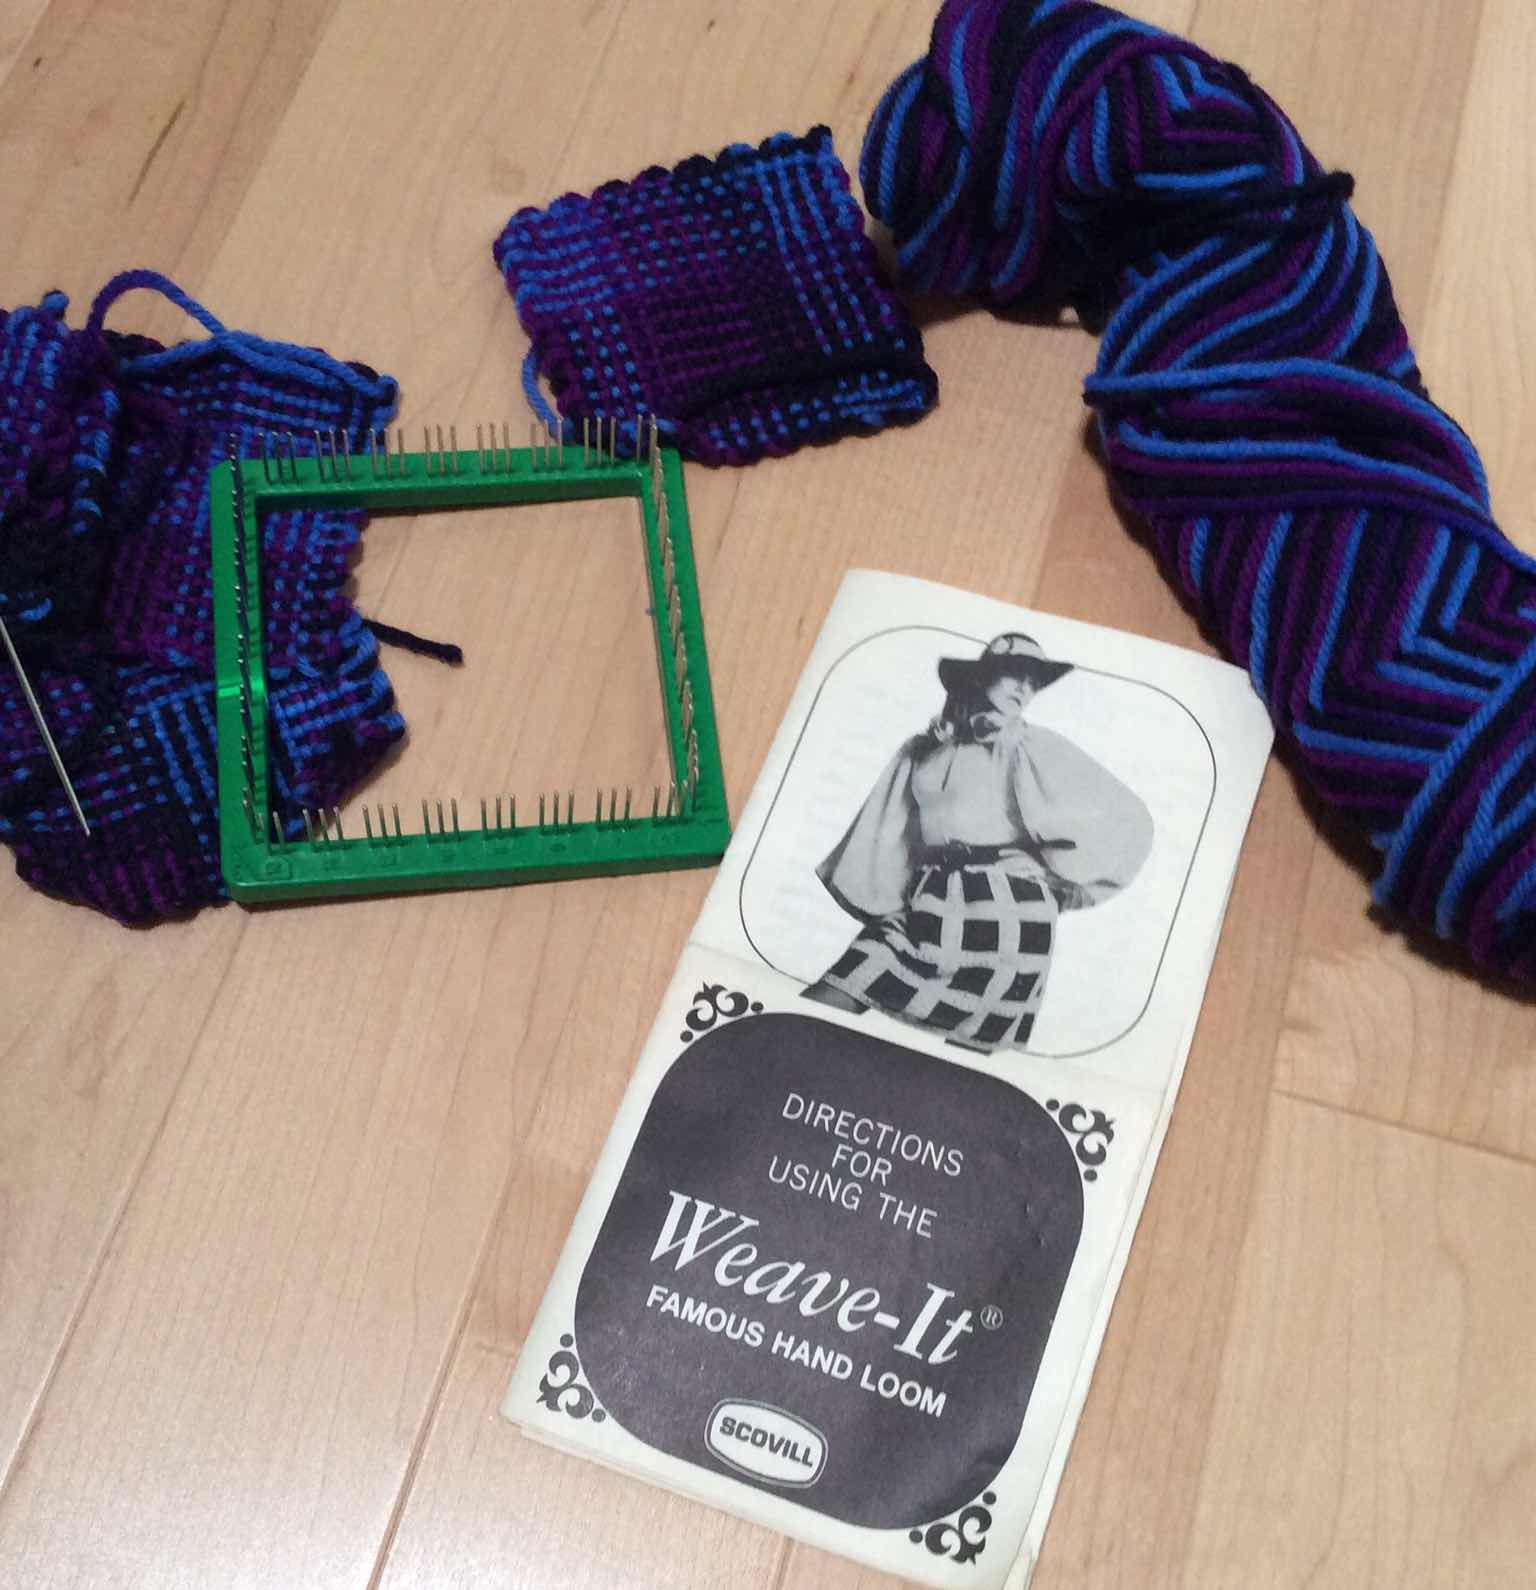
One of the original frame looms is the Weave-It loom.  Weave-It looms date back
to the 1930's.  They are sometimes called "pin" looms.  I recently unearthed mine
in the basement!  You can make one square piece or multiple pieces.  Sew the 
squares together if you want!  Photo below shows my Weave-It loom and some 
squares I made a l-o-n-g time ago.


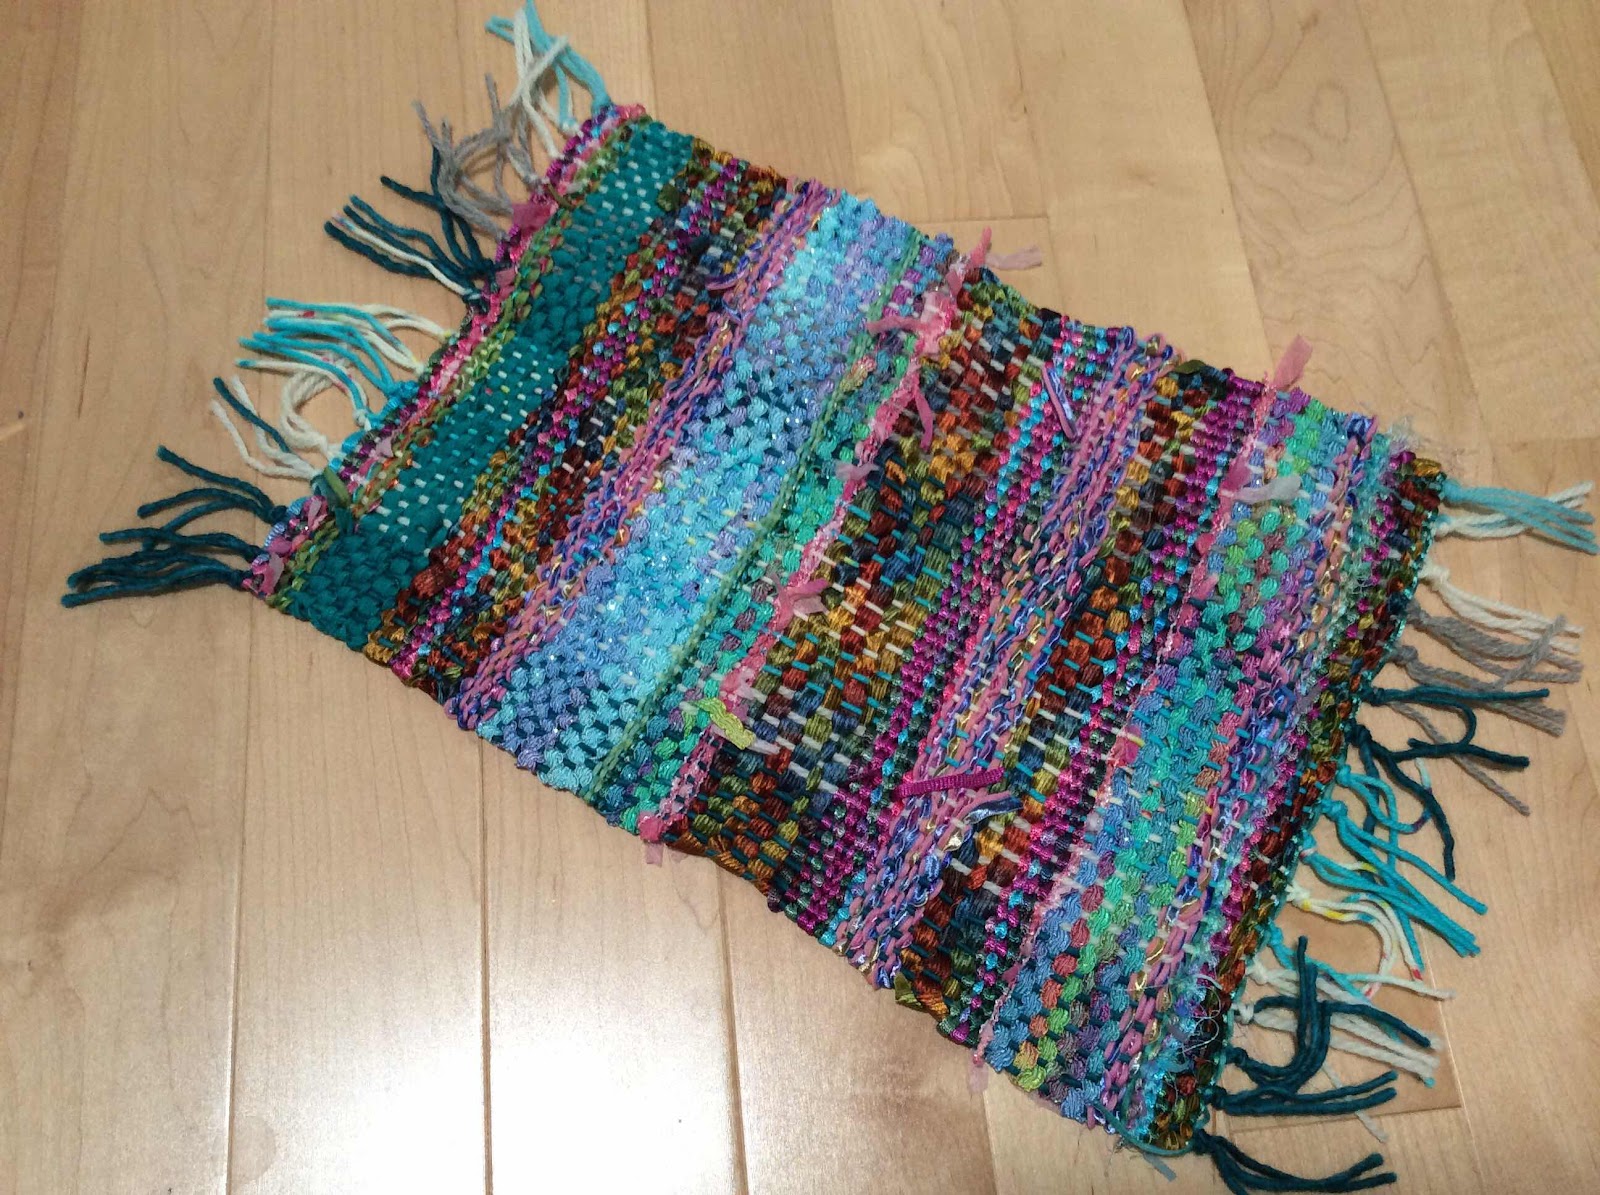
I have a small collection of Purl & Loop frame looms. Sadly, the Purl & Loop
Company ceased operation at the end of February.  Their largest loom, the 
“placemat” loom, was the first one I purchased.  It is shown below, along with 
a piece I wove on it using novelty yarns and trims.  The weaving width varies 
on this free form piece, as some of the weft yarns are bulkier than others. 


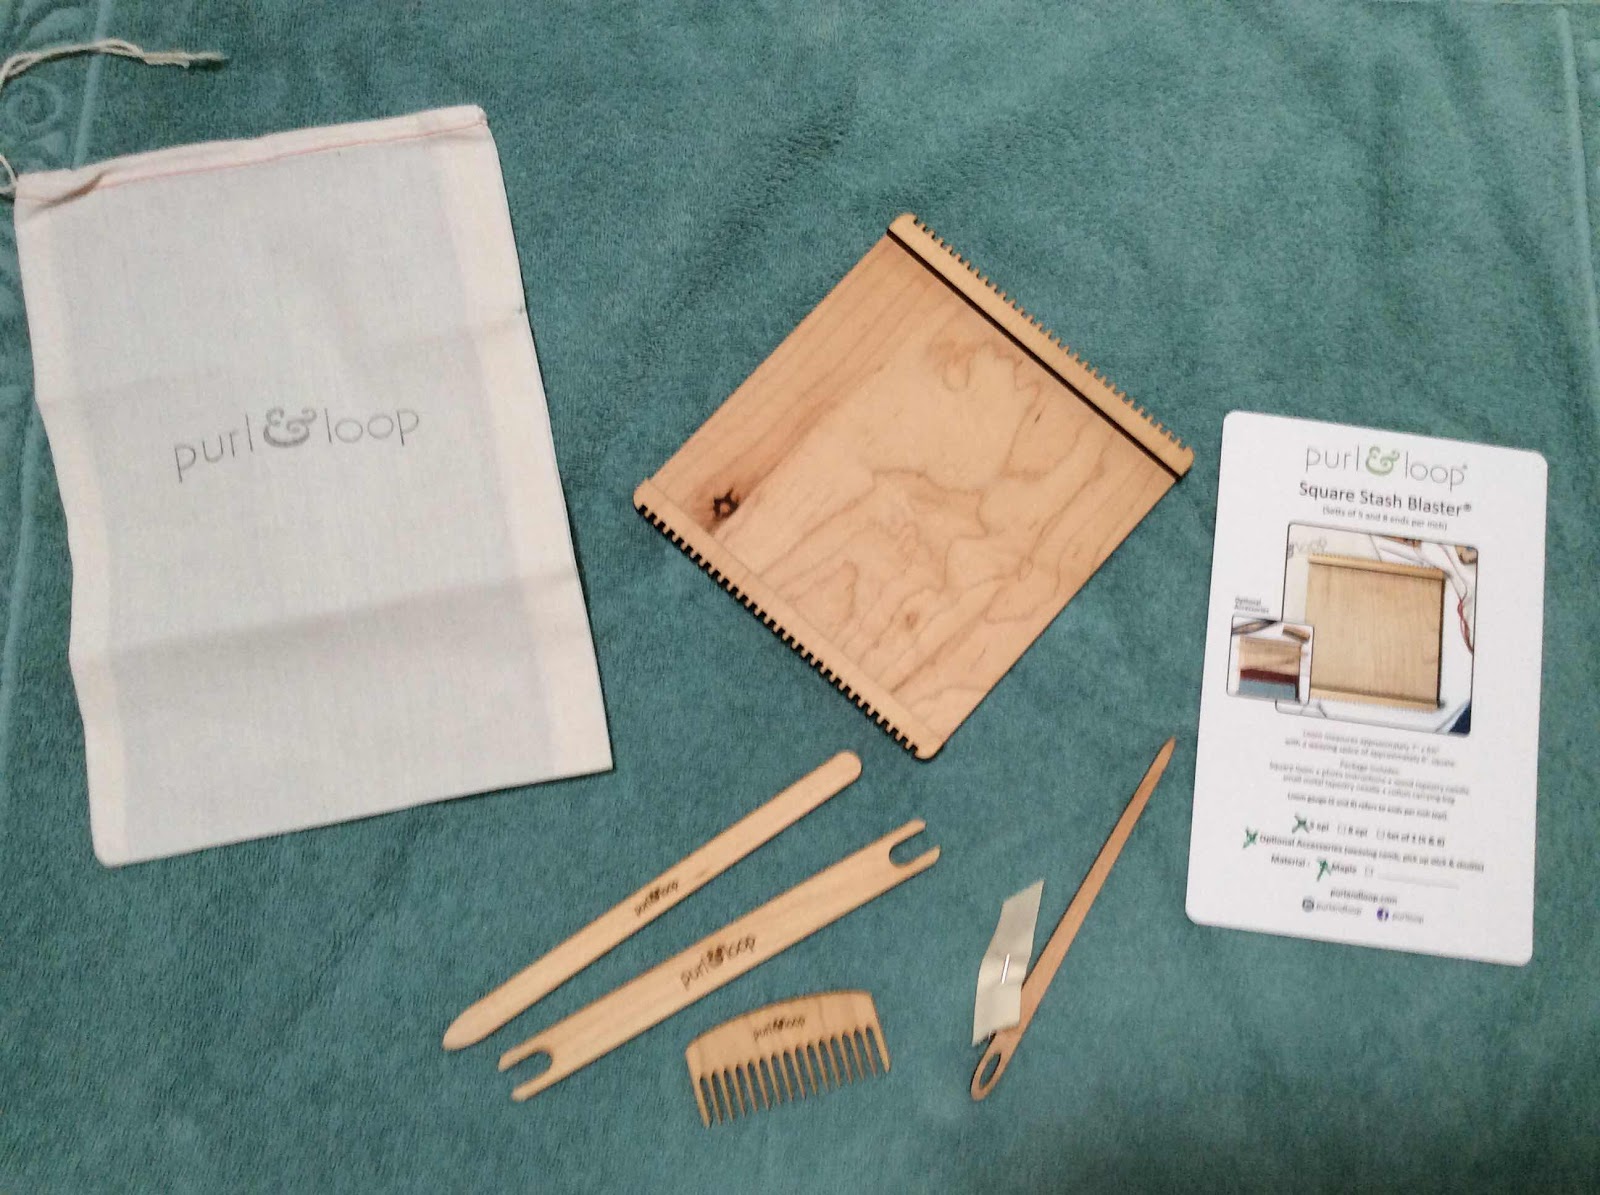
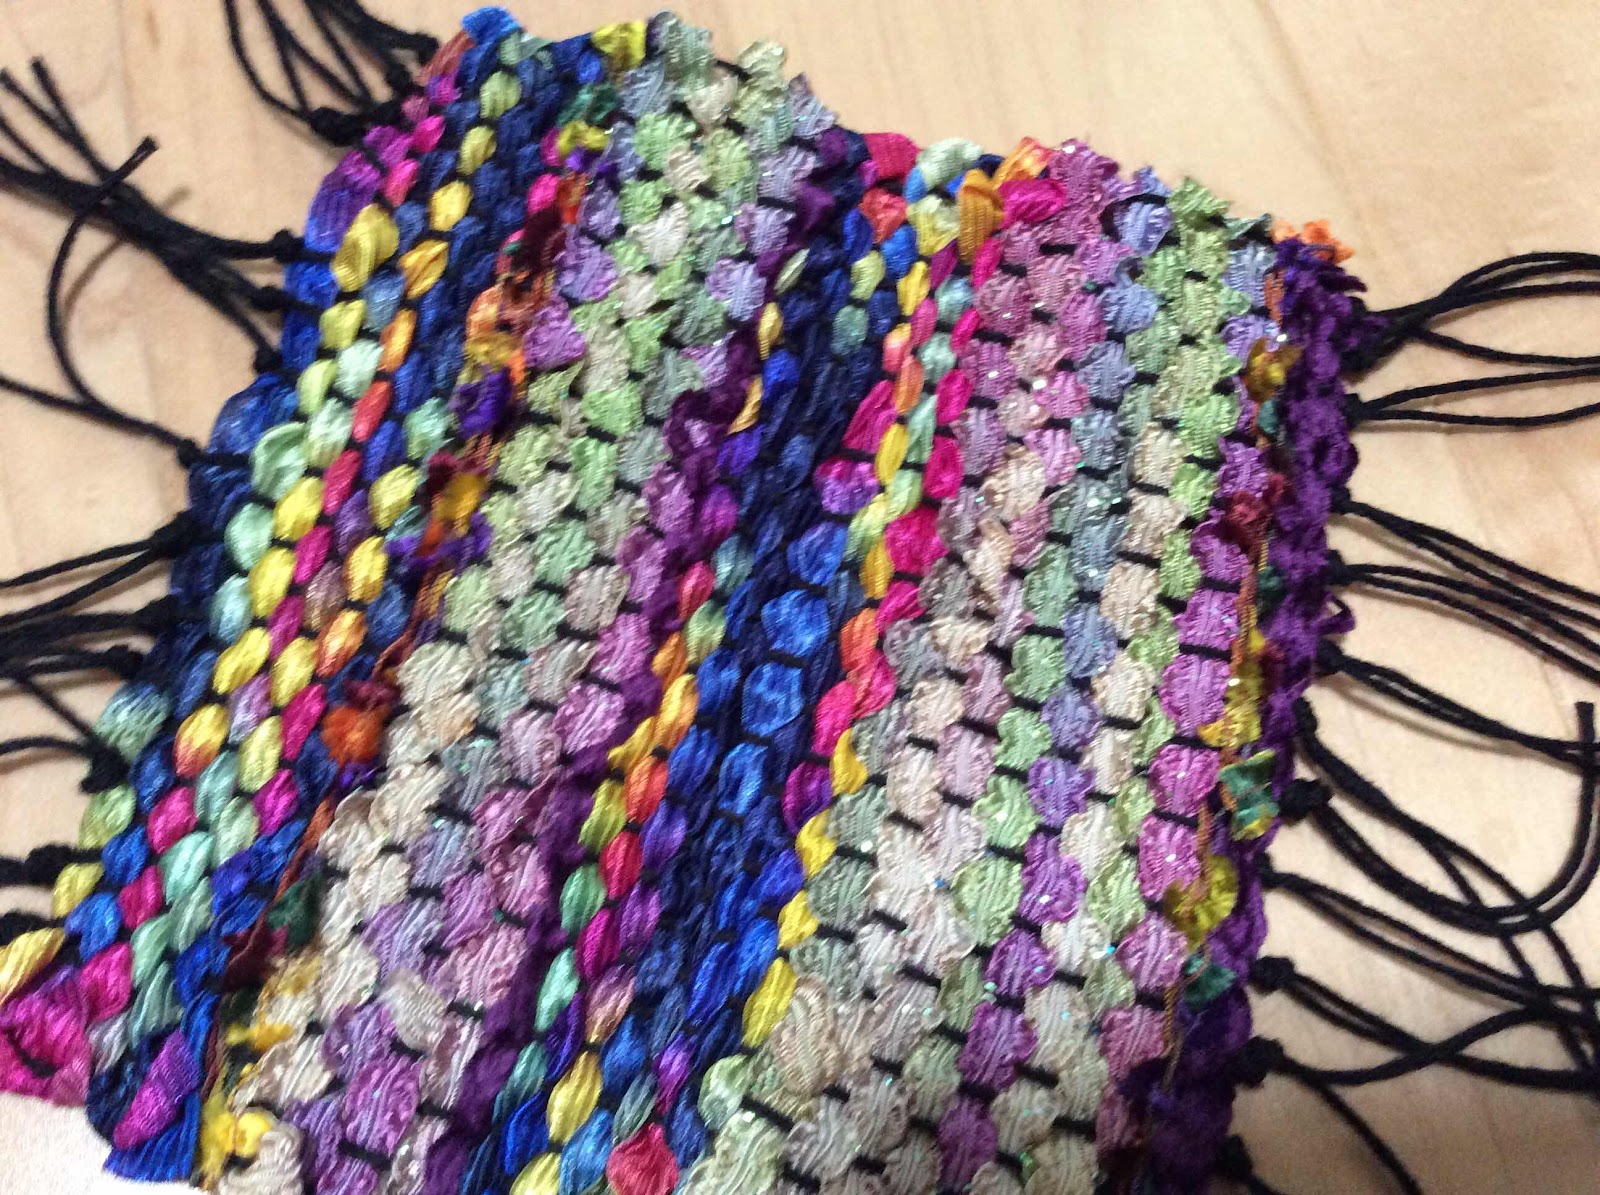
I also have a “Stash Buster” Purl and Loop loom.  It’s shown below, along with a sample
of some weaving done on it.  The loom measures ~7” x 6.5”.


The “Wee Weaver” is the remaining Purl & Loop loom I currently own.  The Wee 
Weaver loom is 4” x 4.5”.   It’s for making coaster-sized squares.  Finished weaving 
size varies according to the types of yarns you use!  


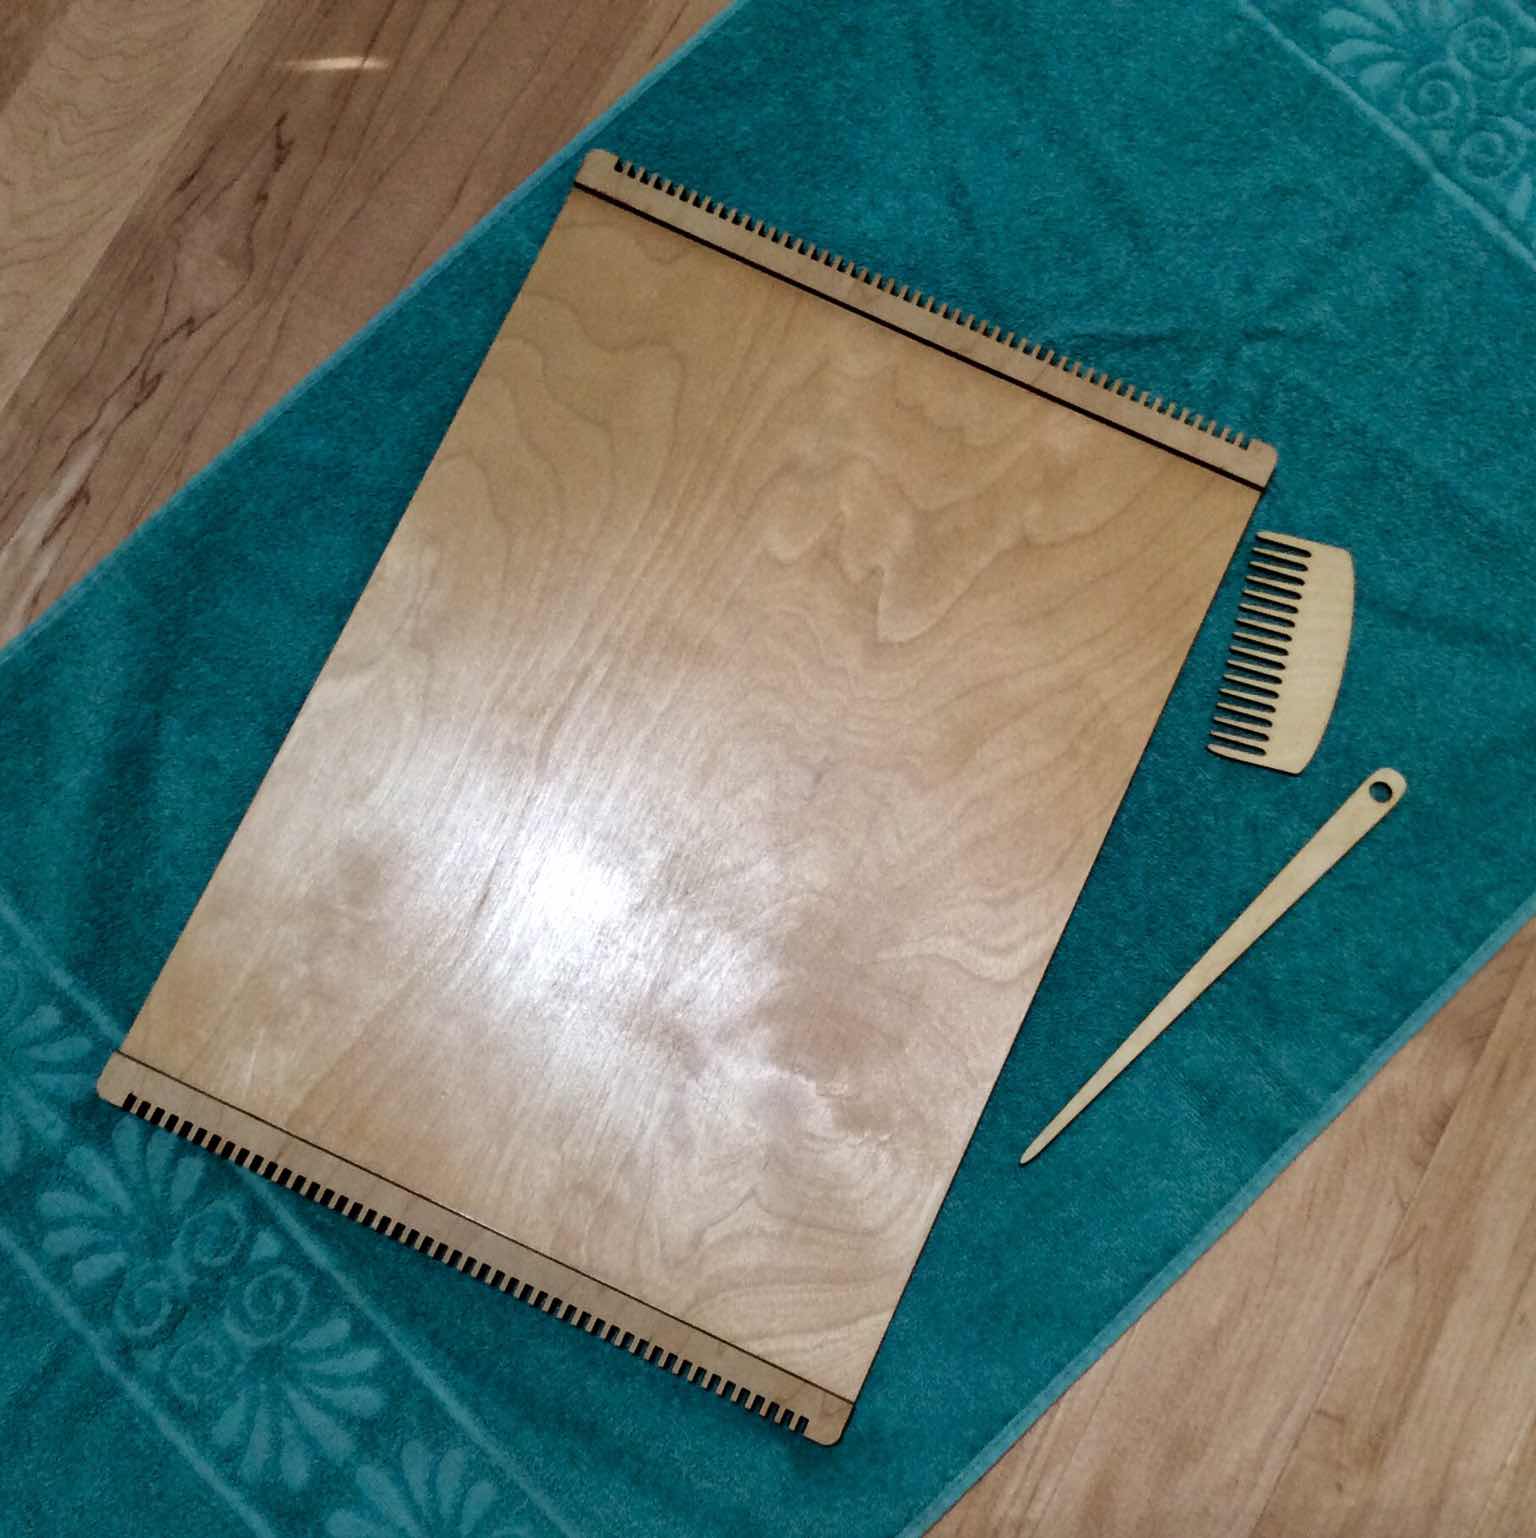
My last currently owned frame loom is a small loom with a moveable heddle.
The heddle is rocked back and forth to lift alternating warp threads.  This loom
is made by Funem Studio, in Belgium.  The loom came with two stick shuttles.
I purchased the other accessories and manual separately.  A piece woven on this 
loom is shown in the second photo.  This loom measures ~ 10” wide x 14” long.  
While I was lucky to buy the loom from a local supplier, you can find it, and 
others, on the Funem Studio etsy site.  I purchased a PDF of the instruction 
manual on the etsy site.  This loom can be disassembled, stretched out, and 
clamped to the edges of a table to extend the length of the warp.


Wednesday, April 28, 2021

Art Supply Chest: From Boring to Beautiful


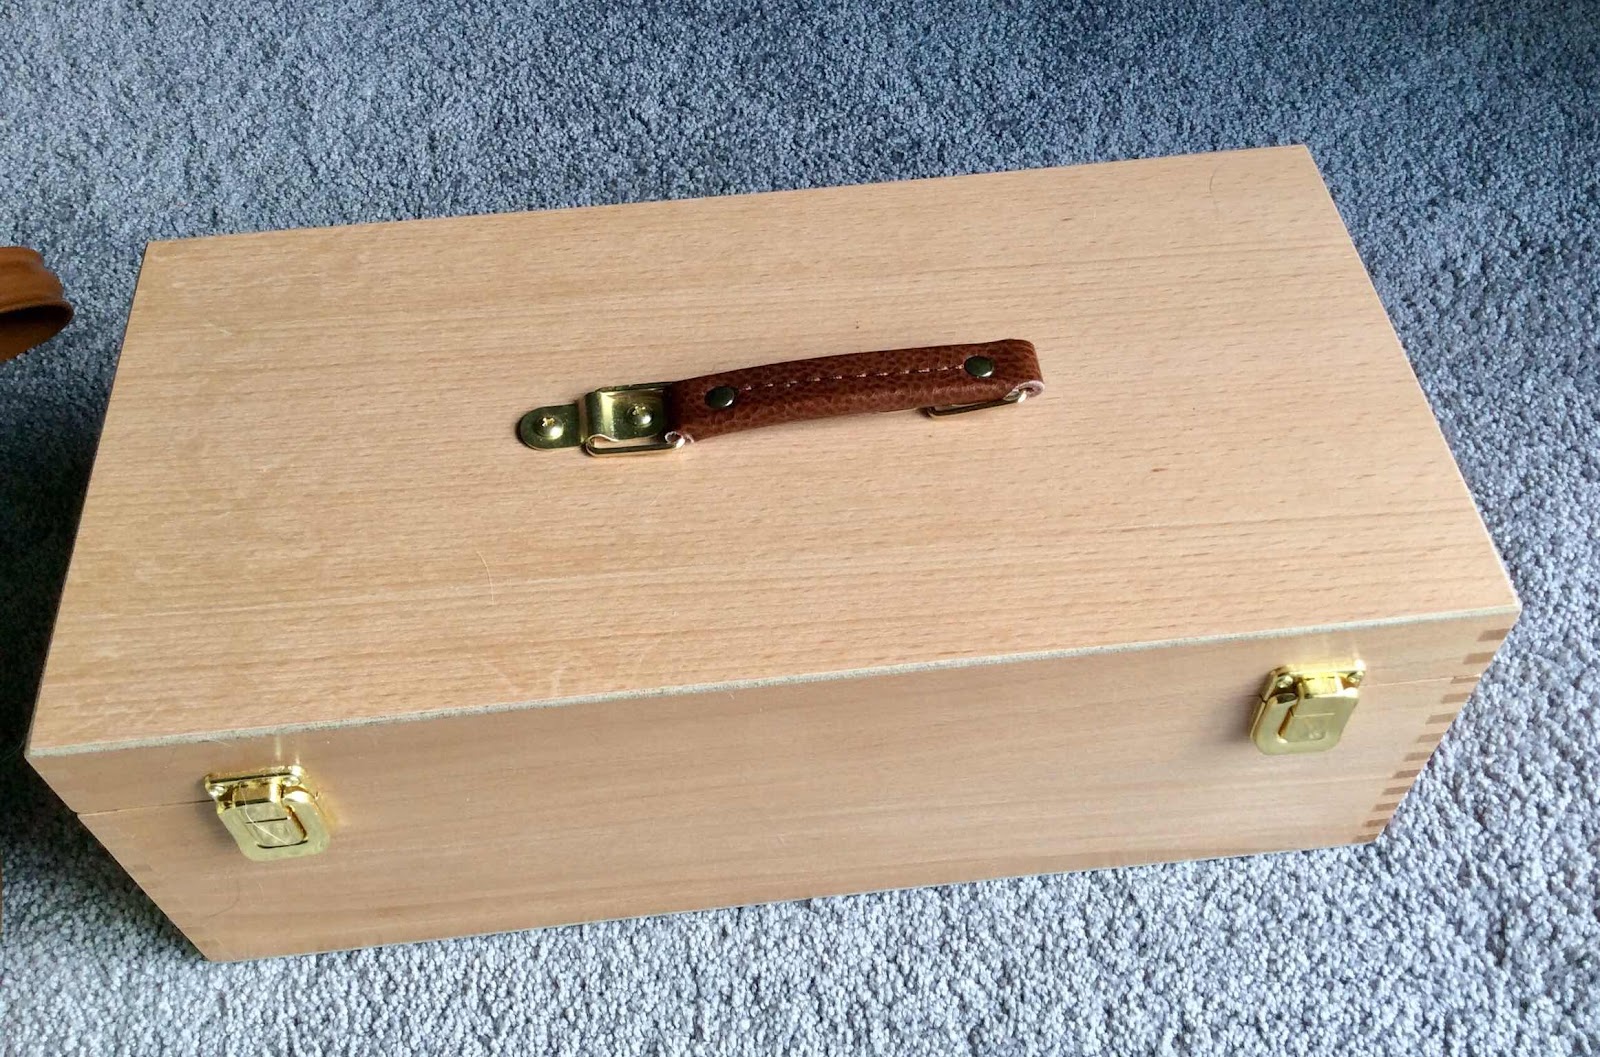
I recently purchased an art supply chest, using a Dick Blick gift card.
Deciding that the chest looked too plain for me, I opted for collaging the
exterior of the wood box.

Chest, on the day of delivery (below).


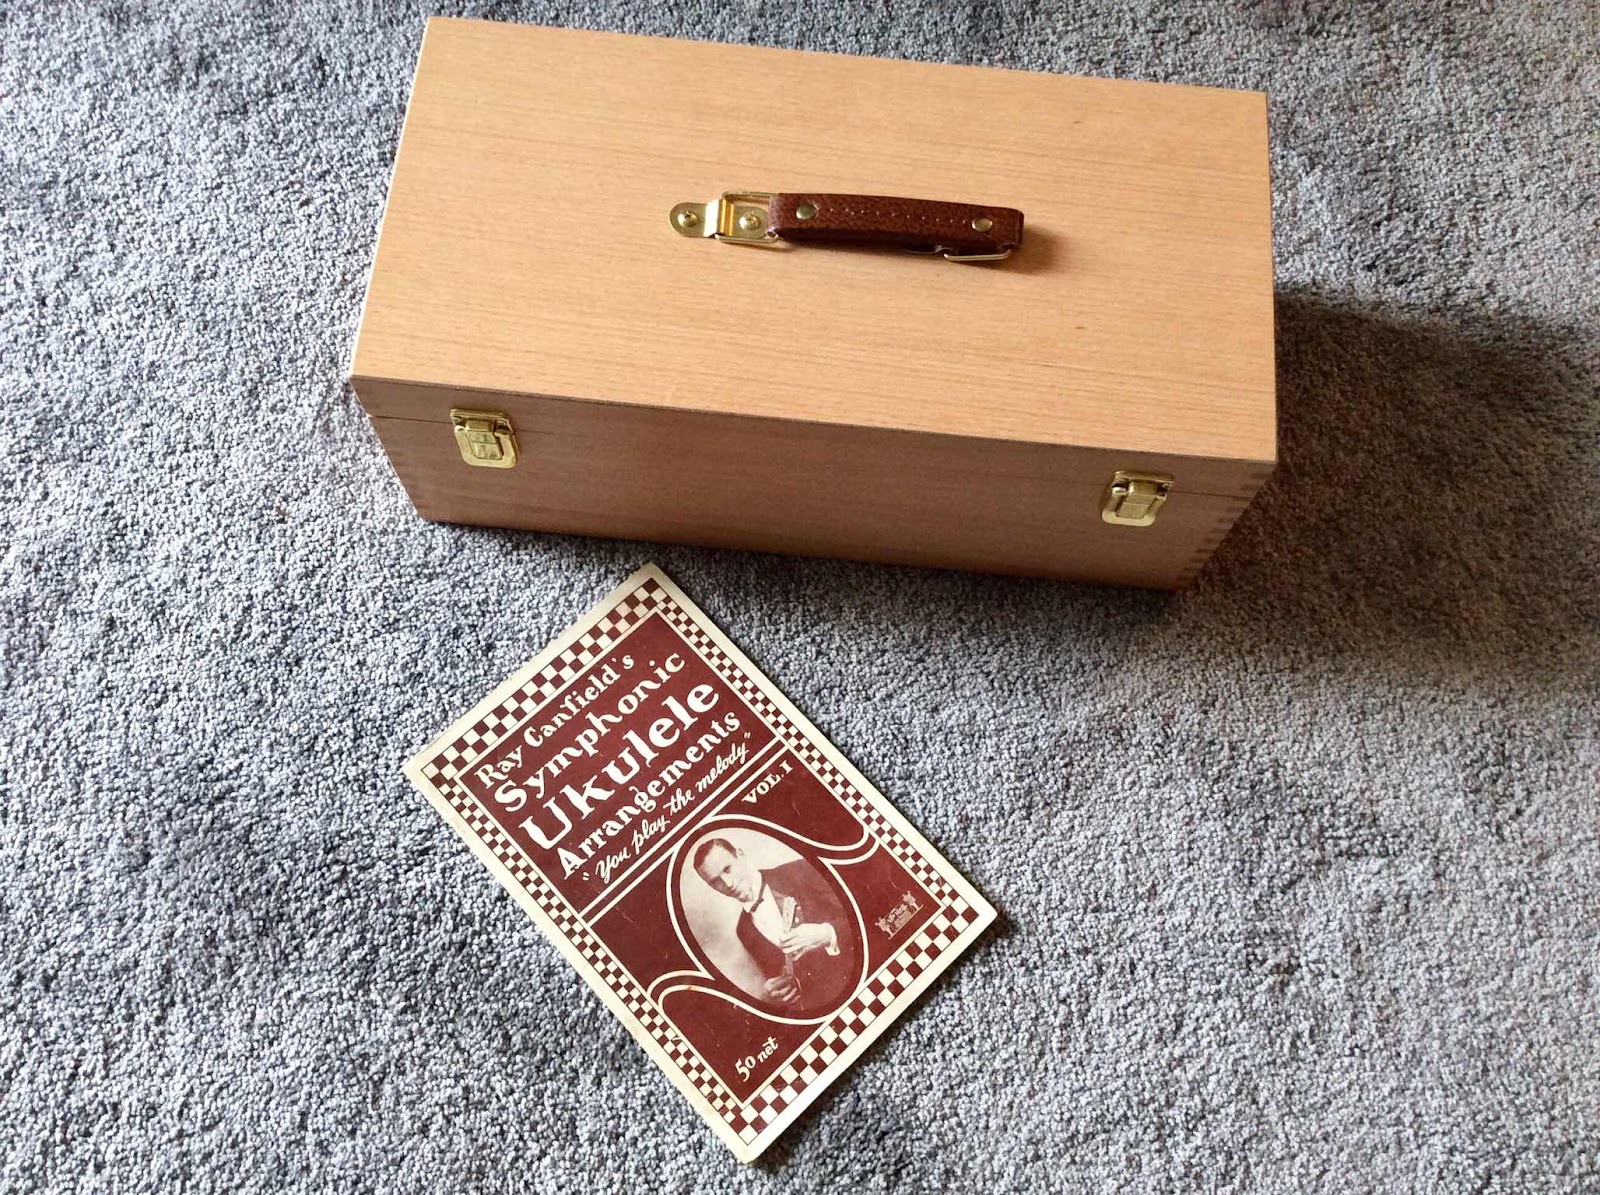
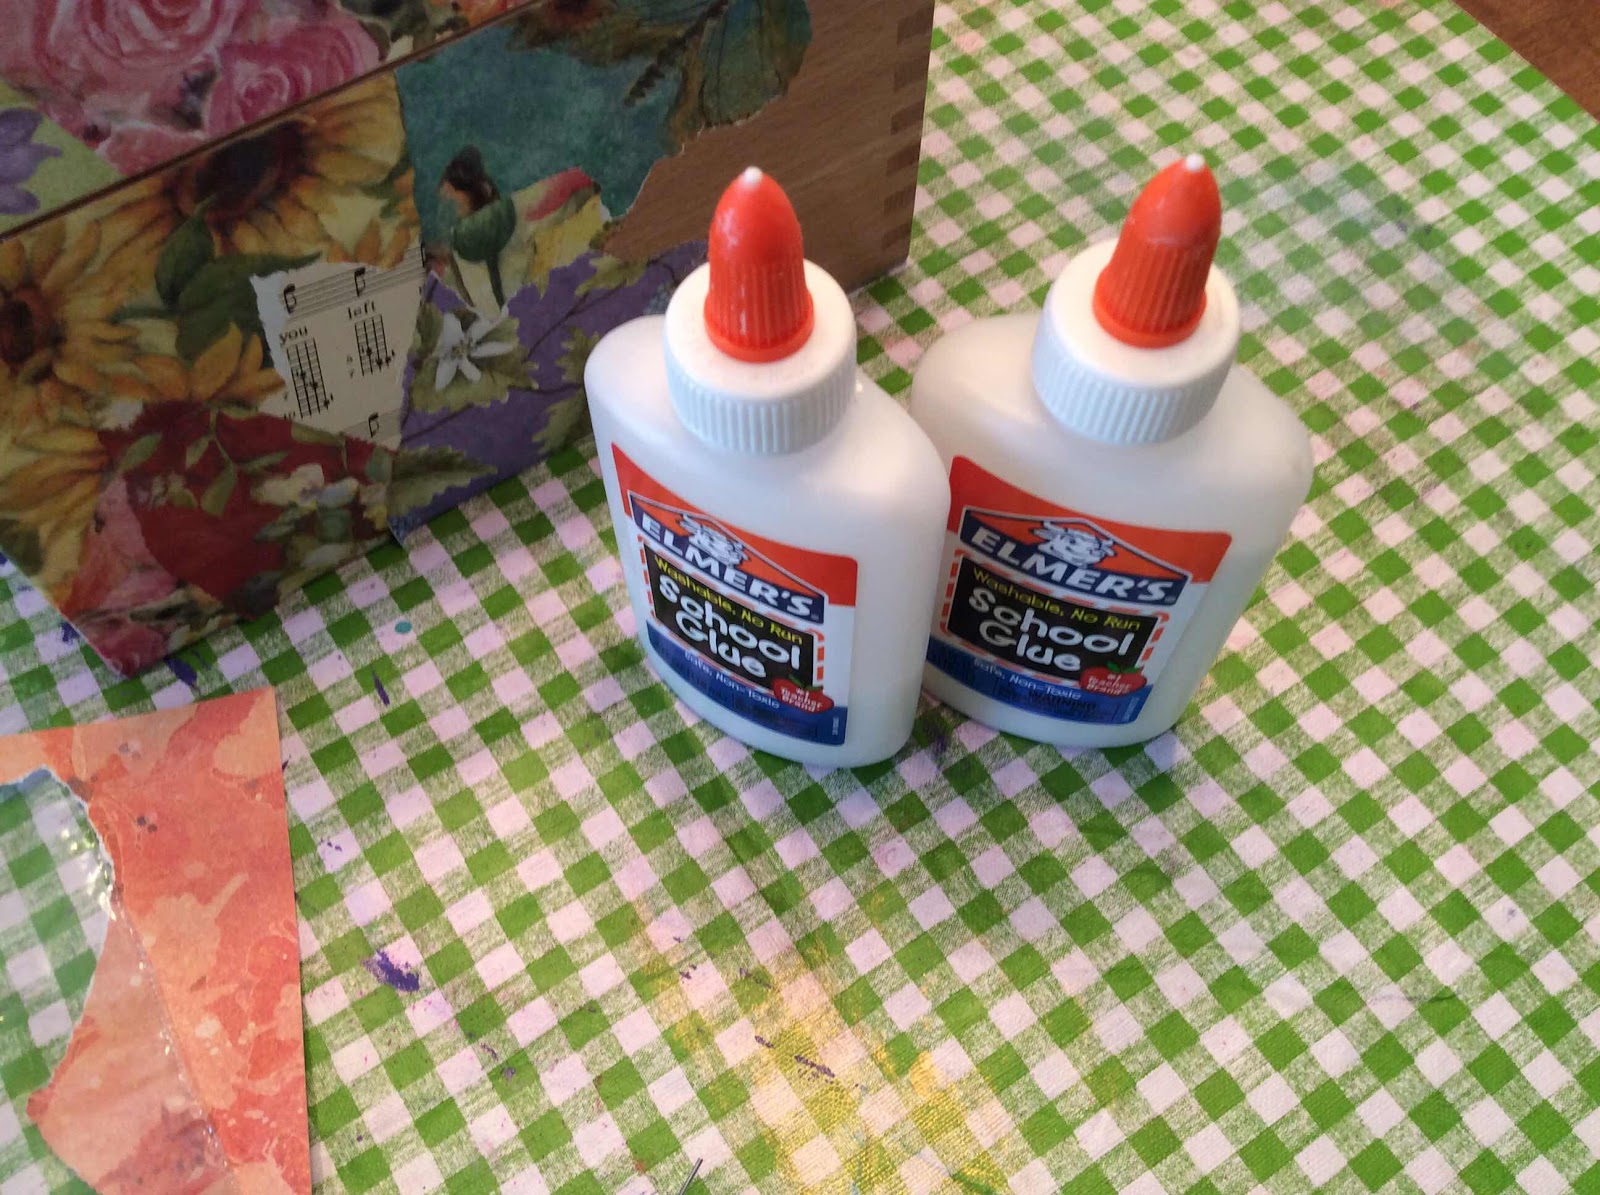
Supplies are gathered.  An old music book (gift from a friend), a thick tablet of
cheerful scrapbooking paper, and Elmer’s glue.


The scrapbooking paper was torn into small pieces, as were some pages from 
the music book.  I did not sand or prepare the outside of the wood box in any way. 
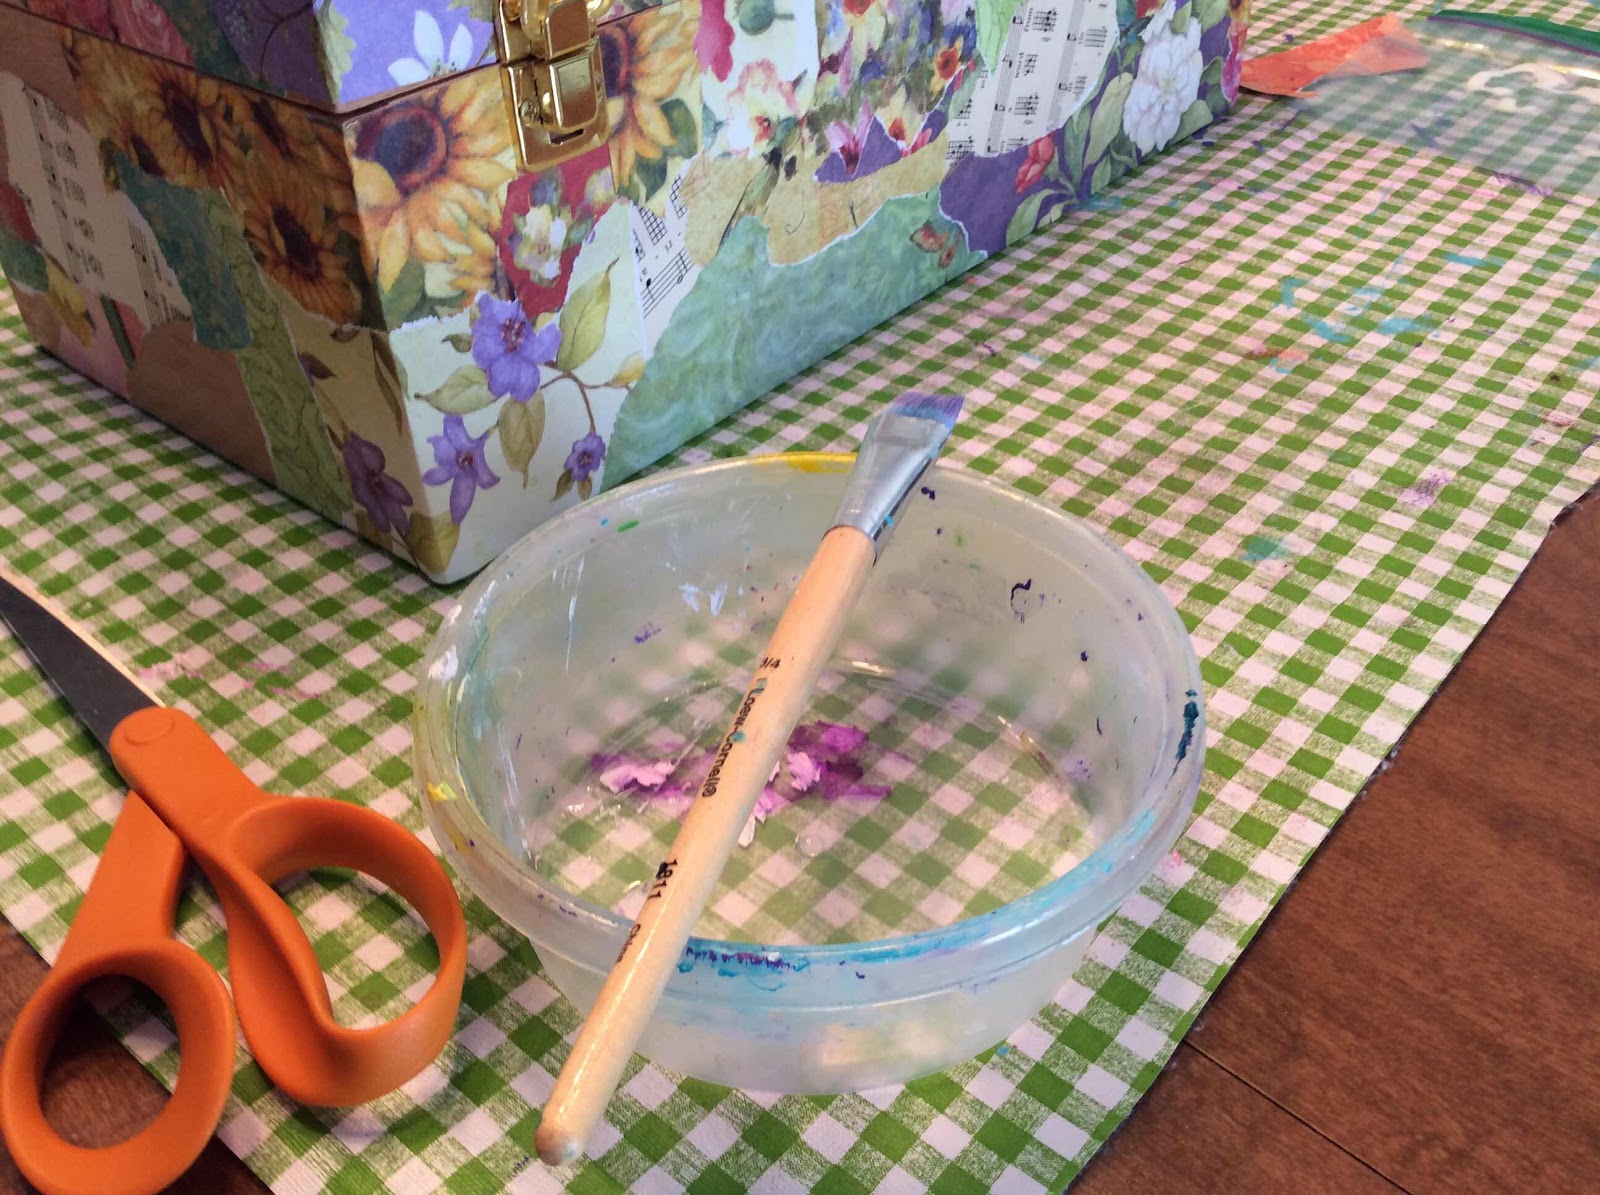
I did remove the tray from inside the box just to get it out of the way.  I started to 
apply the paper pieces using a brush and glue.  Initially, I added the paper 
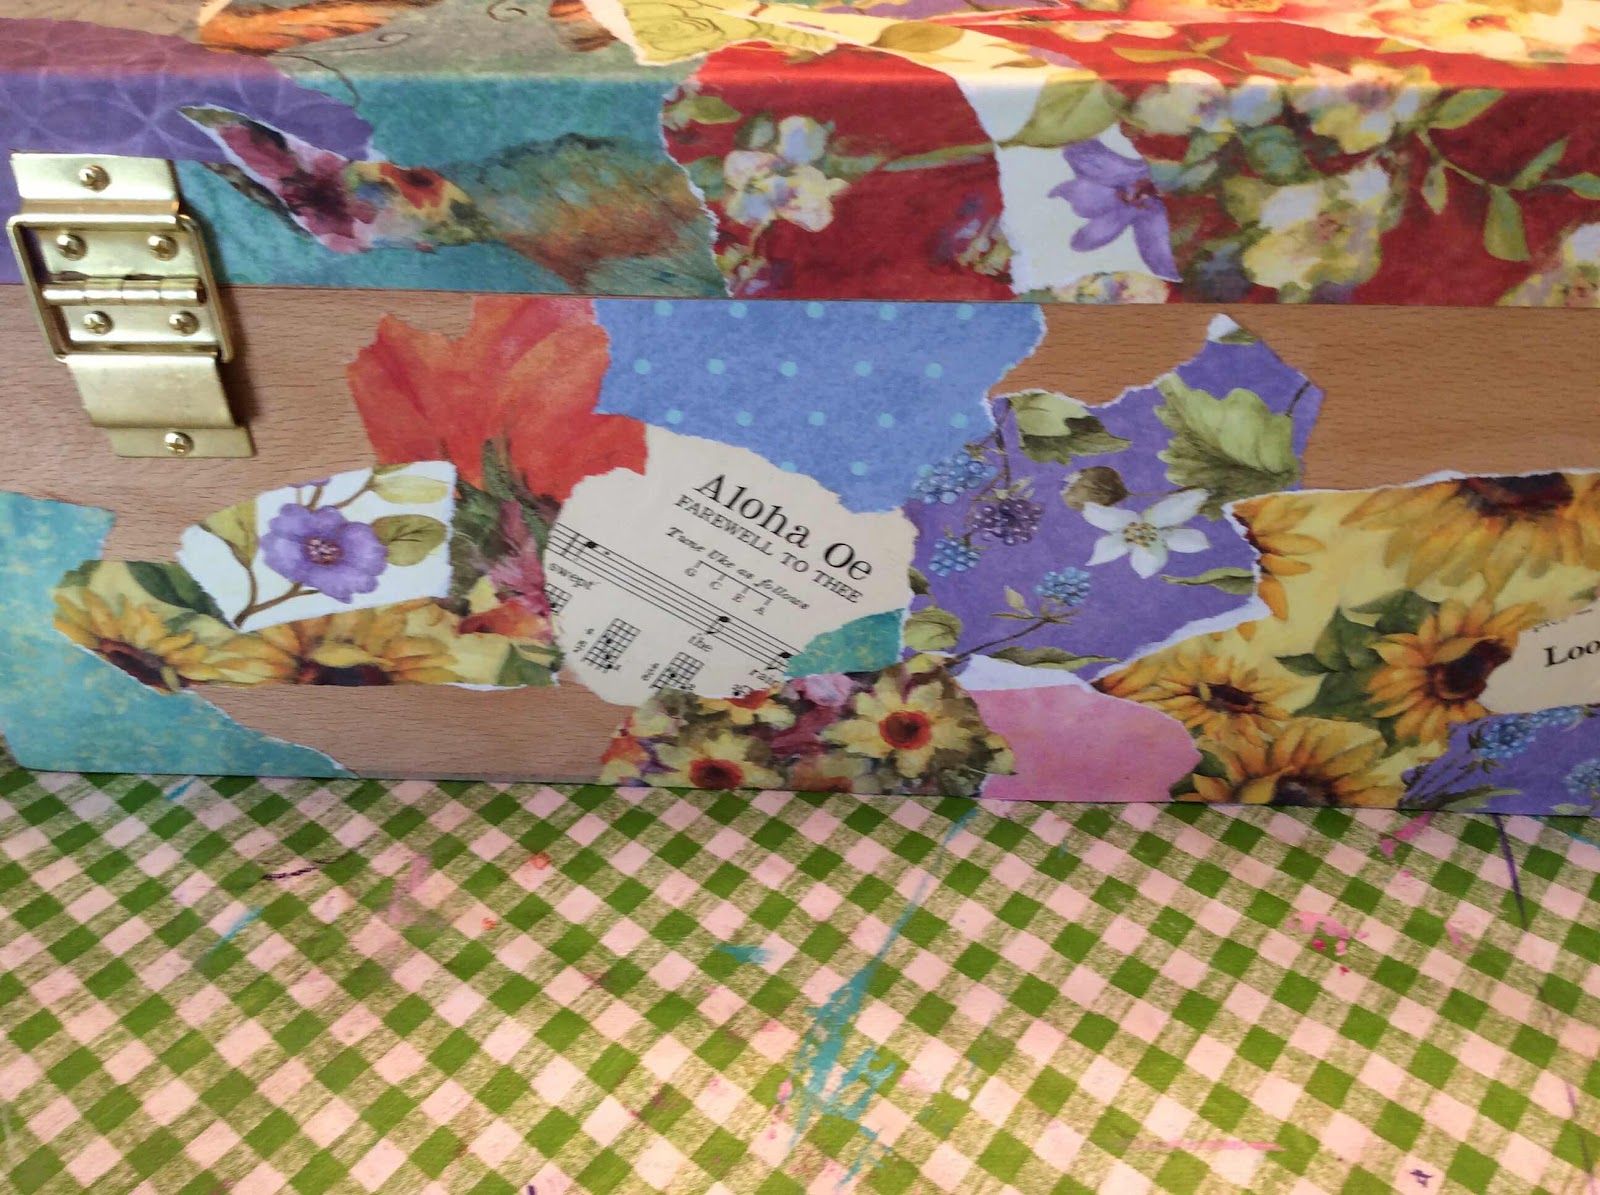
in a scattered, random fashion.  Then I filled in empty spaces.  I glued pieces up
to the edges of the box lid and bottom, trimming with scissors to get straight
edges where needed.  Pieces were overlapped to fill in empty spots and to go 
around corners.  The raw paper edges add interest!


Once I had the whole box covered with collage and the glue had dried, I coated it 
with Delta Dreamcoat Gloss Varnish.  I applied a second layer of varnish the next day.

Below:  finished box, ready to travel to its first art workshop!


Monday, March 15, 2021

Denim Jacket Revival


I enjoy embellishing vintage denim jackets!  So much so, that I'll be teaching a 
class on this in May of 2022, at the John C. Campbell Folk School in Brasstown,
N.C.  That class is titled "Vintage Denim Jacket with Boho Flair.  I will also
be teaching a one week workshop called   "Brasstown Boho Skirt".  
That class immediately follows the denim jacket class.  I love the creativity
of Boho style and the fact that pretty much "anything goes".
 
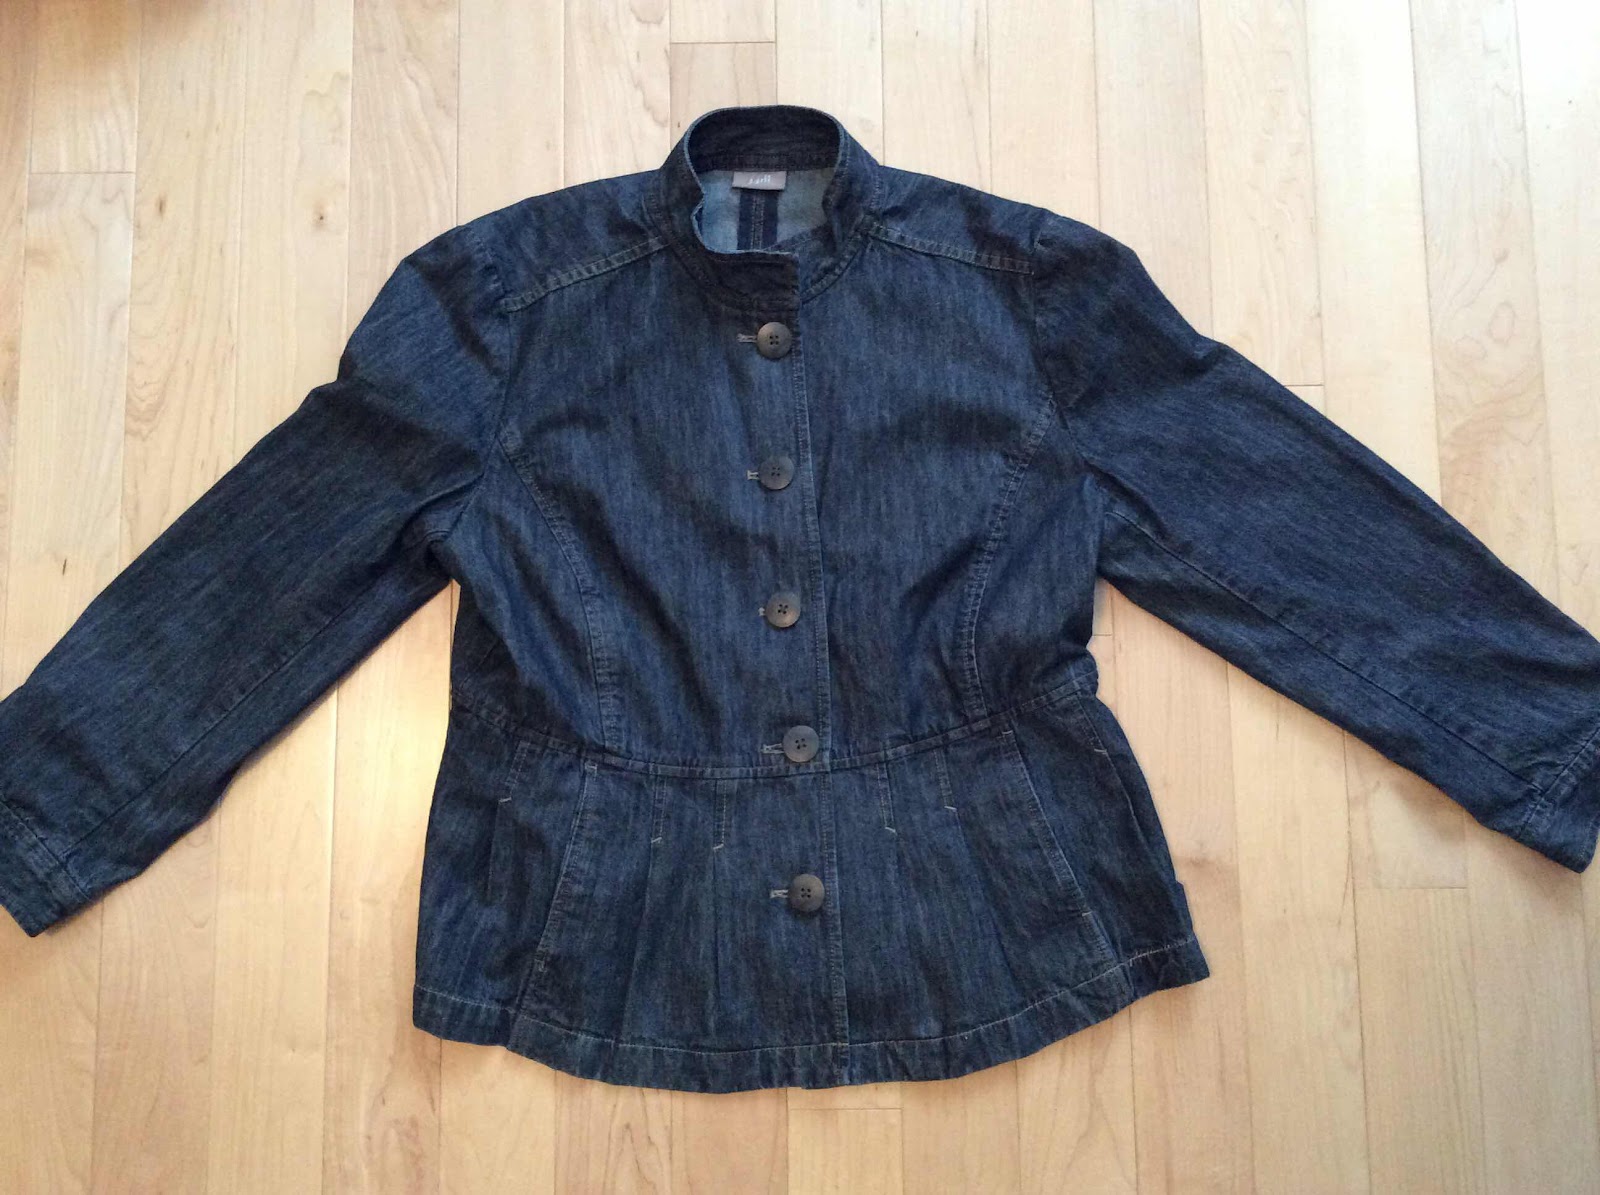
I purchased a vintage J. Jill denim jacket on Etsy a few months ago.  When I'm
decorating vintage jackets, I usually do it totally by hand.  This was a rare case
where I made use of a sewing machine. Deciding that the fit was slightly snug, 
I cut the jacket apart.  I then inserted lighter colored denim strips from the jacket
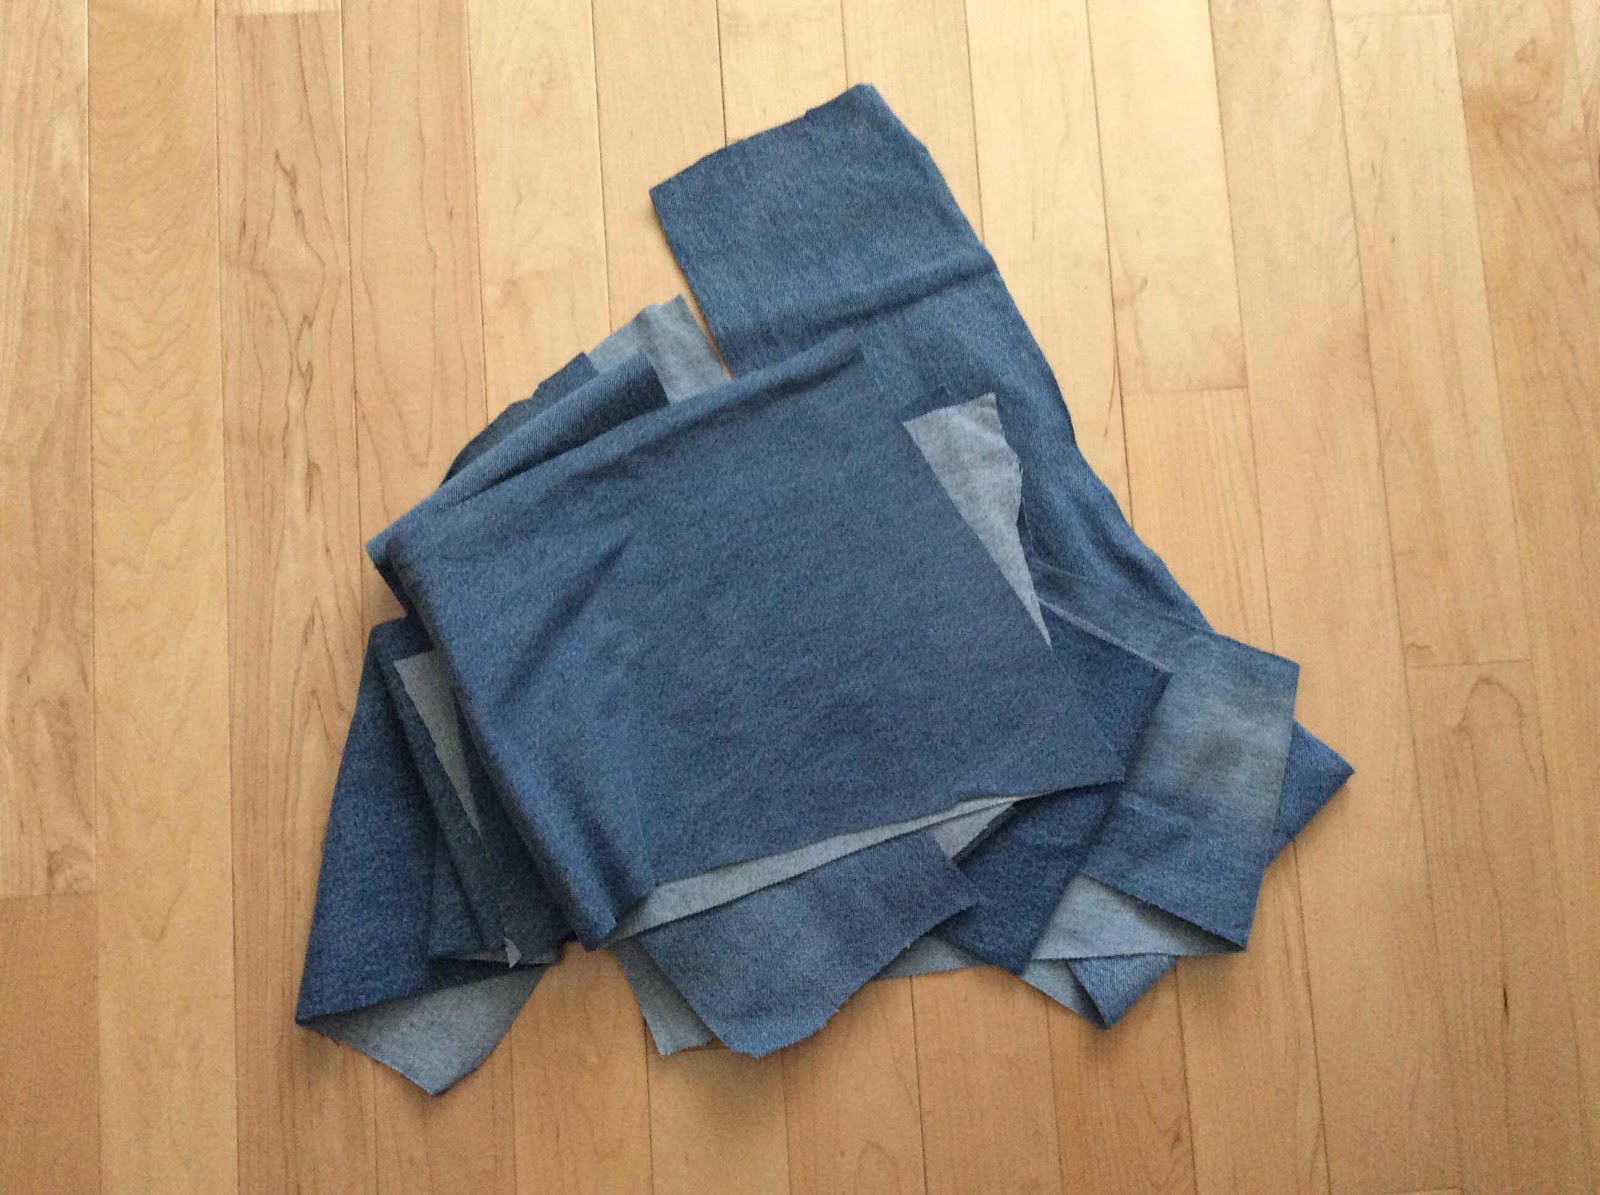
hem, up the sides, and down the sleeves.  The strips were cut from the legs 
of jeans my husband was about to throw away!
 
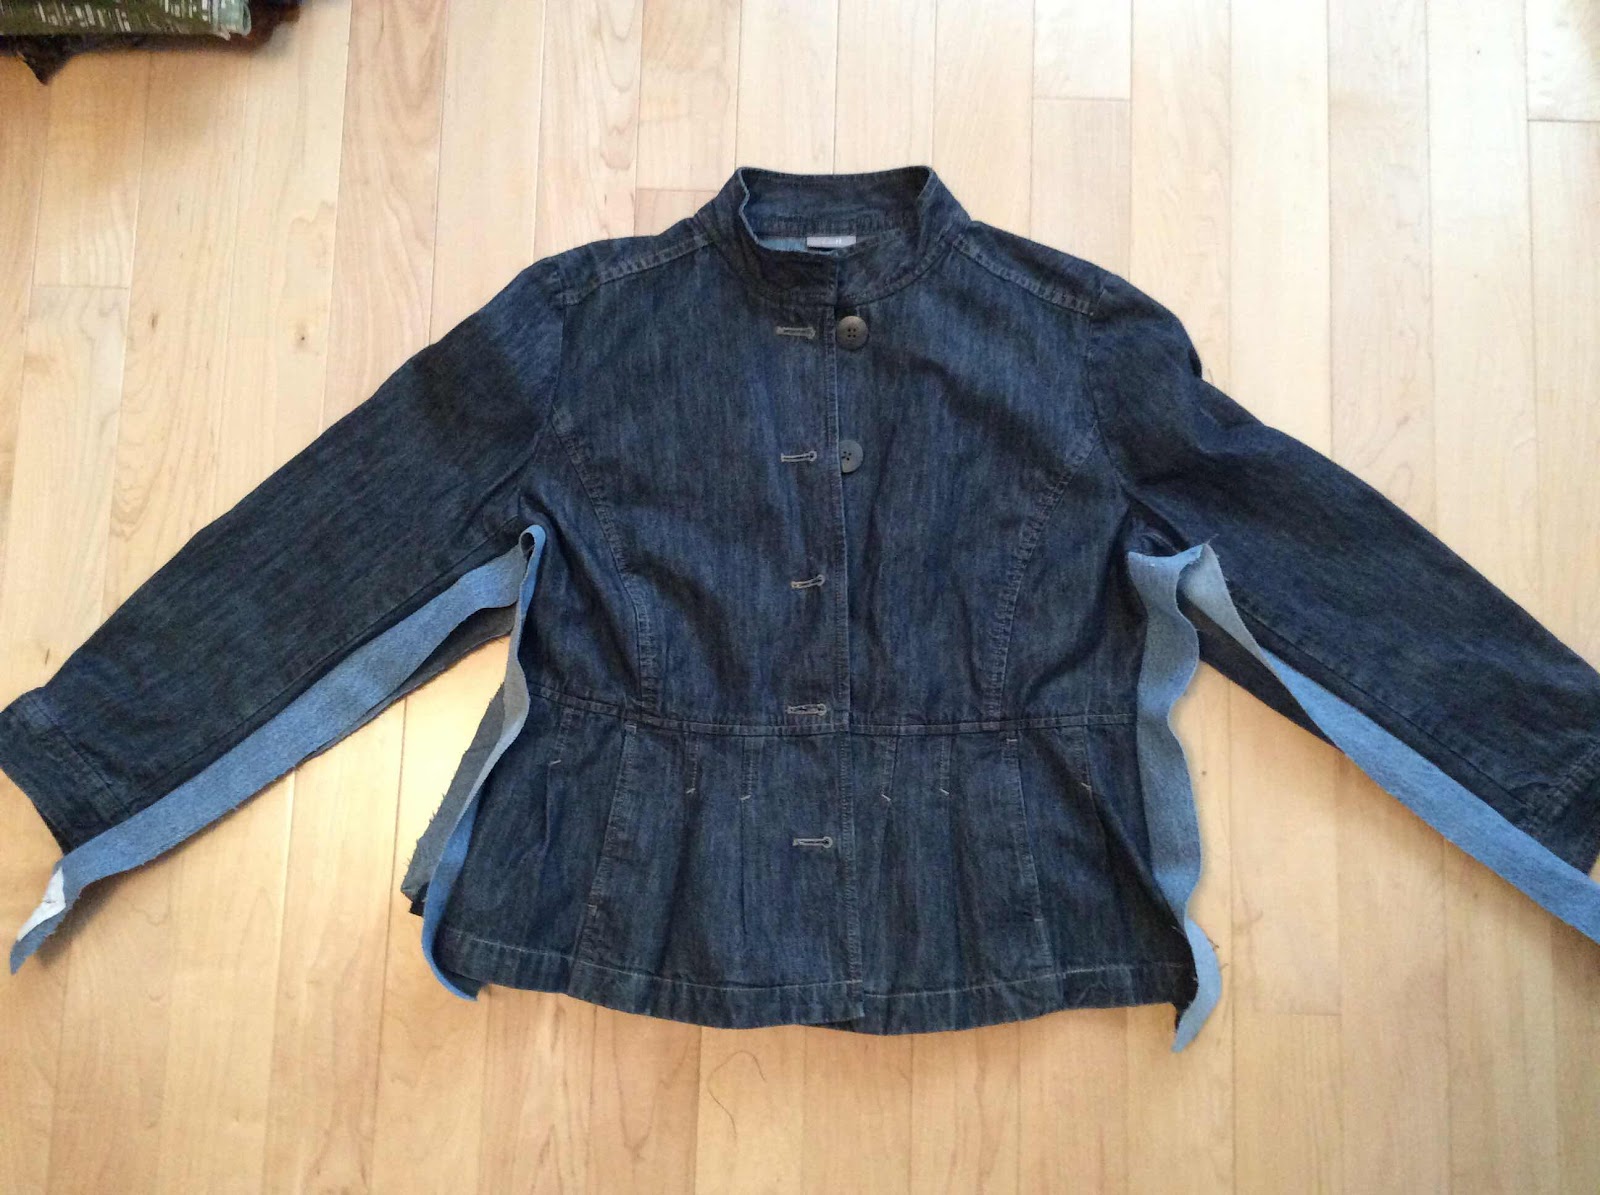
The first two photos show the jacket as purchased, and after I washed it.


Pieces of jeans, calling out to be reused!


Photos below show the jacket cut open, then with the denim strips inserted.  The
light denim strips were inserted with the use of my sewing machine.  Ultimately,
I machine stitched the side seams together and turned the edges to the inside, 
attaching them to the inside by hand.


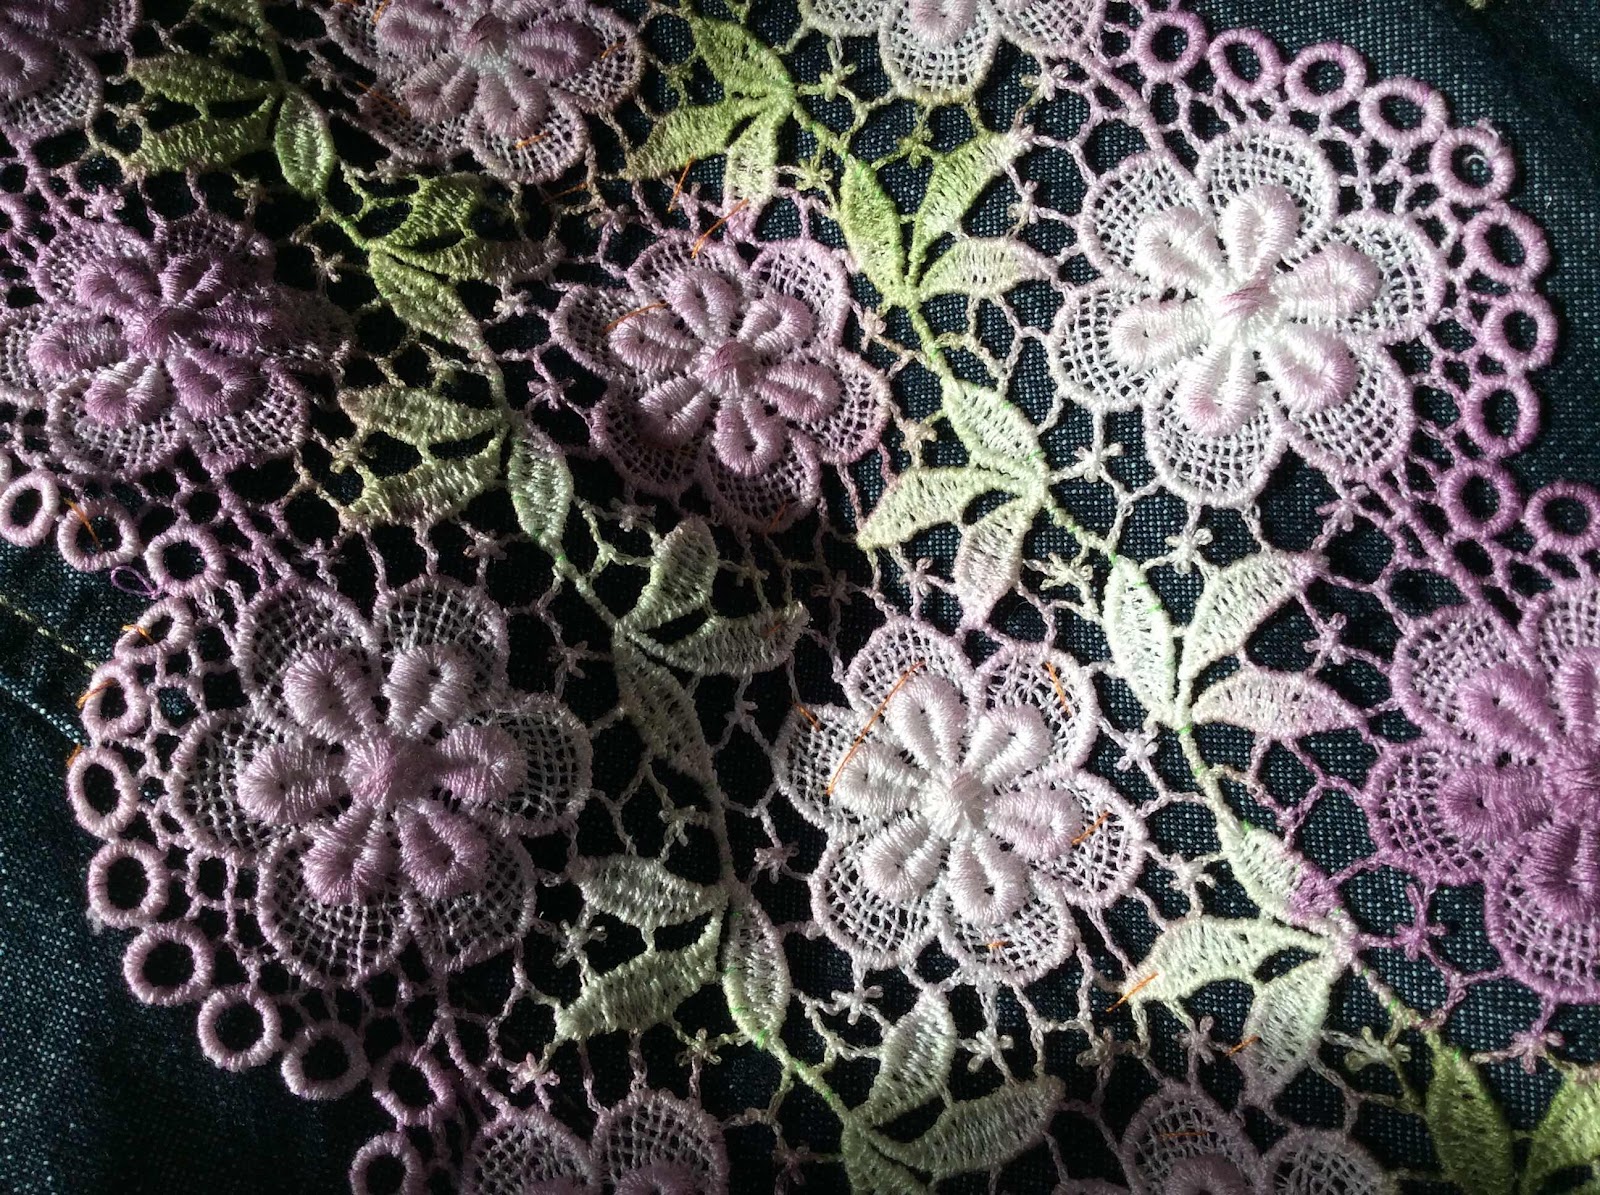
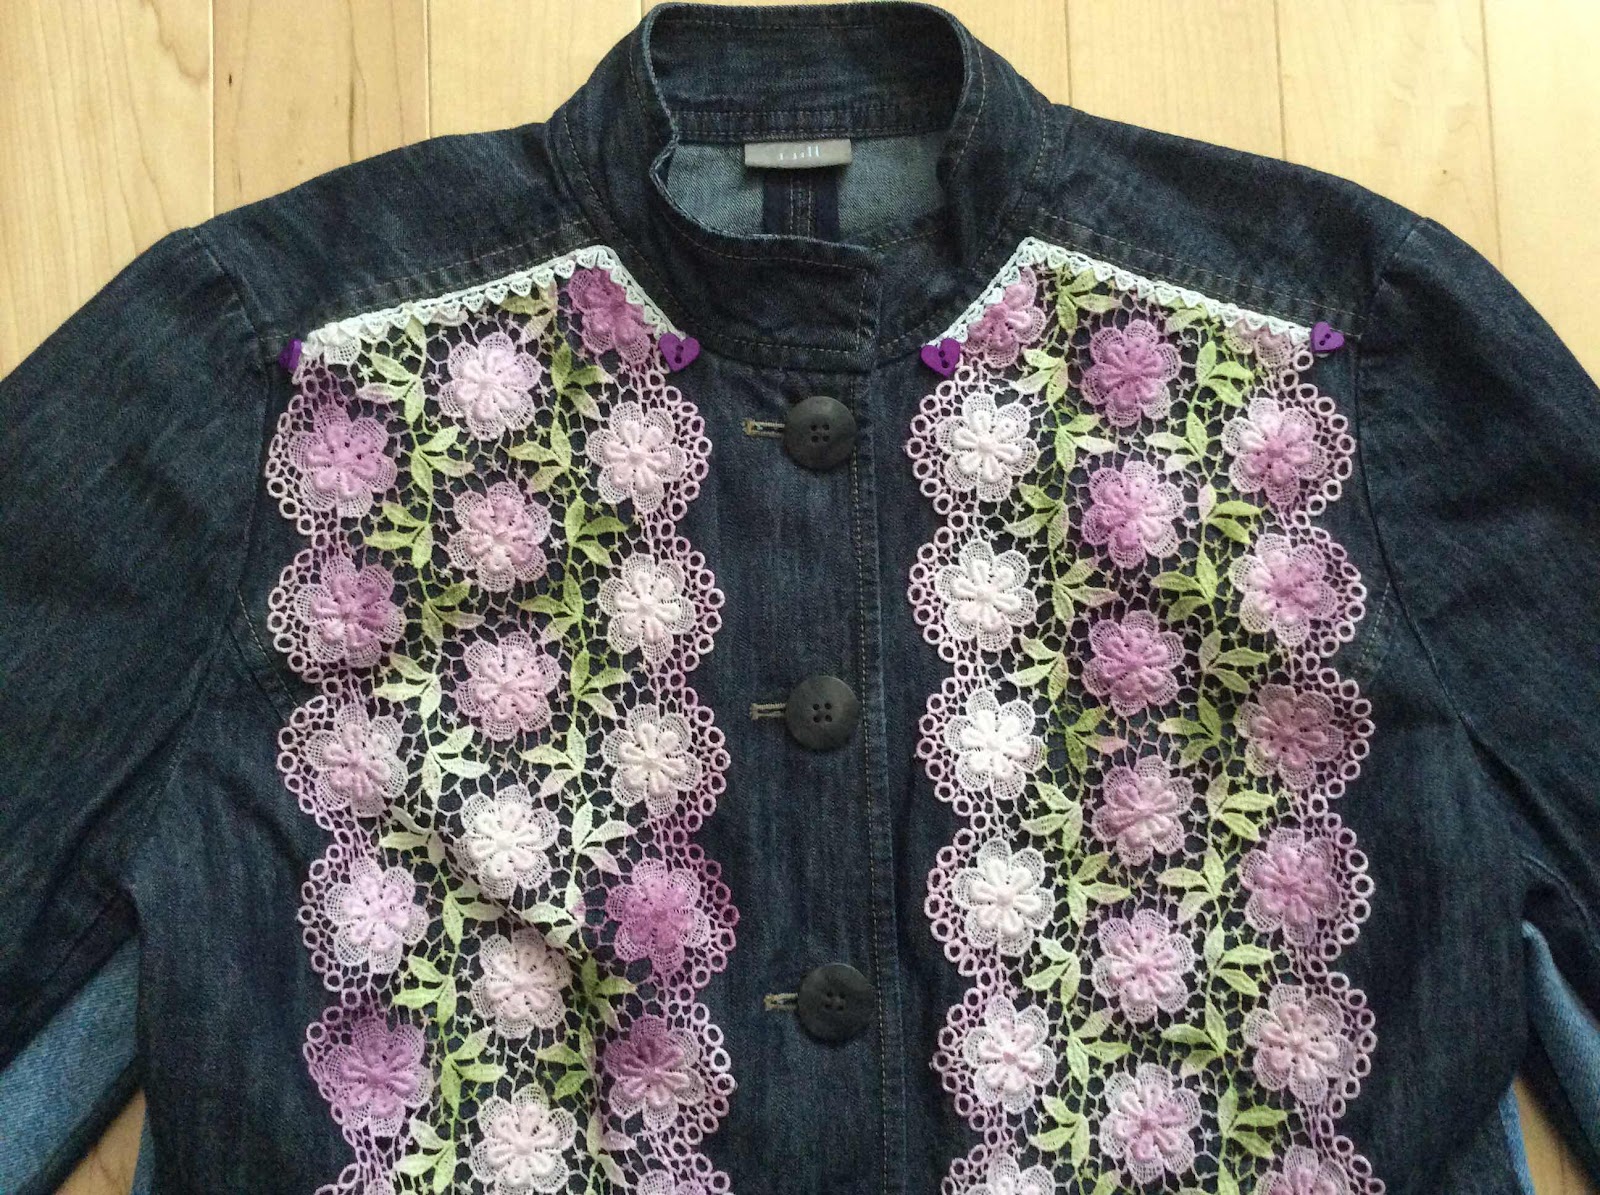
Thinking my jacket needed some embellishment, I remembered a one
yard piece of hand-painted lace I had in my stash.  The lace was another Etsy
buy, purchased in 2012.  I cut the lace to size, then basted it on just to keep it
in place for my more thorough hand-stitching.  I almost always use hand
stitching to apply embellishments . . . I feel like I have more control over it than
I would with machine stitching.  I also think it looks better!


I added narrow heart-patterned lace along the top edge to cover the raw edges 
of the dyed floral lace.  Then I added a small purple heart-shaped button at each
end.


I used some green woven ribbon with white polka dots to cover the (bottom) raw
edges of the purple floral lace.  Sewing the ribbon on was a bit difficult as there is
a bulky waistline seam underneath it.  I used my jewelry pliers, when needed, 
to pull my needle through multiple thicknesses. 
My finished jacket is shown below. 


Sunday, February 14, 2021

The Making of a Valentine


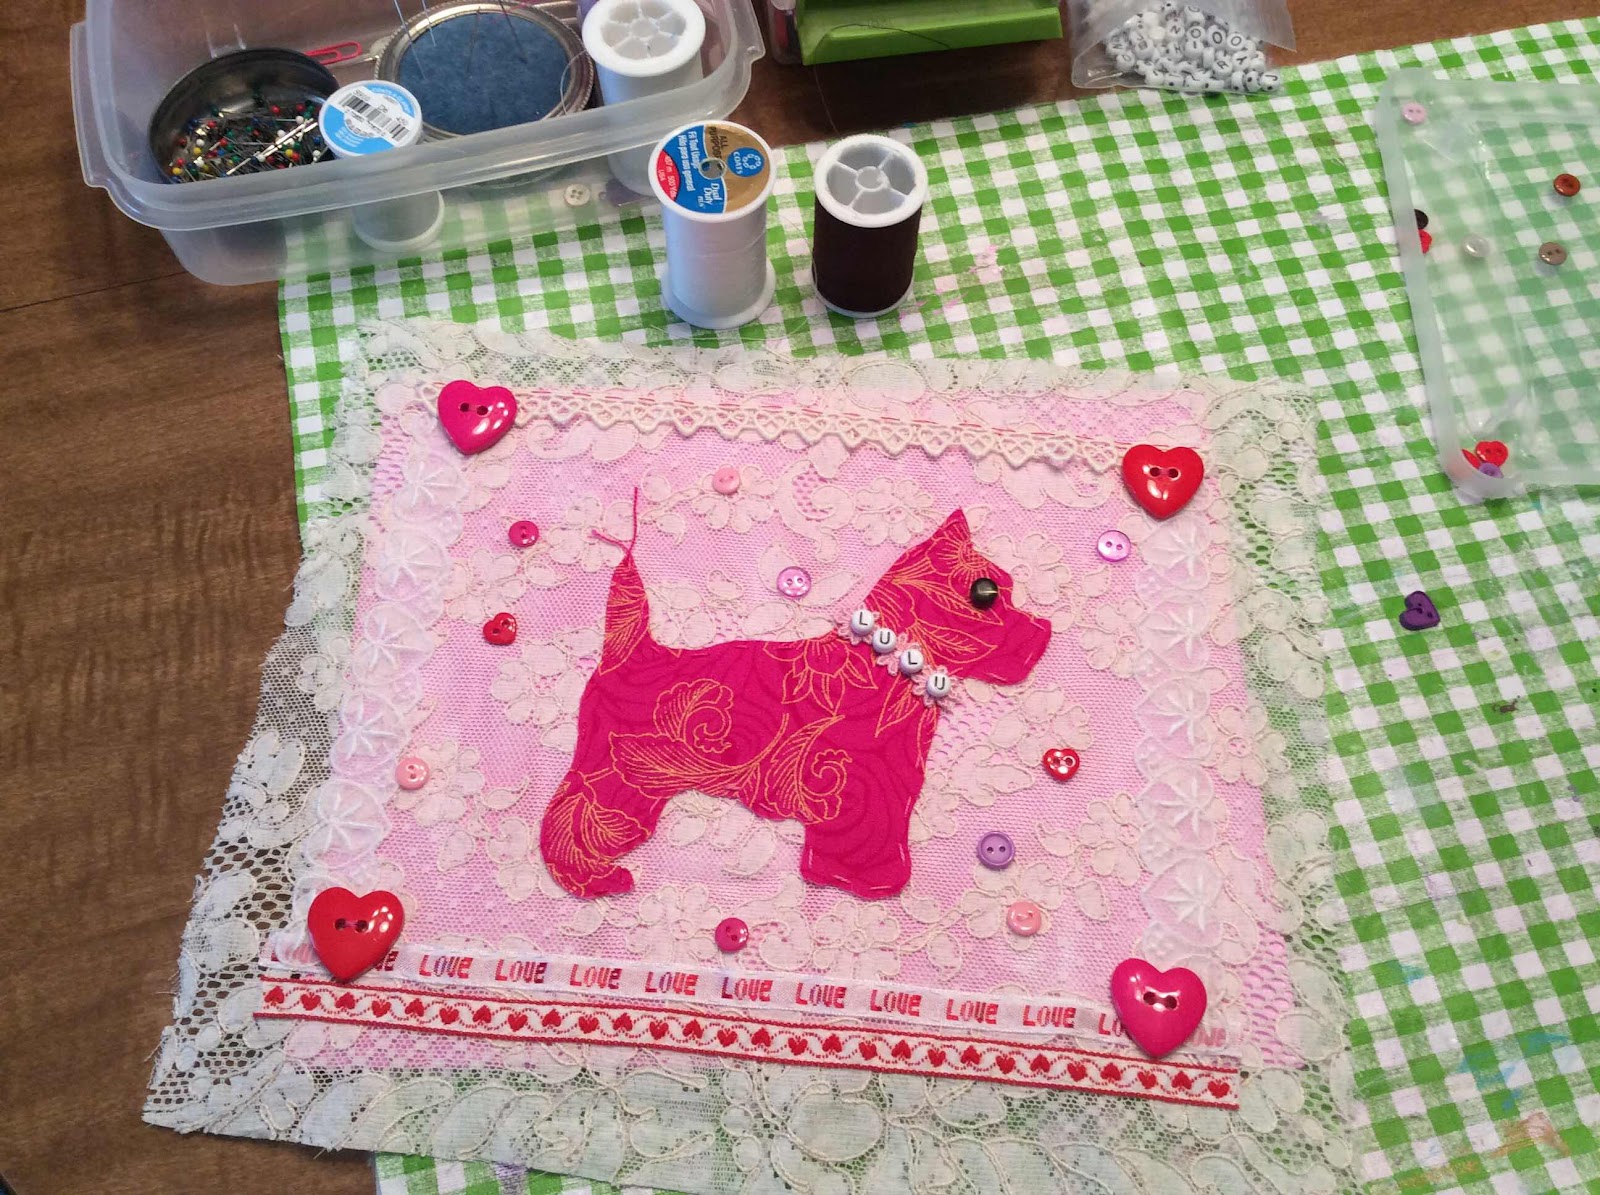
I belong to a group of artists.  We all have a connection to the now-closed Valley Ridge Art Studio.  We stay in touch and hold art retreats twice a year.  One member recently set up a Valentine’s postcard exchange.  Names were drawn electronically.  My recipient happens to own a cute Westie named Lulu. I decided my Valentine would feature some reference to Lulu.

Thinking outside the box, I decided to use an 8” x 10” canvas for my “postcard”.  I had all of the
supplies on hand to create a valentine (no surprise there, as Valentine's Day is my favorite holiday).

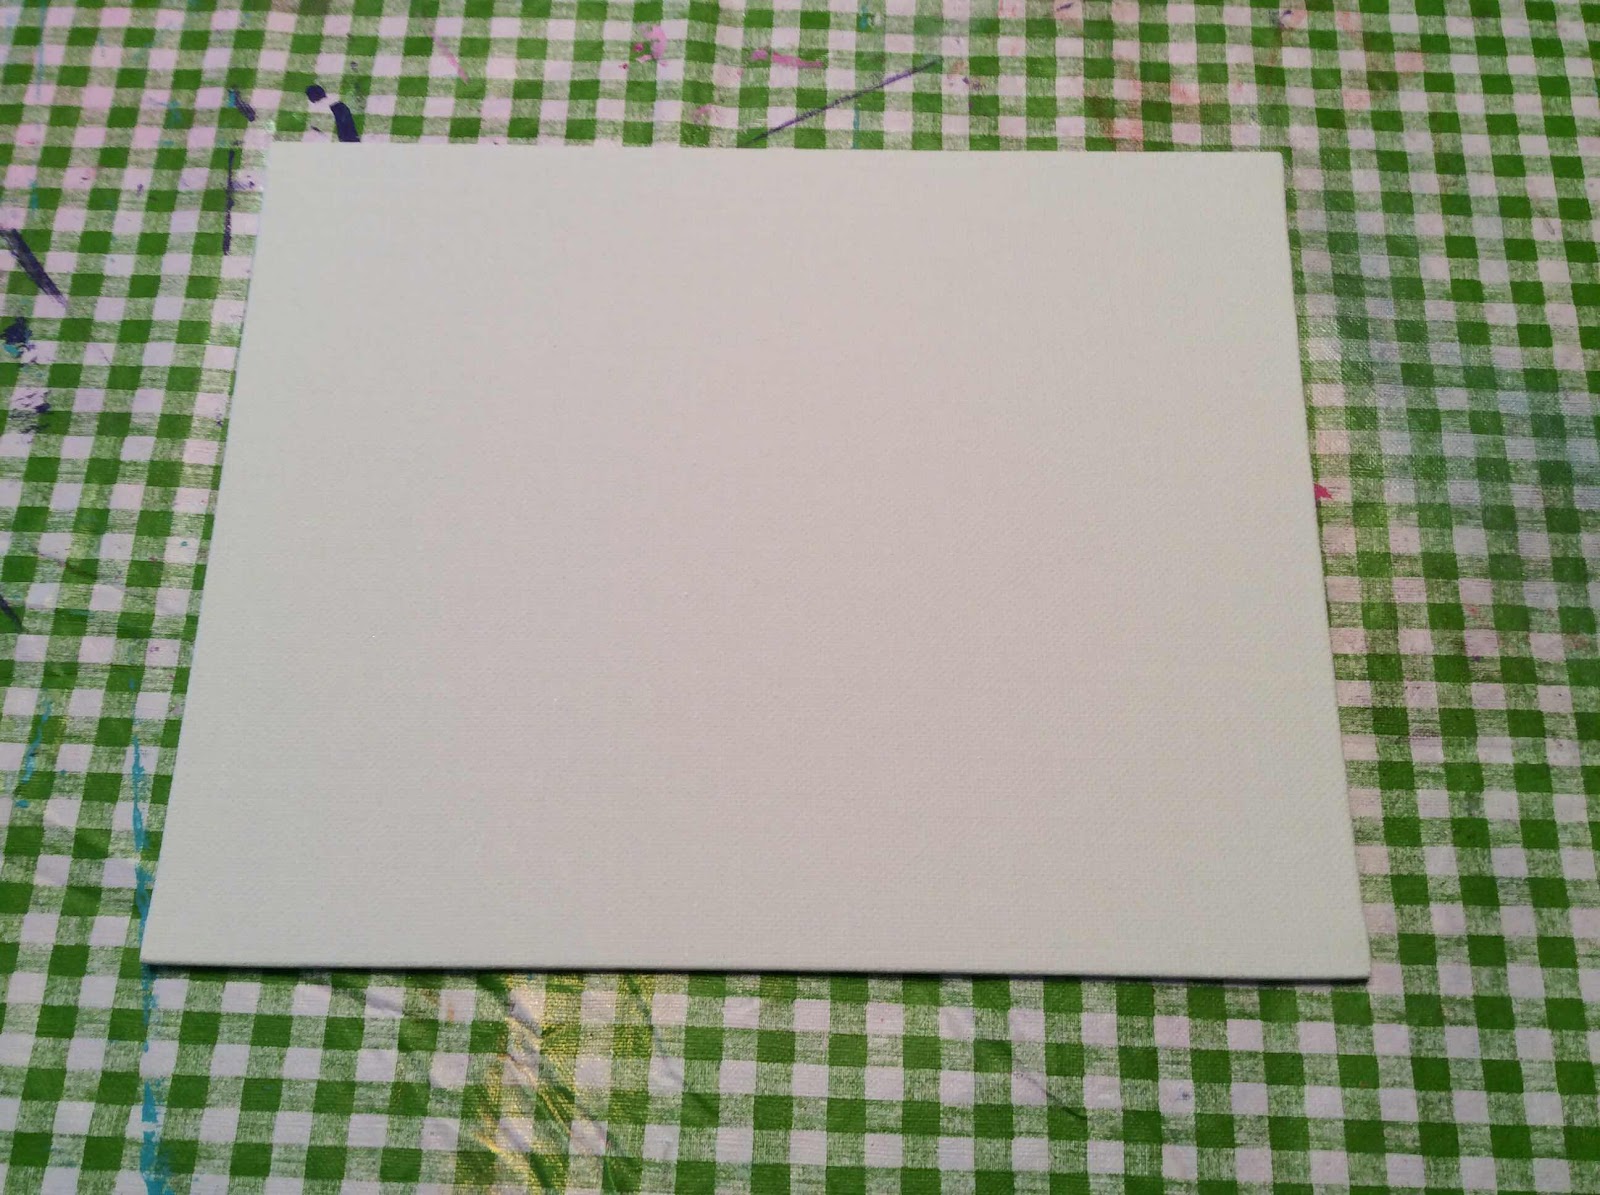
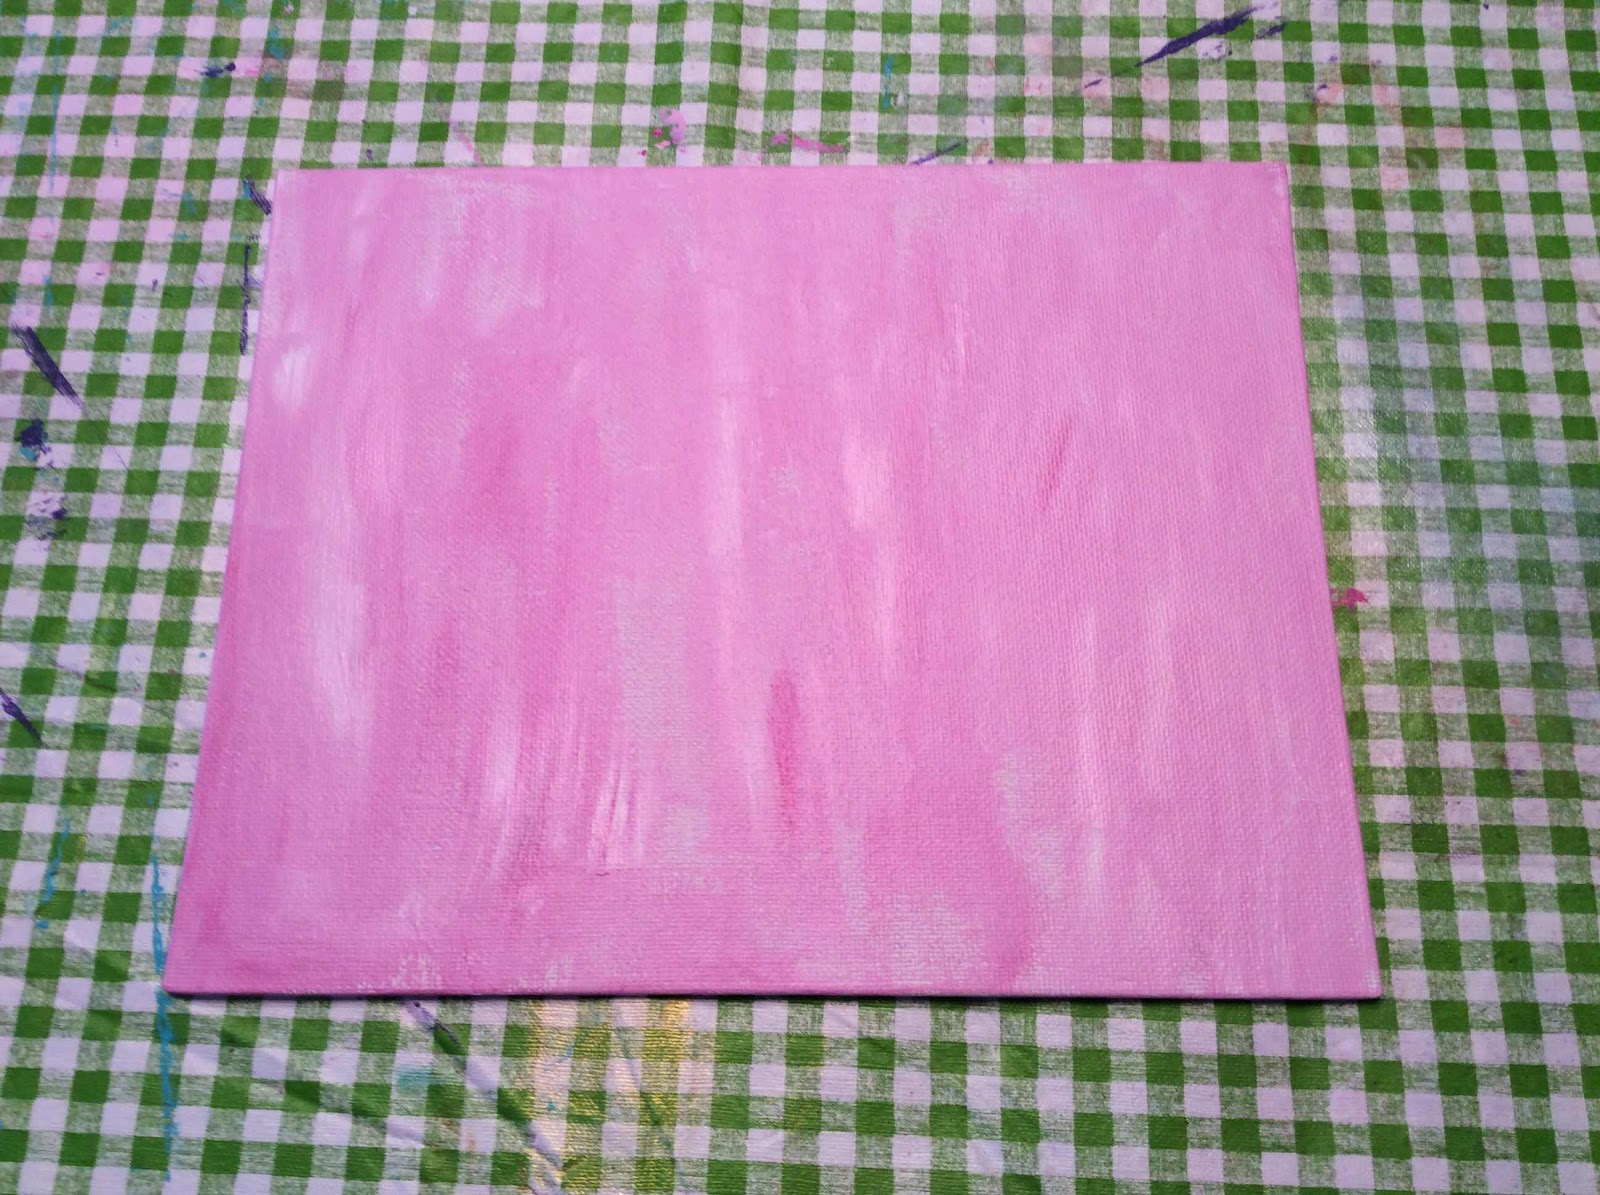
I started with a white canvas, then mixed some acrylic paint and painted the canvas pink.


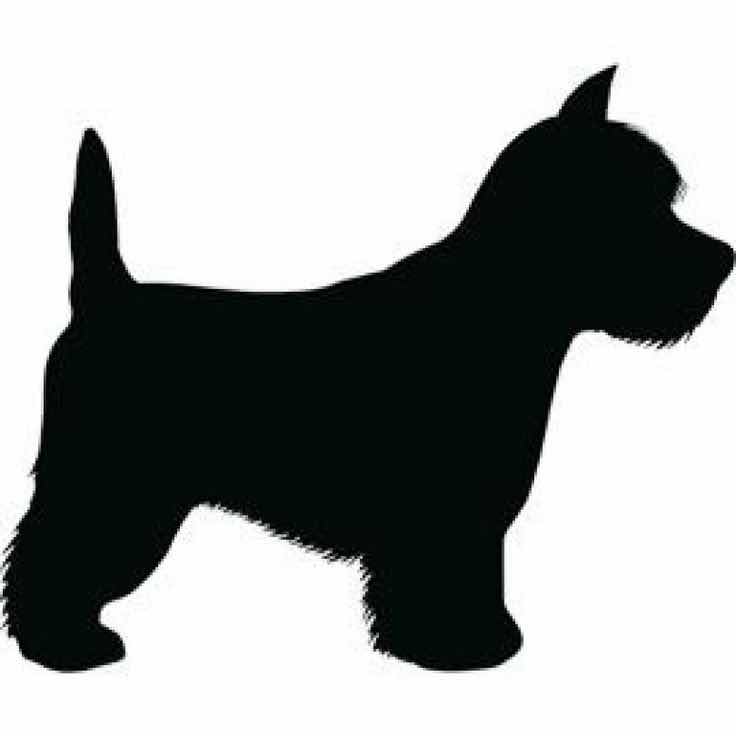
I then searched online and located a silhouette of a Westie.  I sized it down, literally
using my fingers on my iPad.  I then very lightly traced the outline onto a 
piece of printer paper. I cut out the shape, then outlined it onto heavy paper.
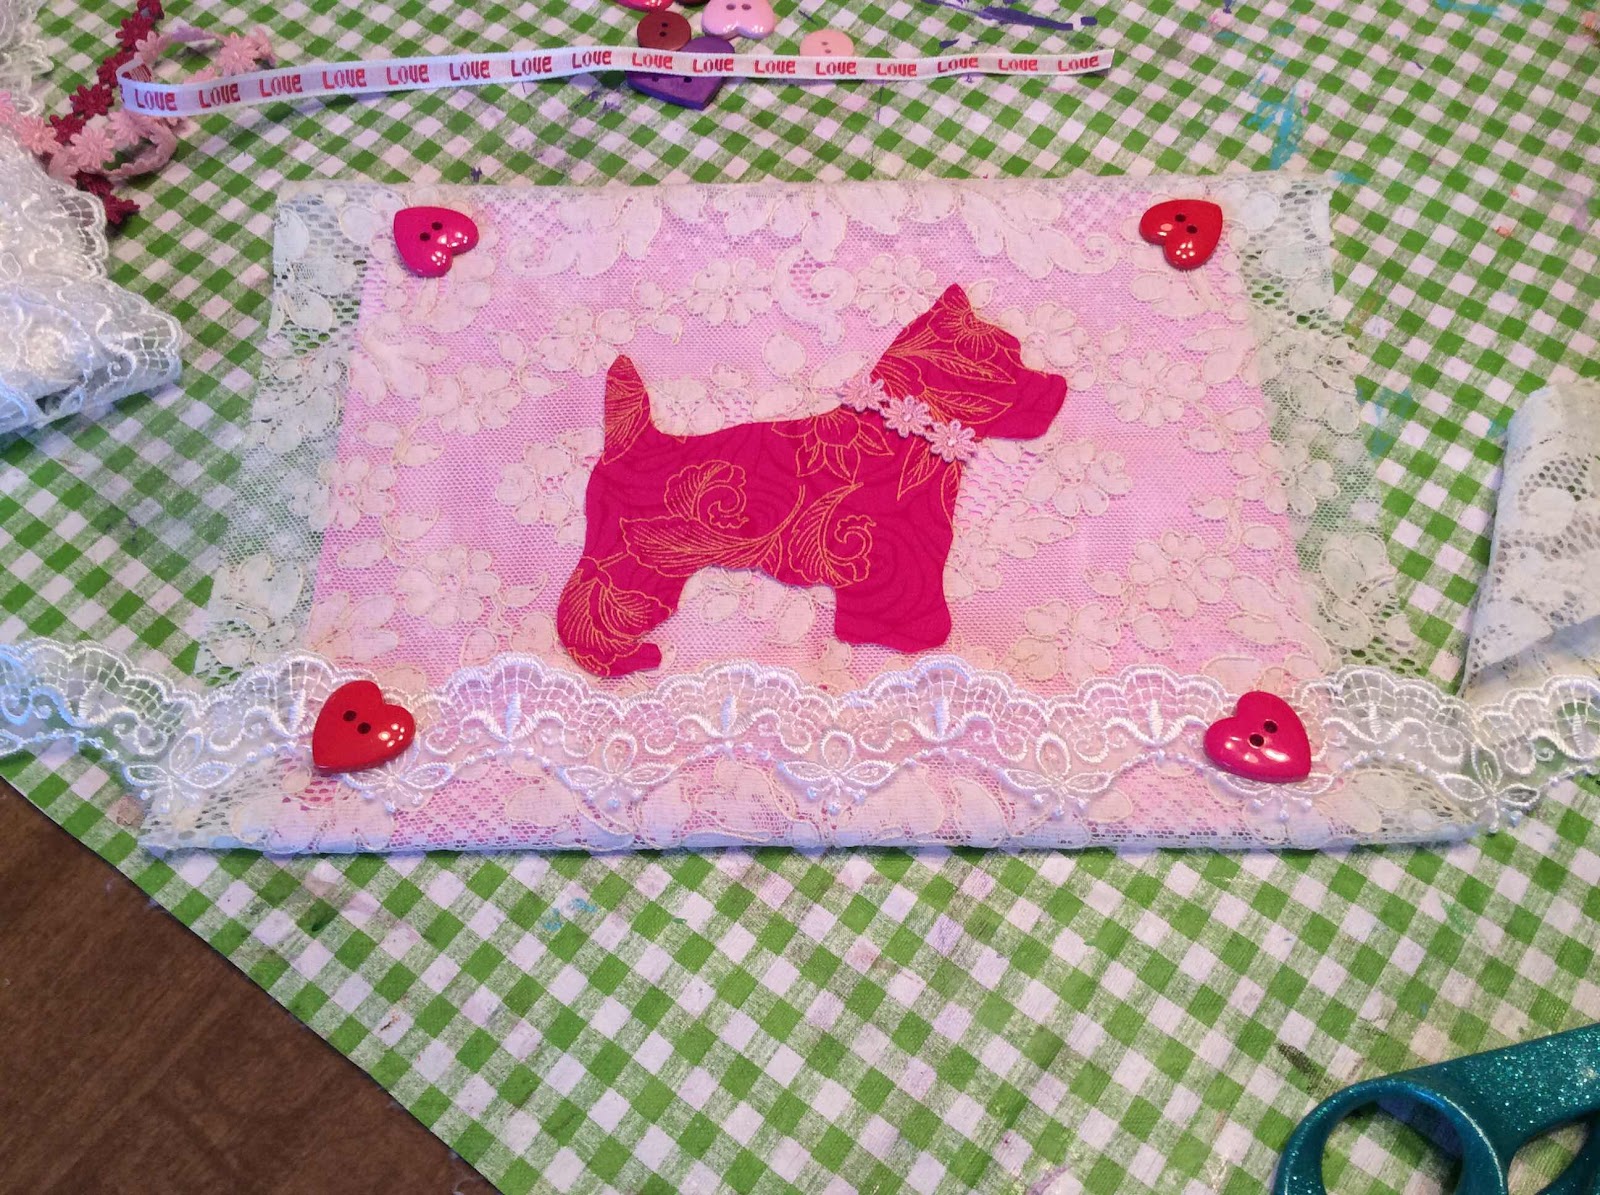
That served as my pattern.  I fused interfacing onto some pretty dark pink fabric,
And cut the shape from that.  From there, I stitched the dog shape onto my background
of antique alencon lace.


The pictures that follow show how I tested different arrangements and trims.


Once I declared the surface finished, I wrapped the excess lace around to the
back.  I used glue on the back (also underneath the dog appliqué and in a few
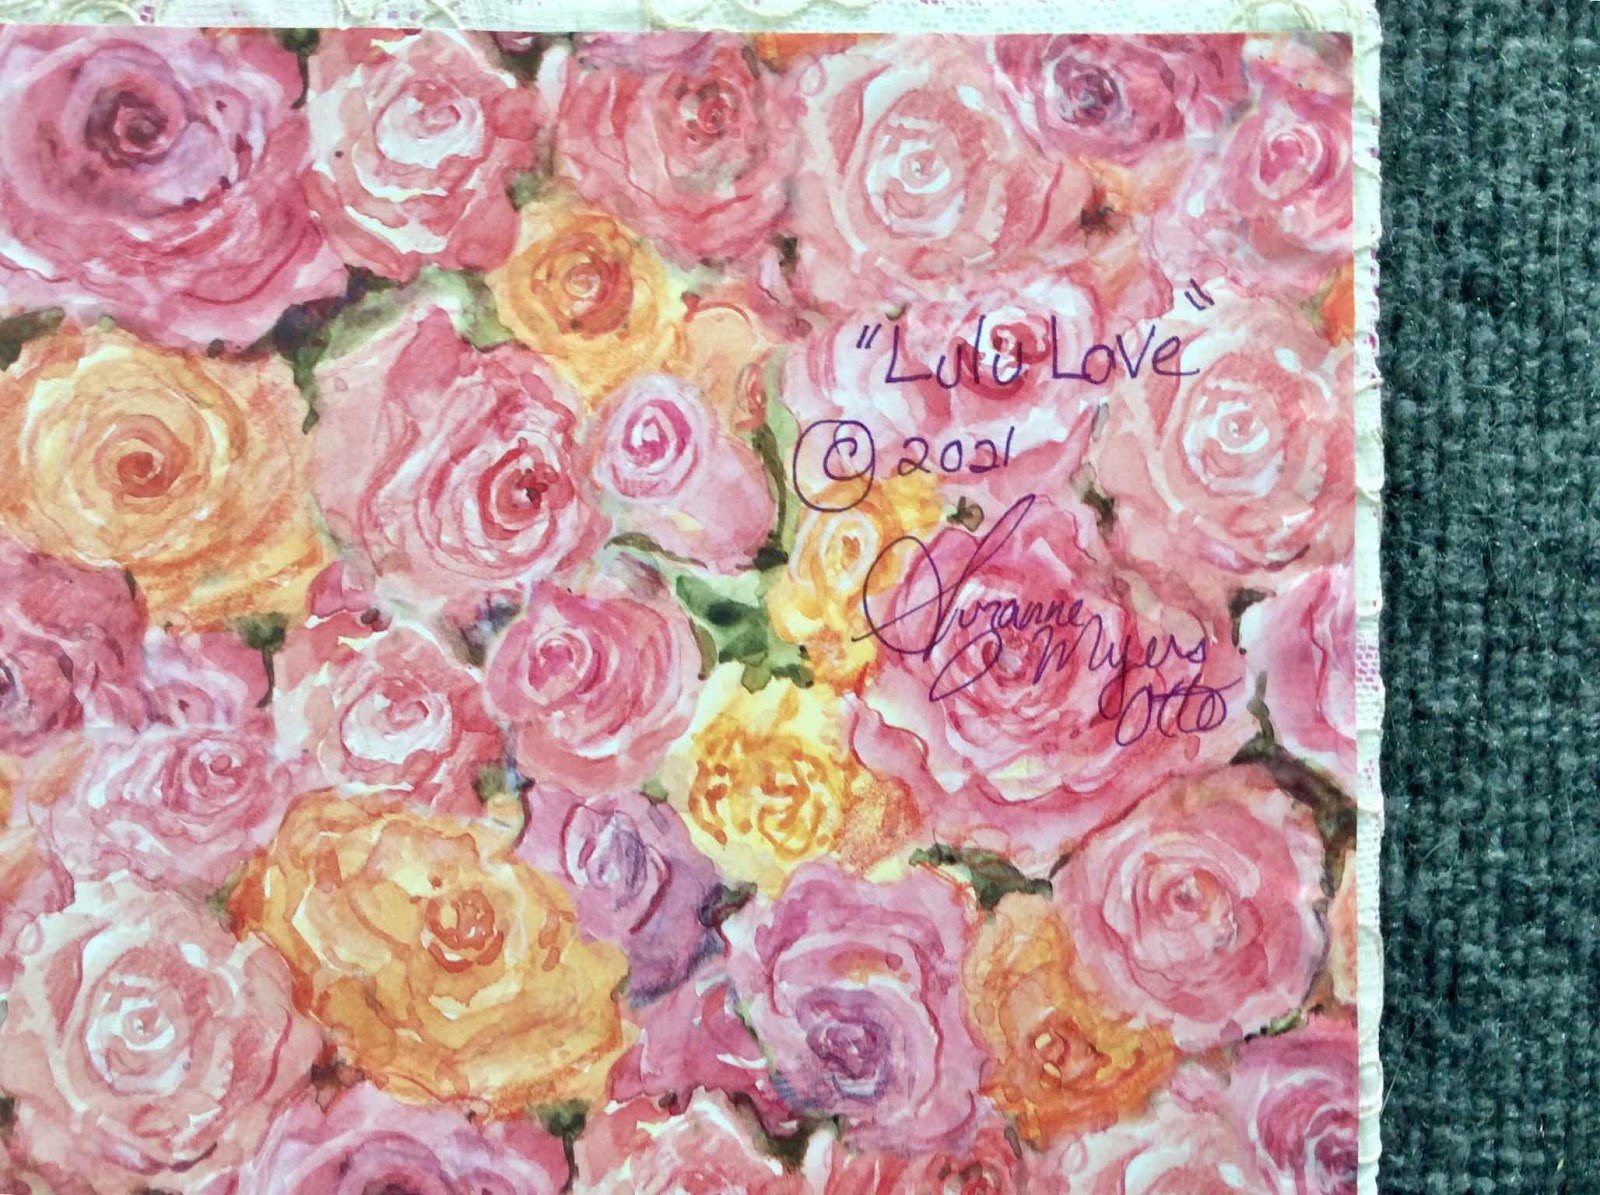
other, discreet spots).  I glued scrapbook paper to the backside of the canvas.


Here is a photo of my completed valentine.  I titled it “Lulu Love”.  Hope you
like it!


Sunday, January 10, 2021

Online Workshop Taken

Happy New Year!

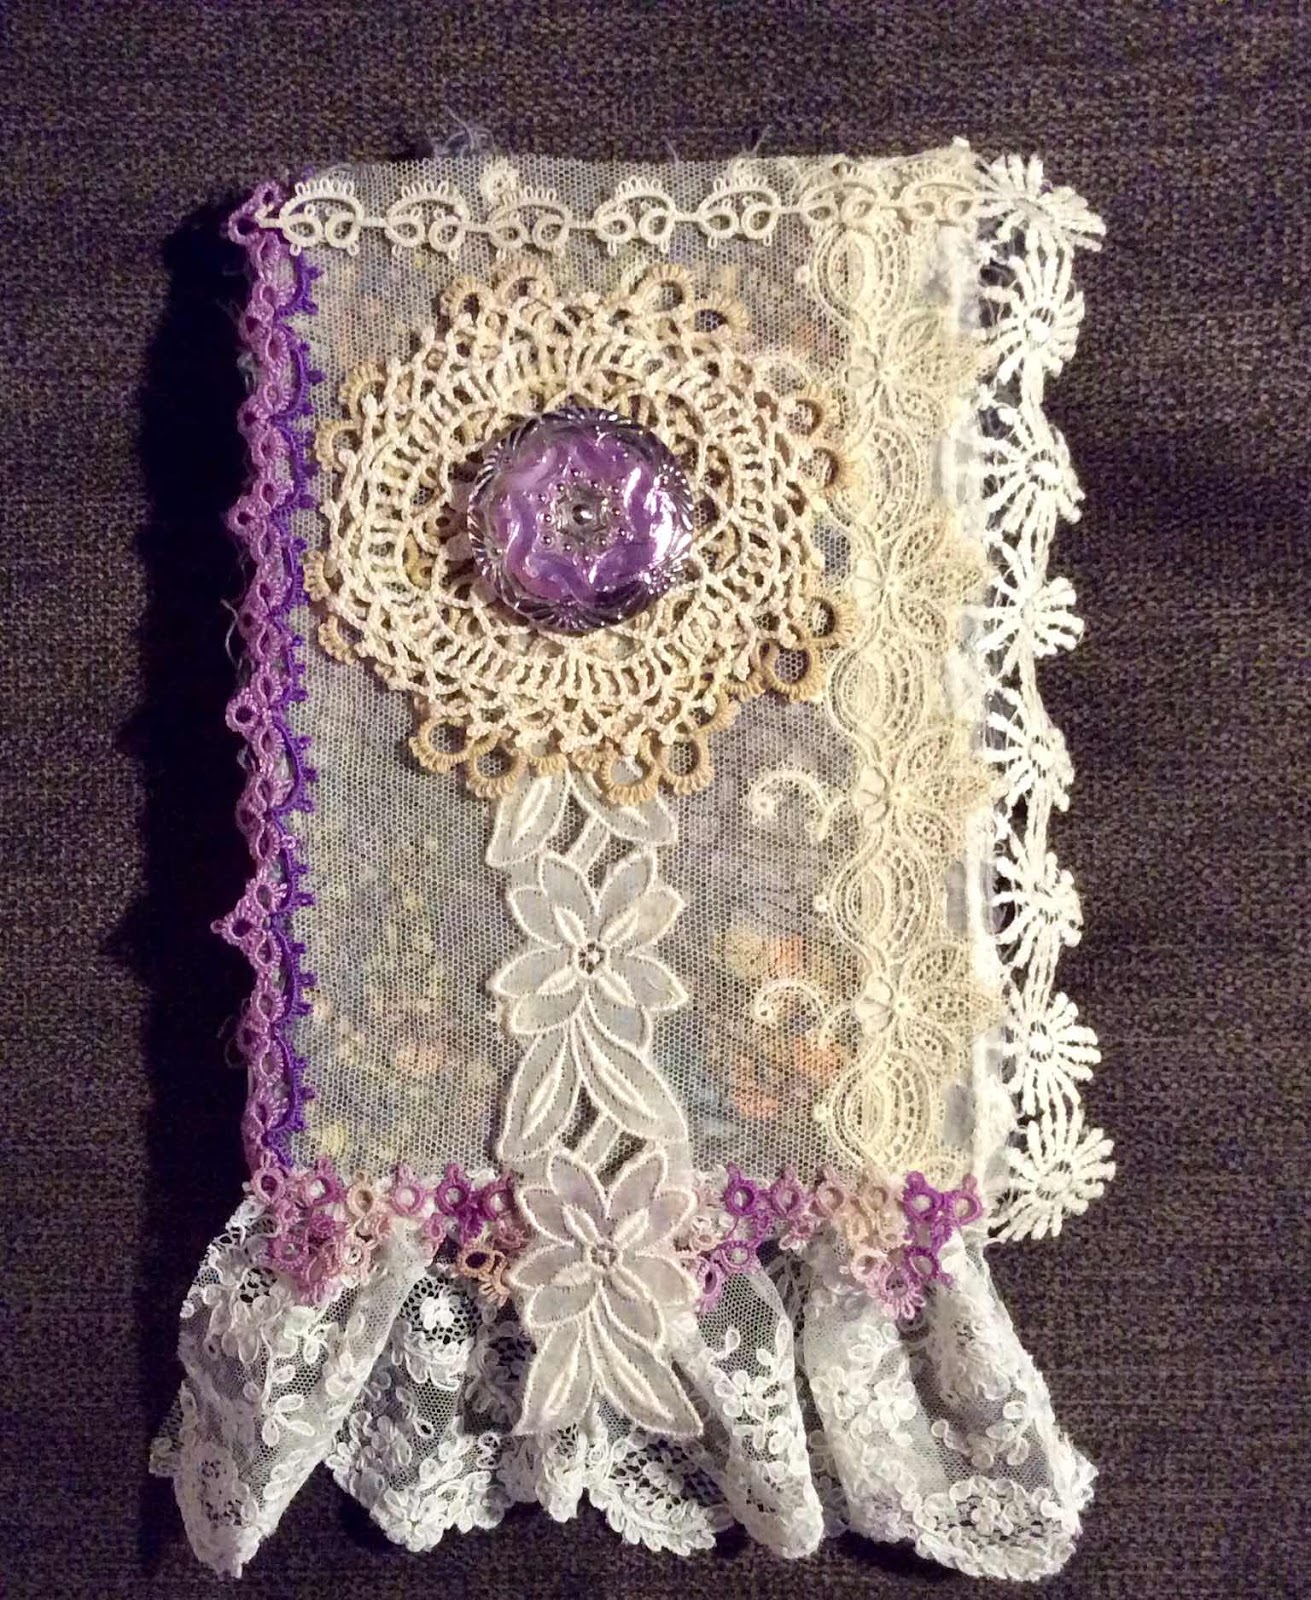
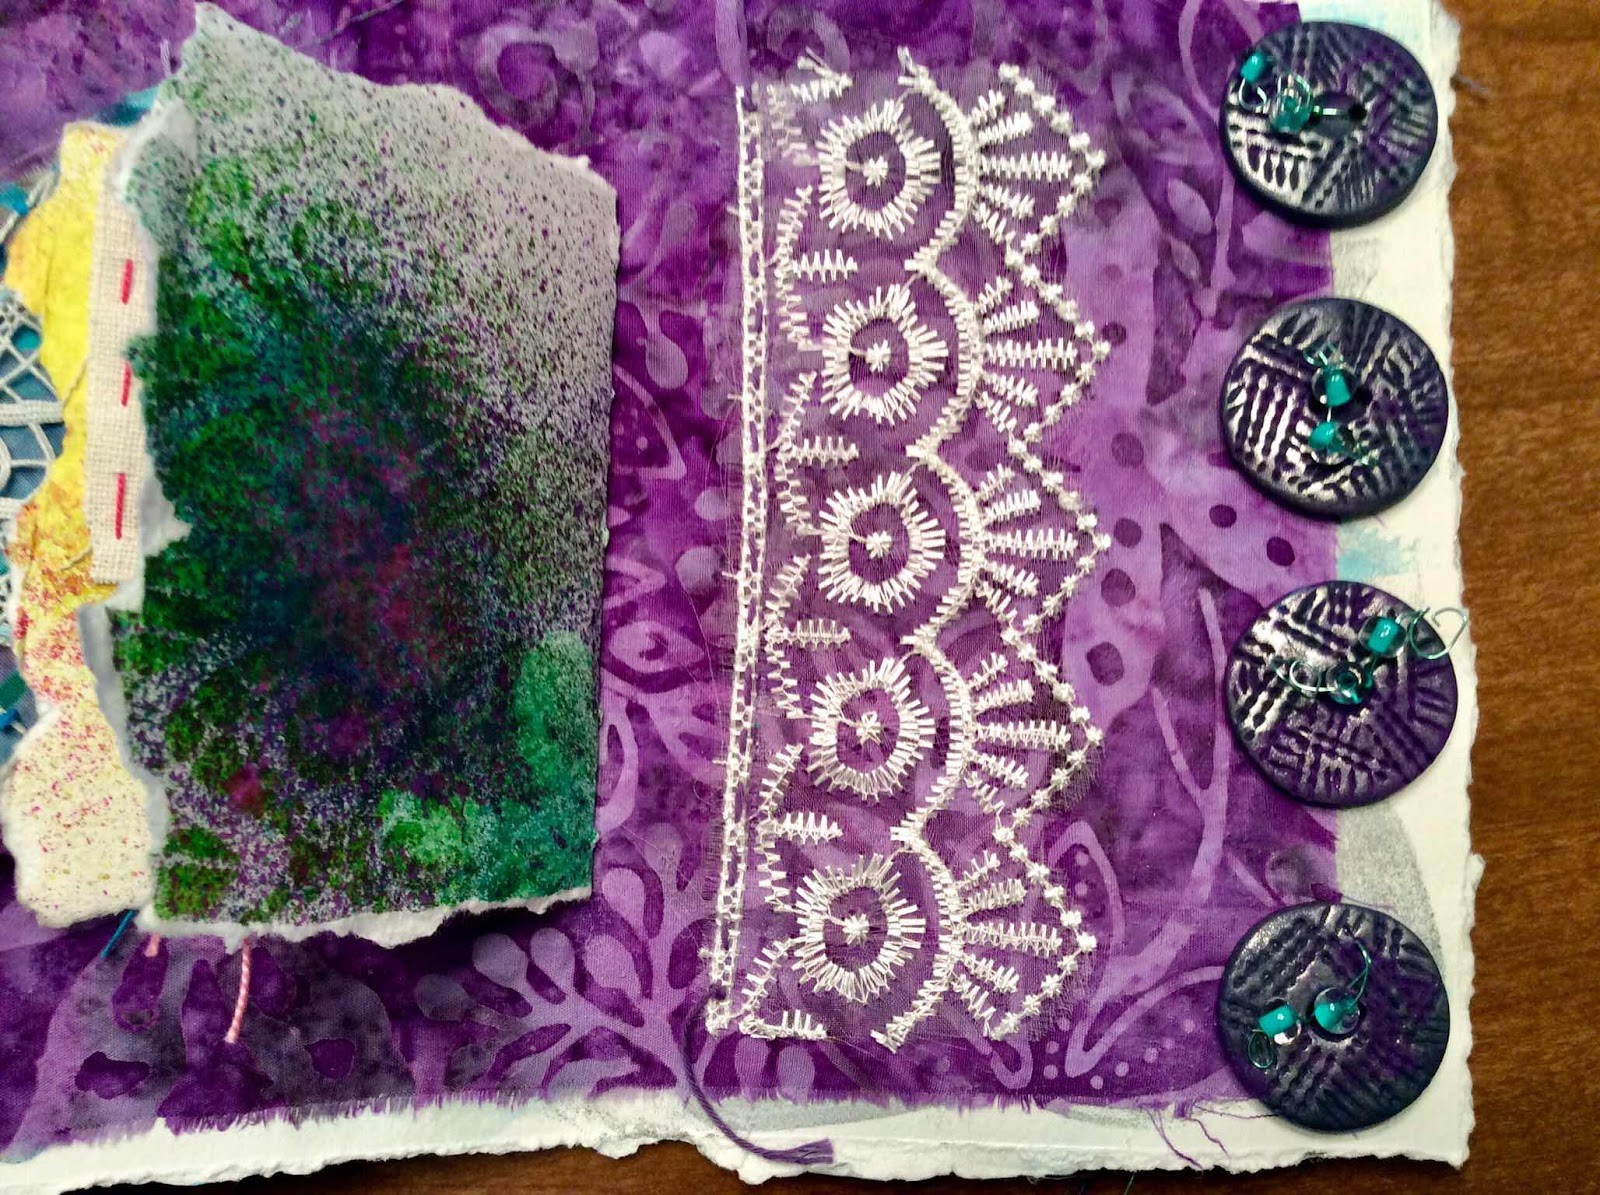
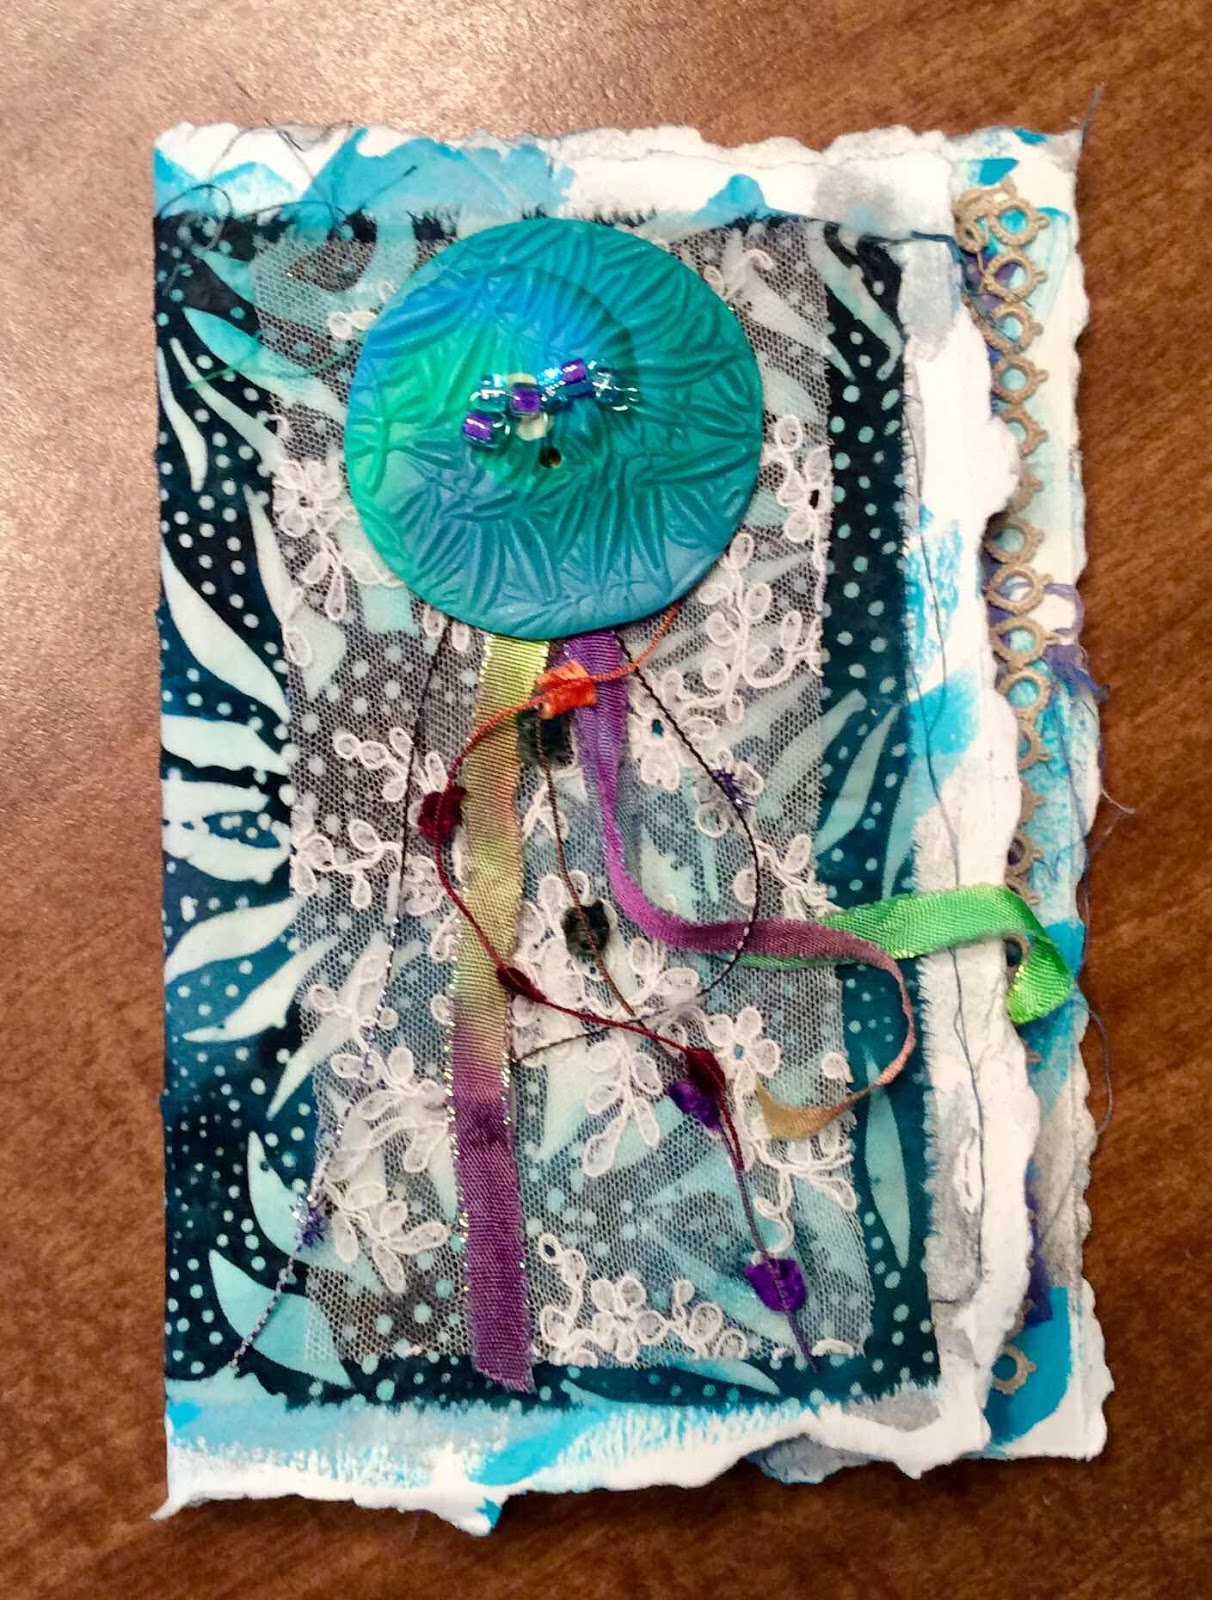
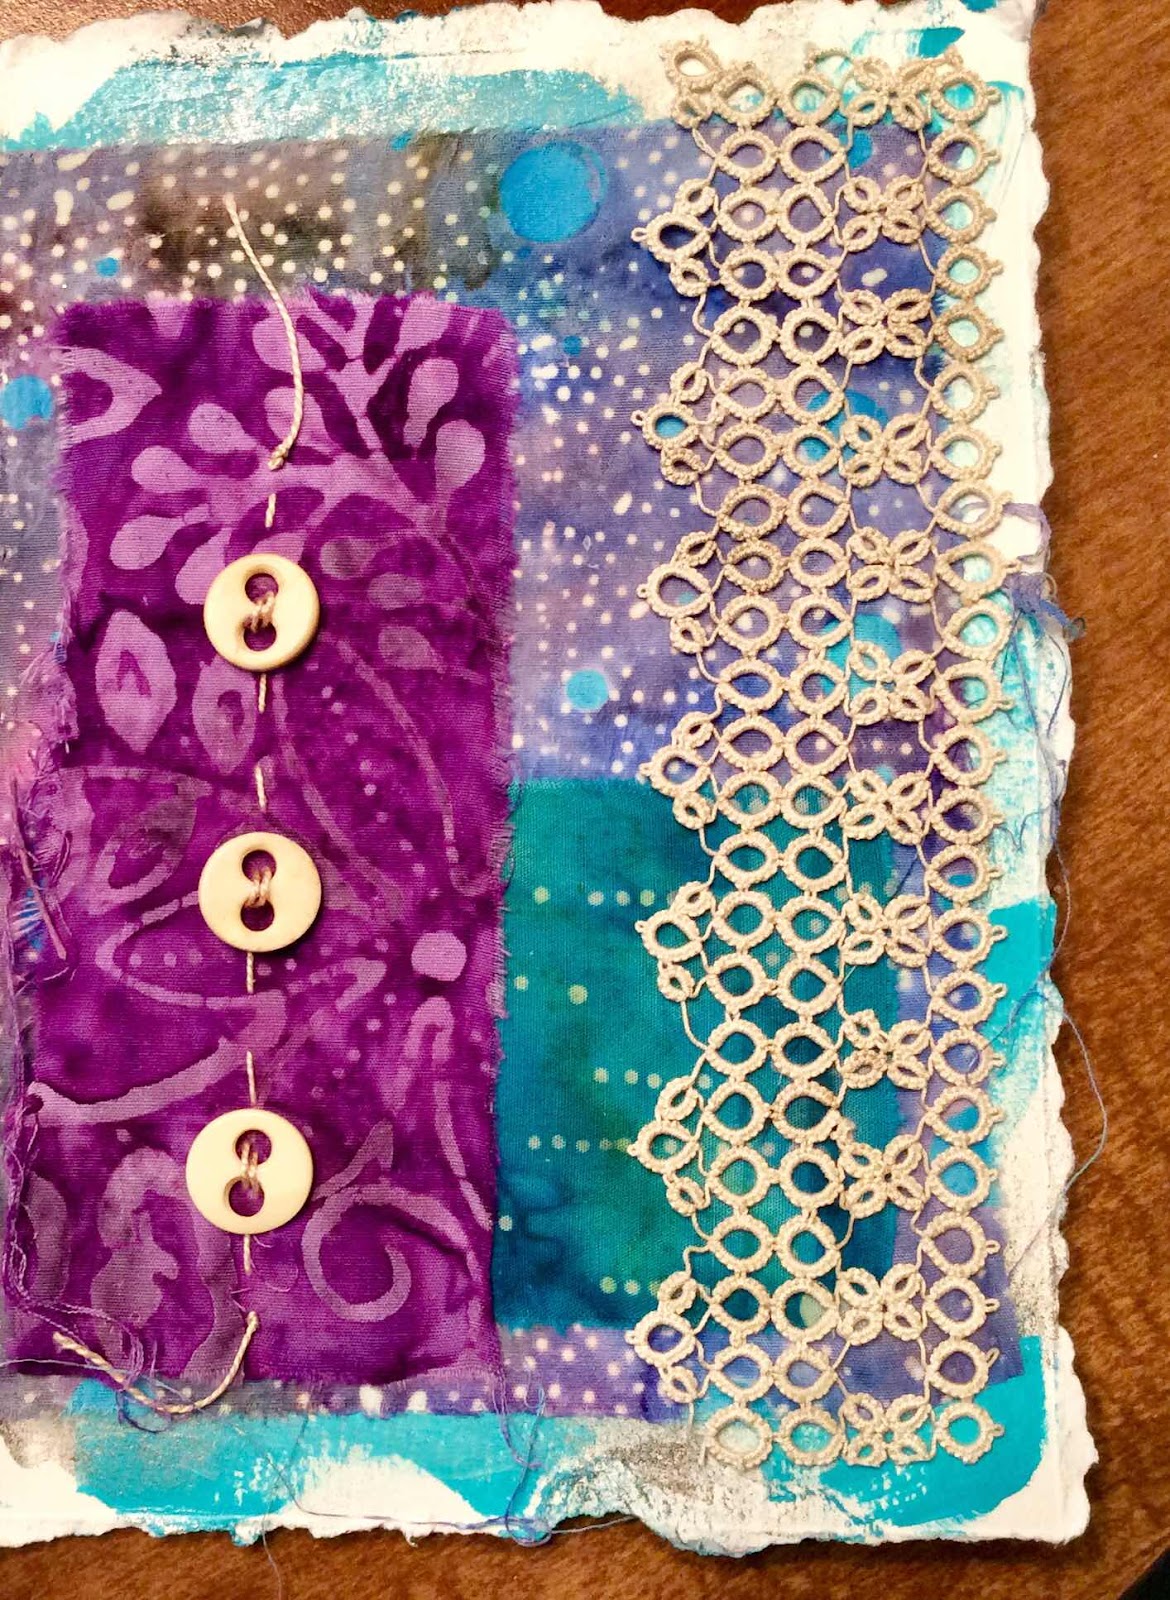
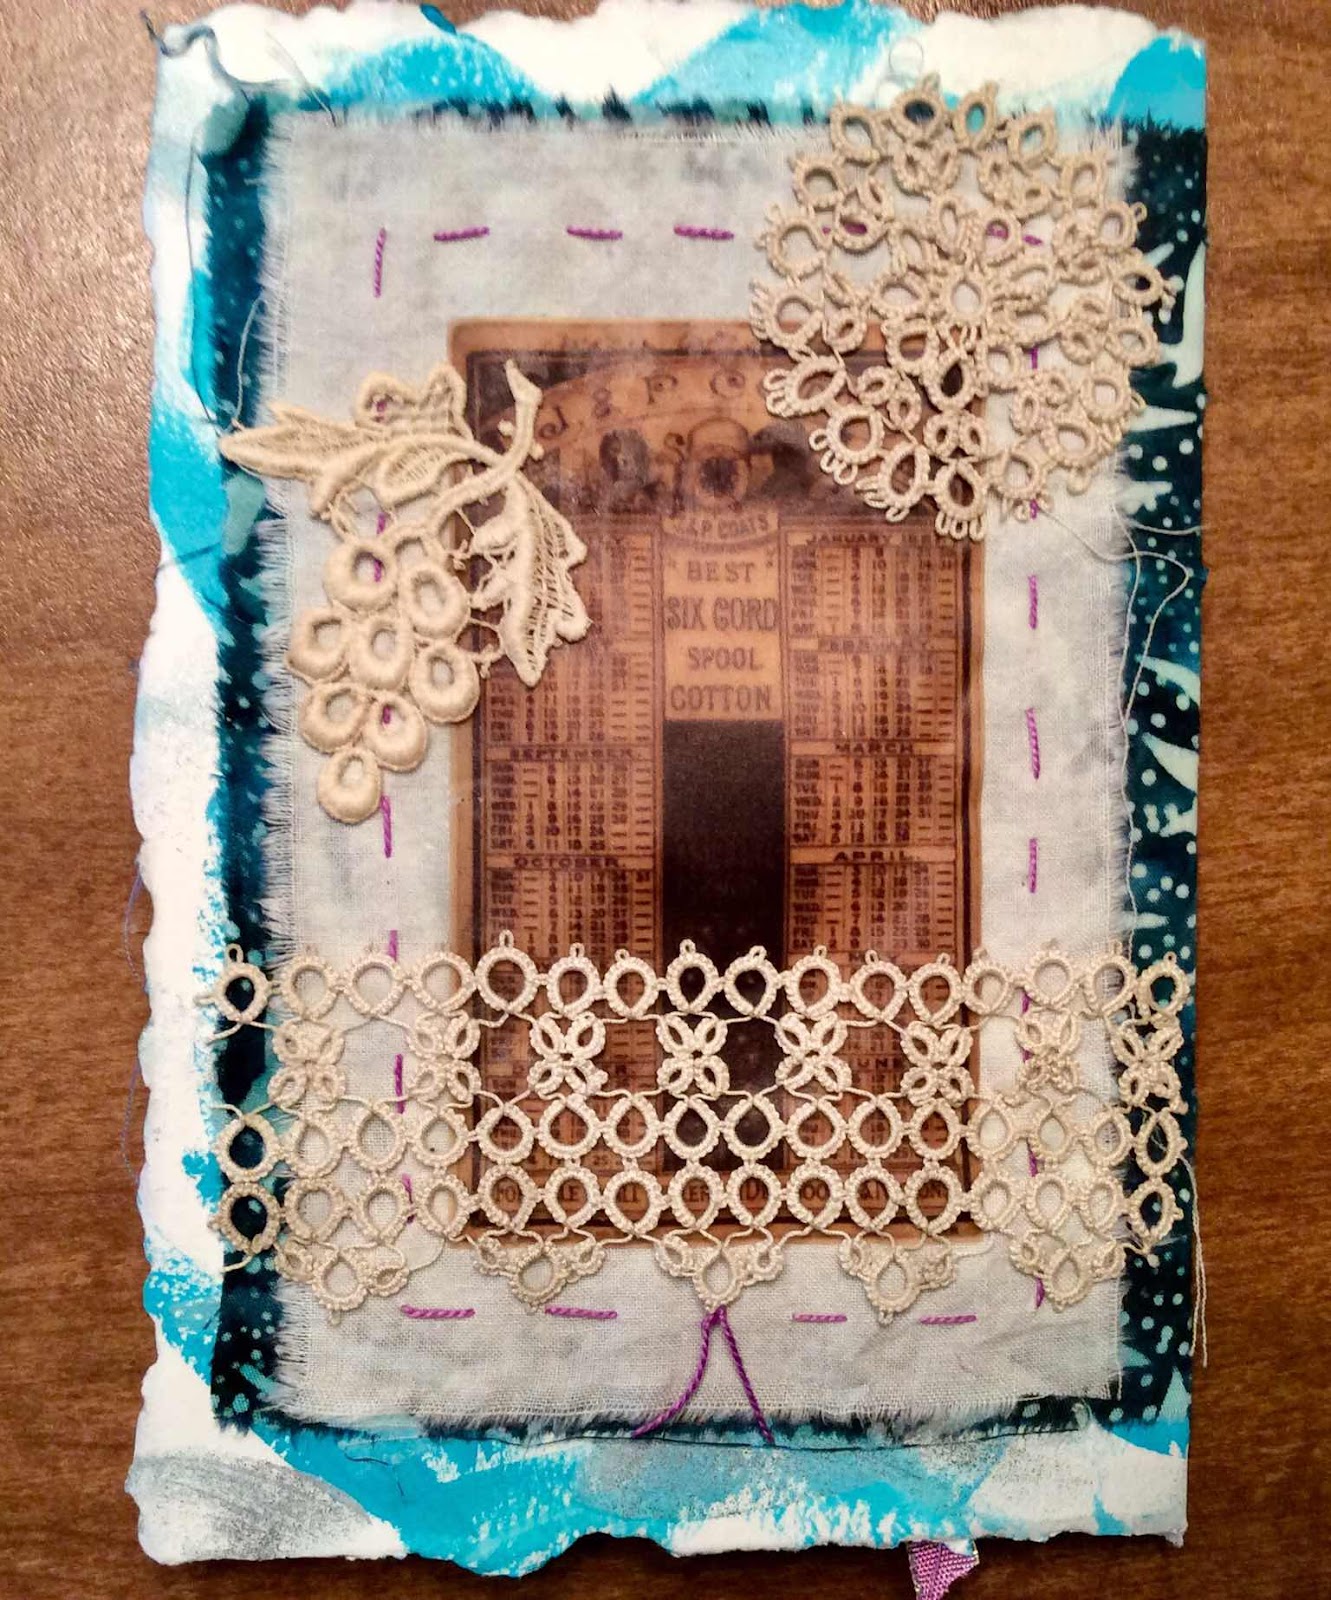
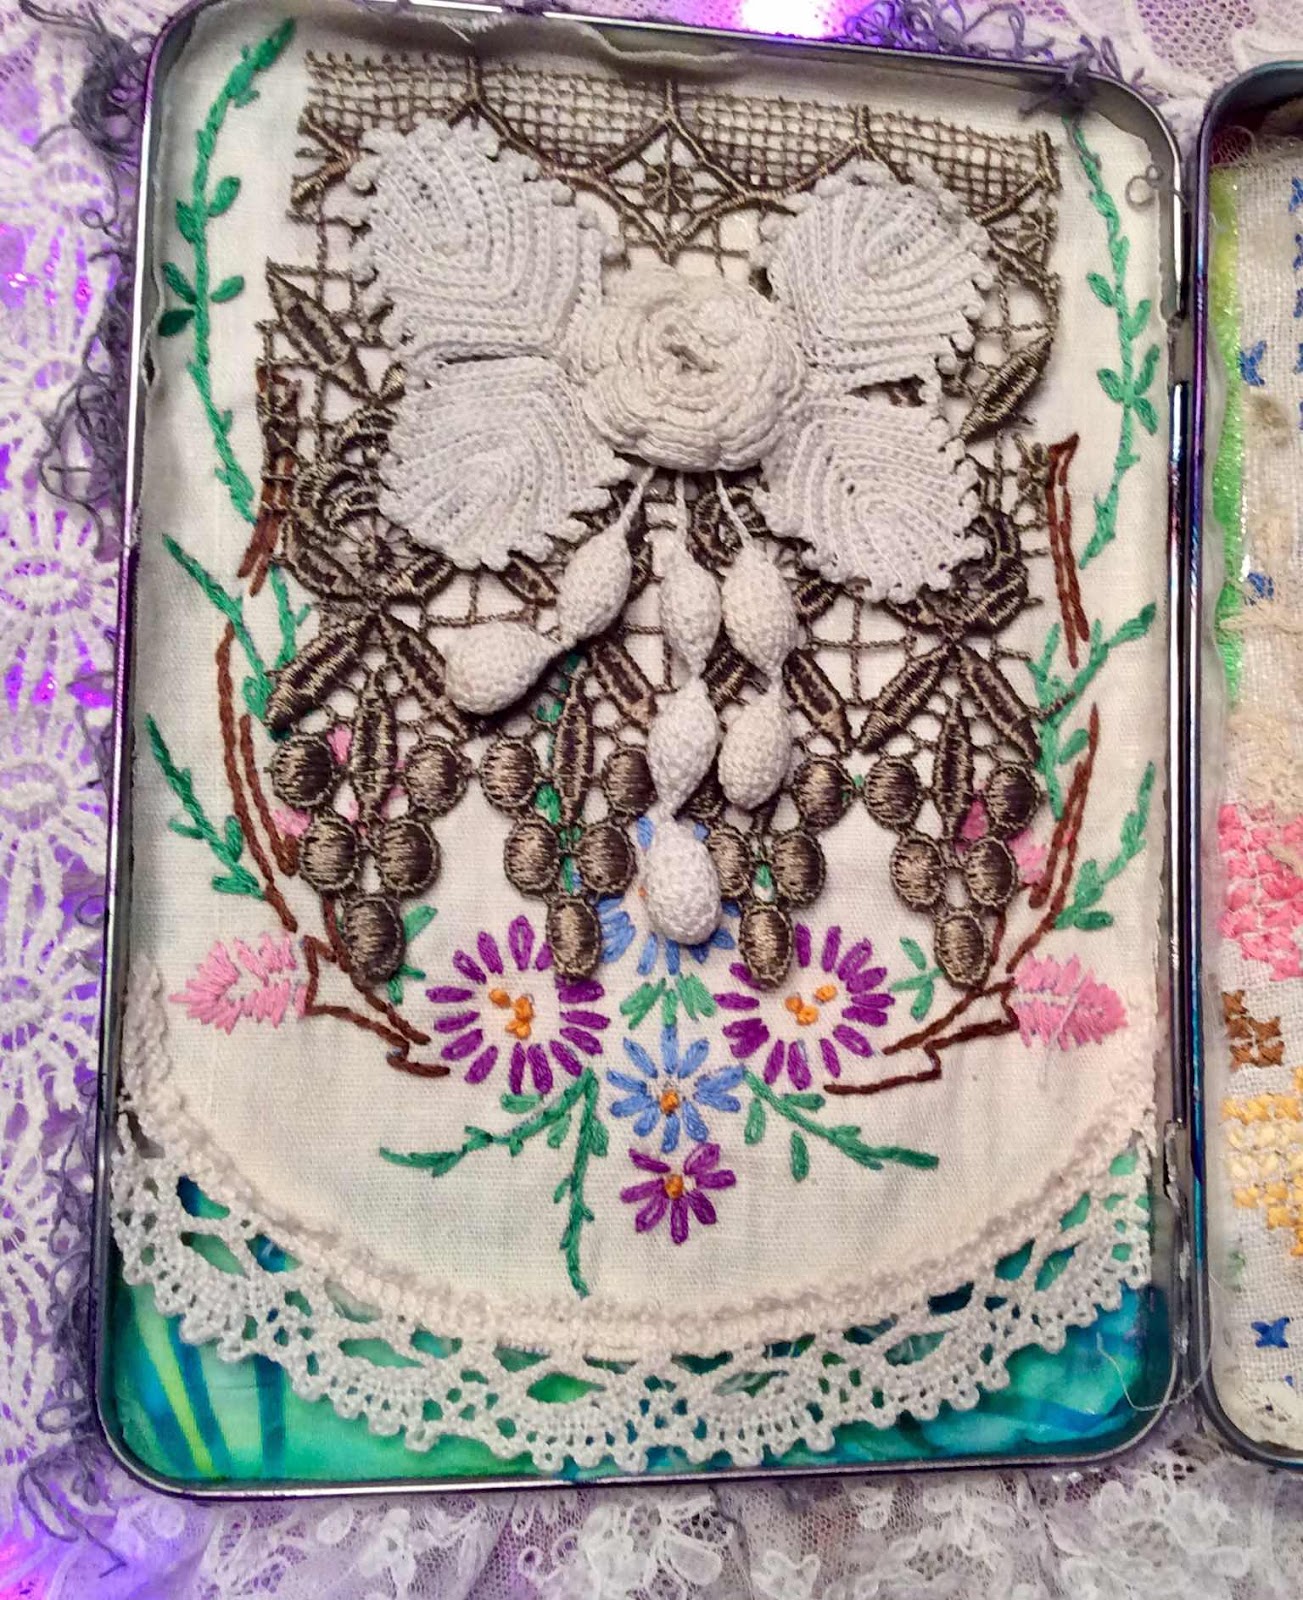
I recently had the pleasure of taking my first-ever online workshop.  The class, offered through Jeanne Oliver (dot com) was a mixed-media class titled “The Bookmaker”.  It was taught by Roxanne Evans Stout.  Students created a “book”, starting with a vintage or contemporary tin. Various techniques were learned and our books soon started to take shape.  I thoroughly enjoyed the class!

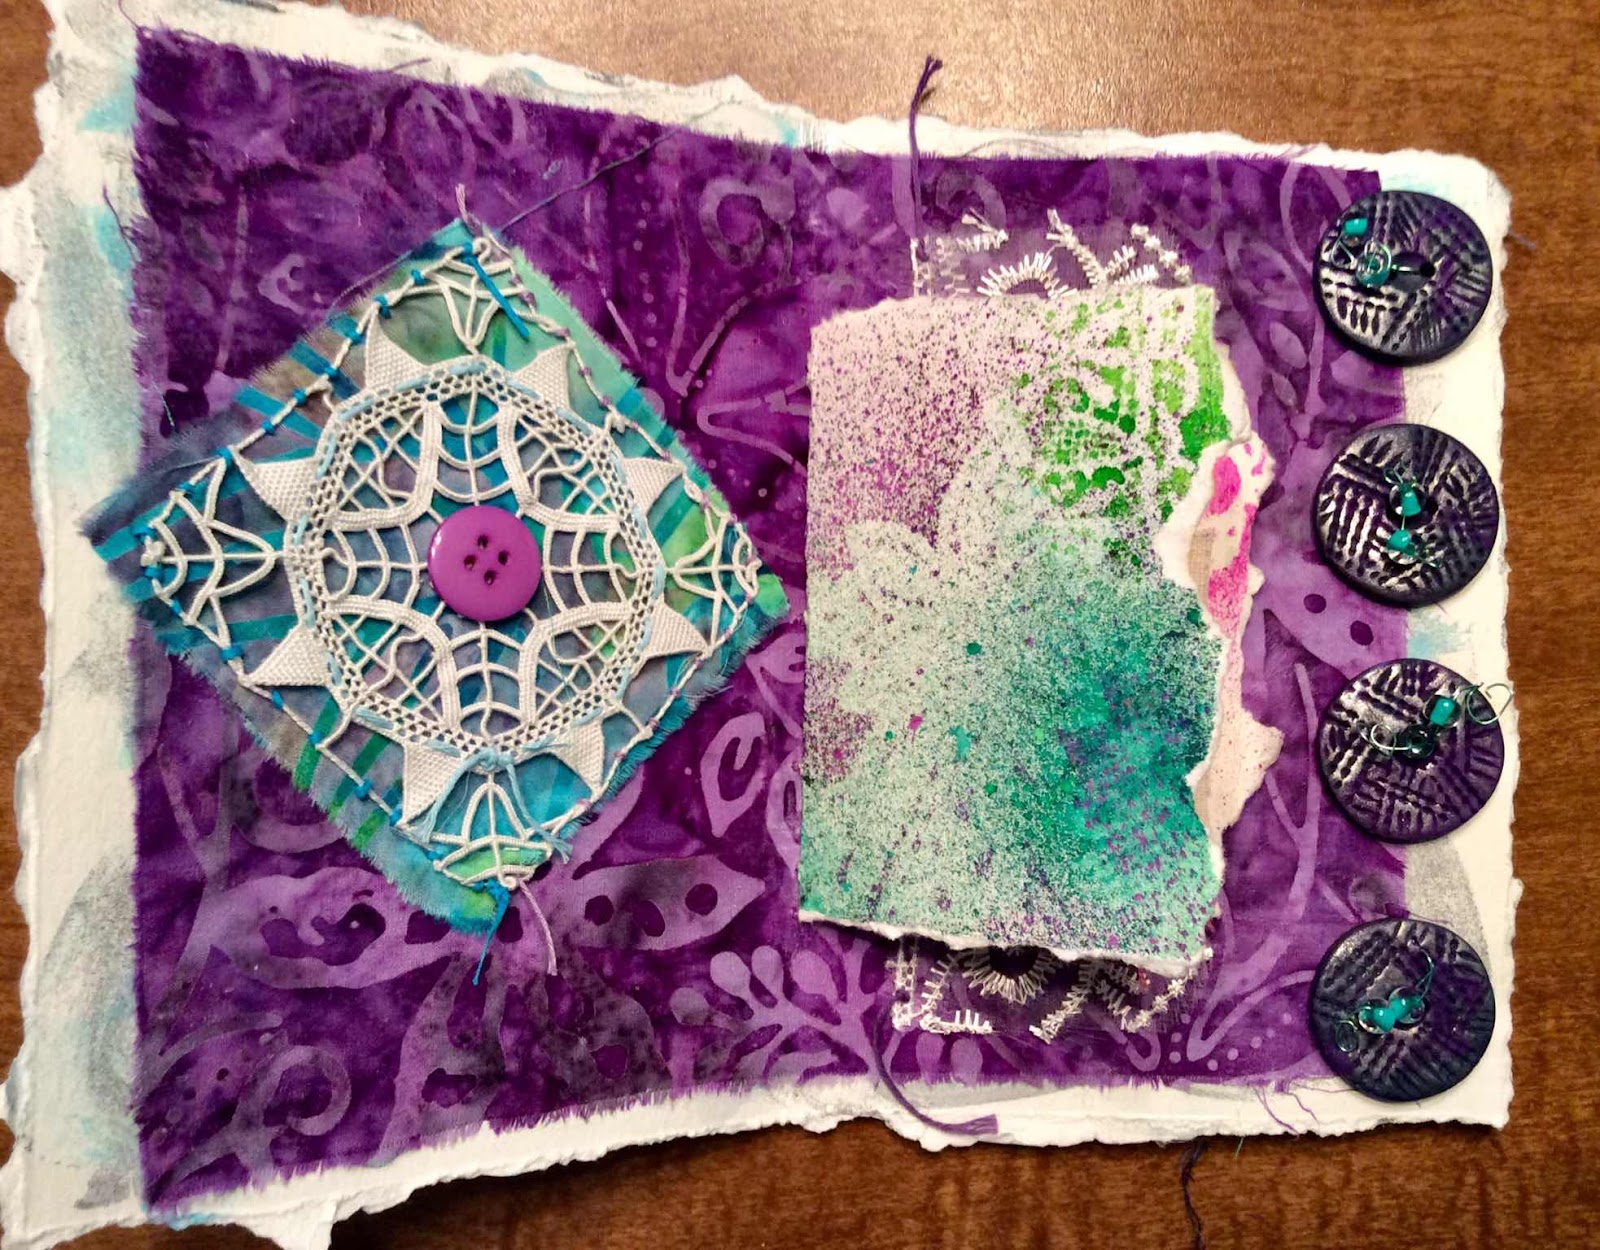
Not owning a vintage tin, I purchased a new tin online.  My tin measured 5” x 7” x 1”.  Because my tin was new, and lacking the character of an older tin, I pretty much covered the entire surface.  “Pages” were made from watercolor paper torn to size.

While many students incorporated rusted nails, washers, etc. in their books, I took my own path.  I made use of my large collections of fabric, buttons, and lace!

Please view my photos:


Paper & Book Camp 2.0, Shake Rag Alley, April 2026

This multi-day workshop was held April 24th - 26th at beautiful Shake Rag Alley in Mineral Point, WI.  I take many classes there.  I'm a...