Tuesday, August 31, 2021

Sievers School of Fiber Arts


I was a student in the weeklong "Beginning Weaving: Floor Loom" workshop, held in June of this year, at the Sievers School of Fiber Arts. The school is located on the north side of Washington Island, WI.

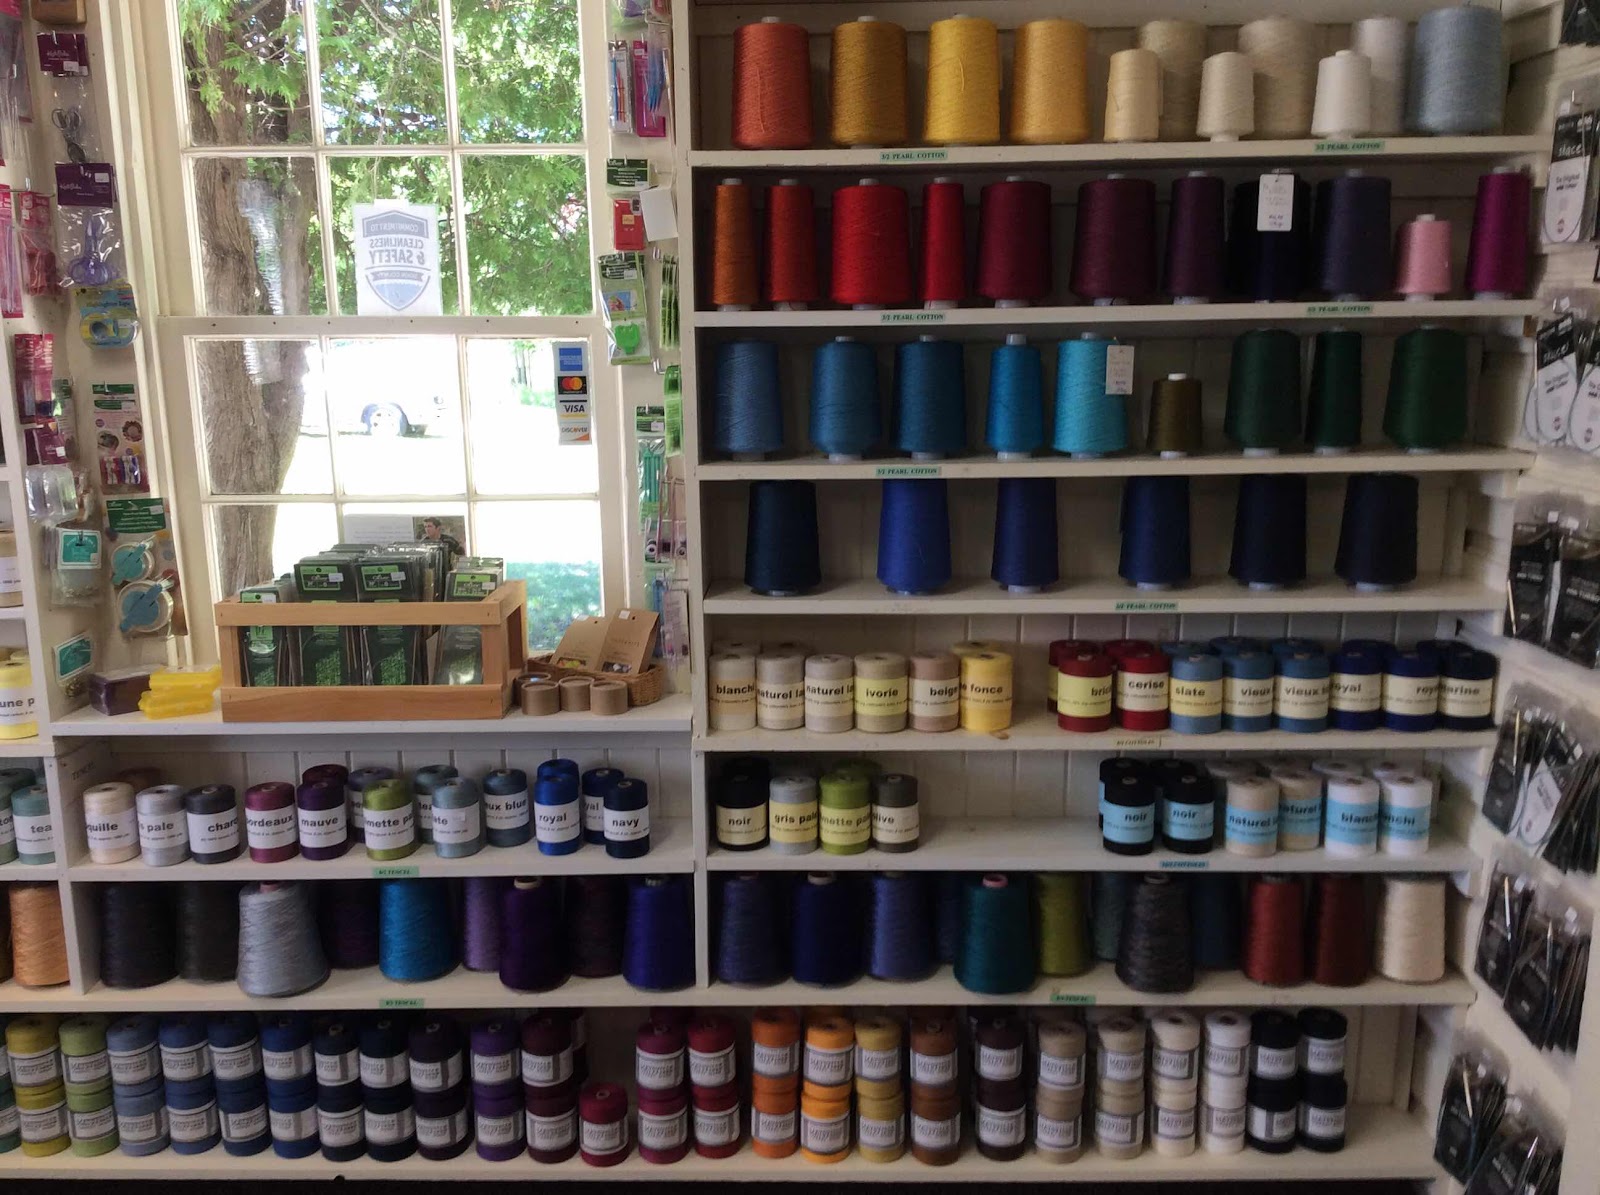
Before the workshop commenced, I spent time touring the school buildings and the wonderful Sievers Gift Shop!

The school was originally set up to feature weaving classes.  Offerings have since
expanded to include other fiber arts.

Below:Administration building and gift shop.
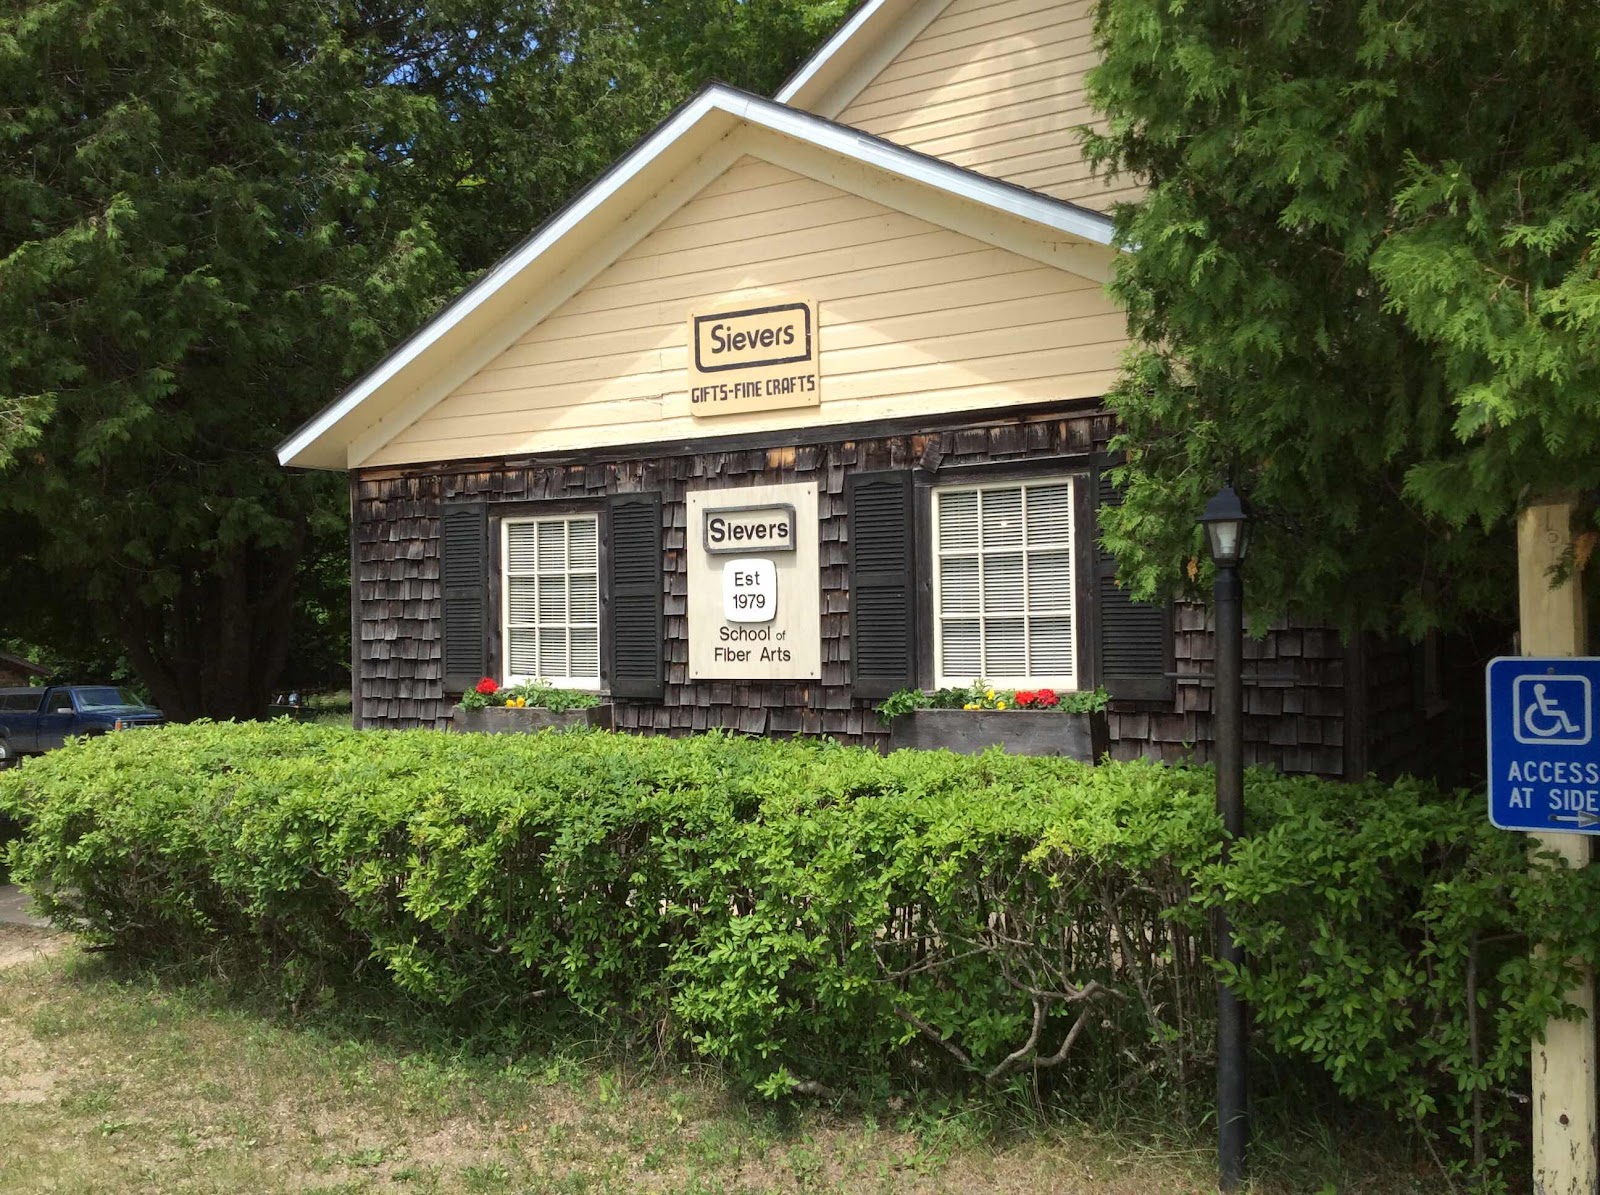


Side entrance to the gift shop.


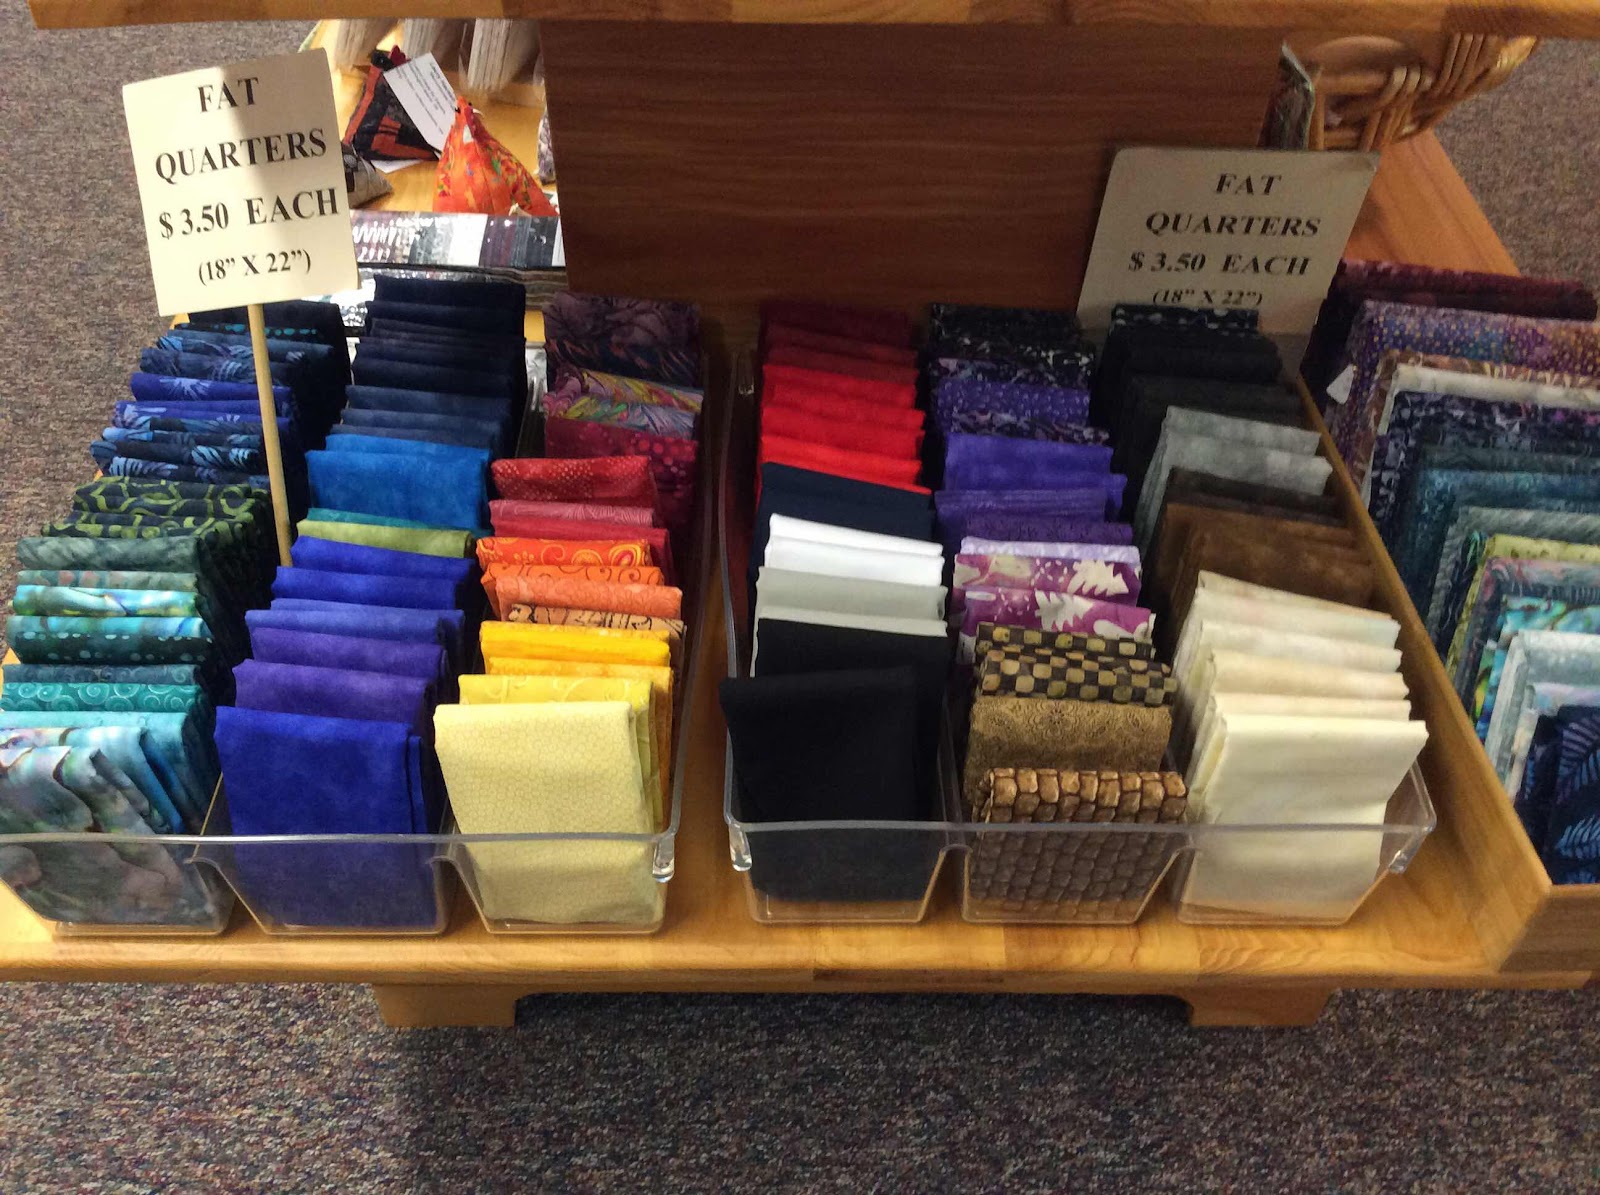
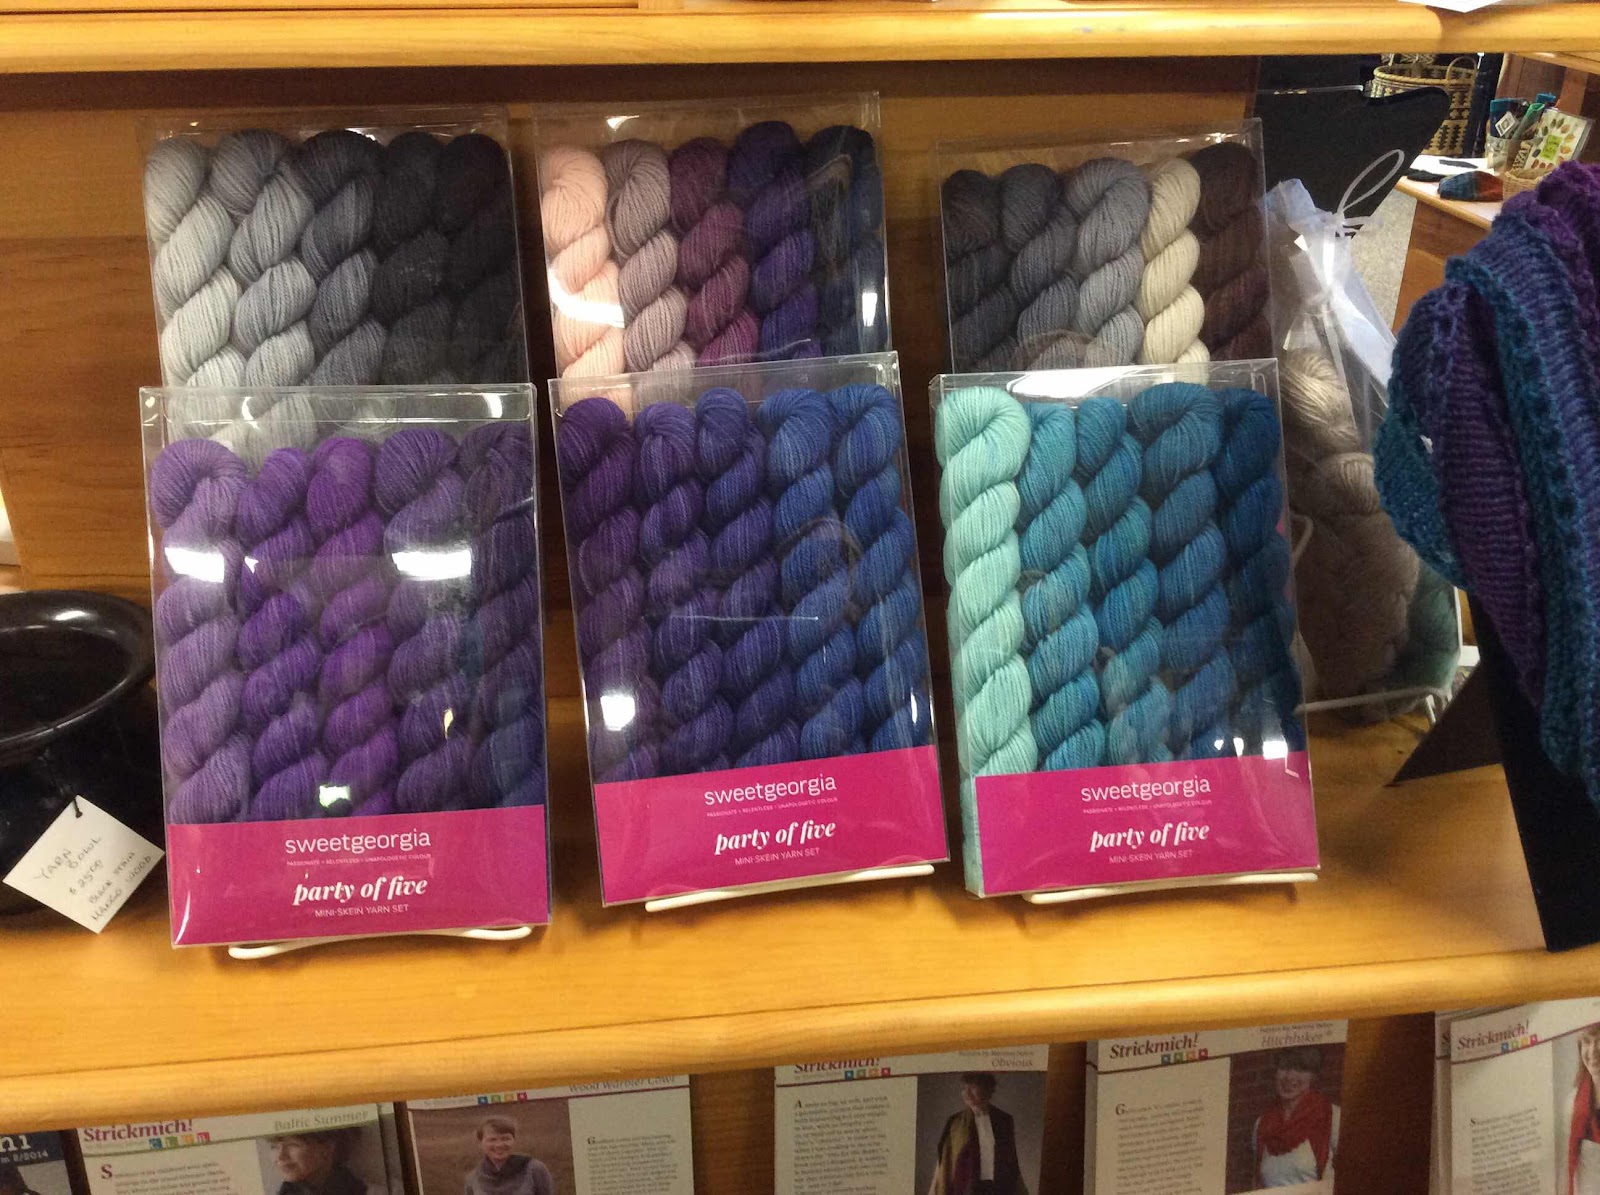
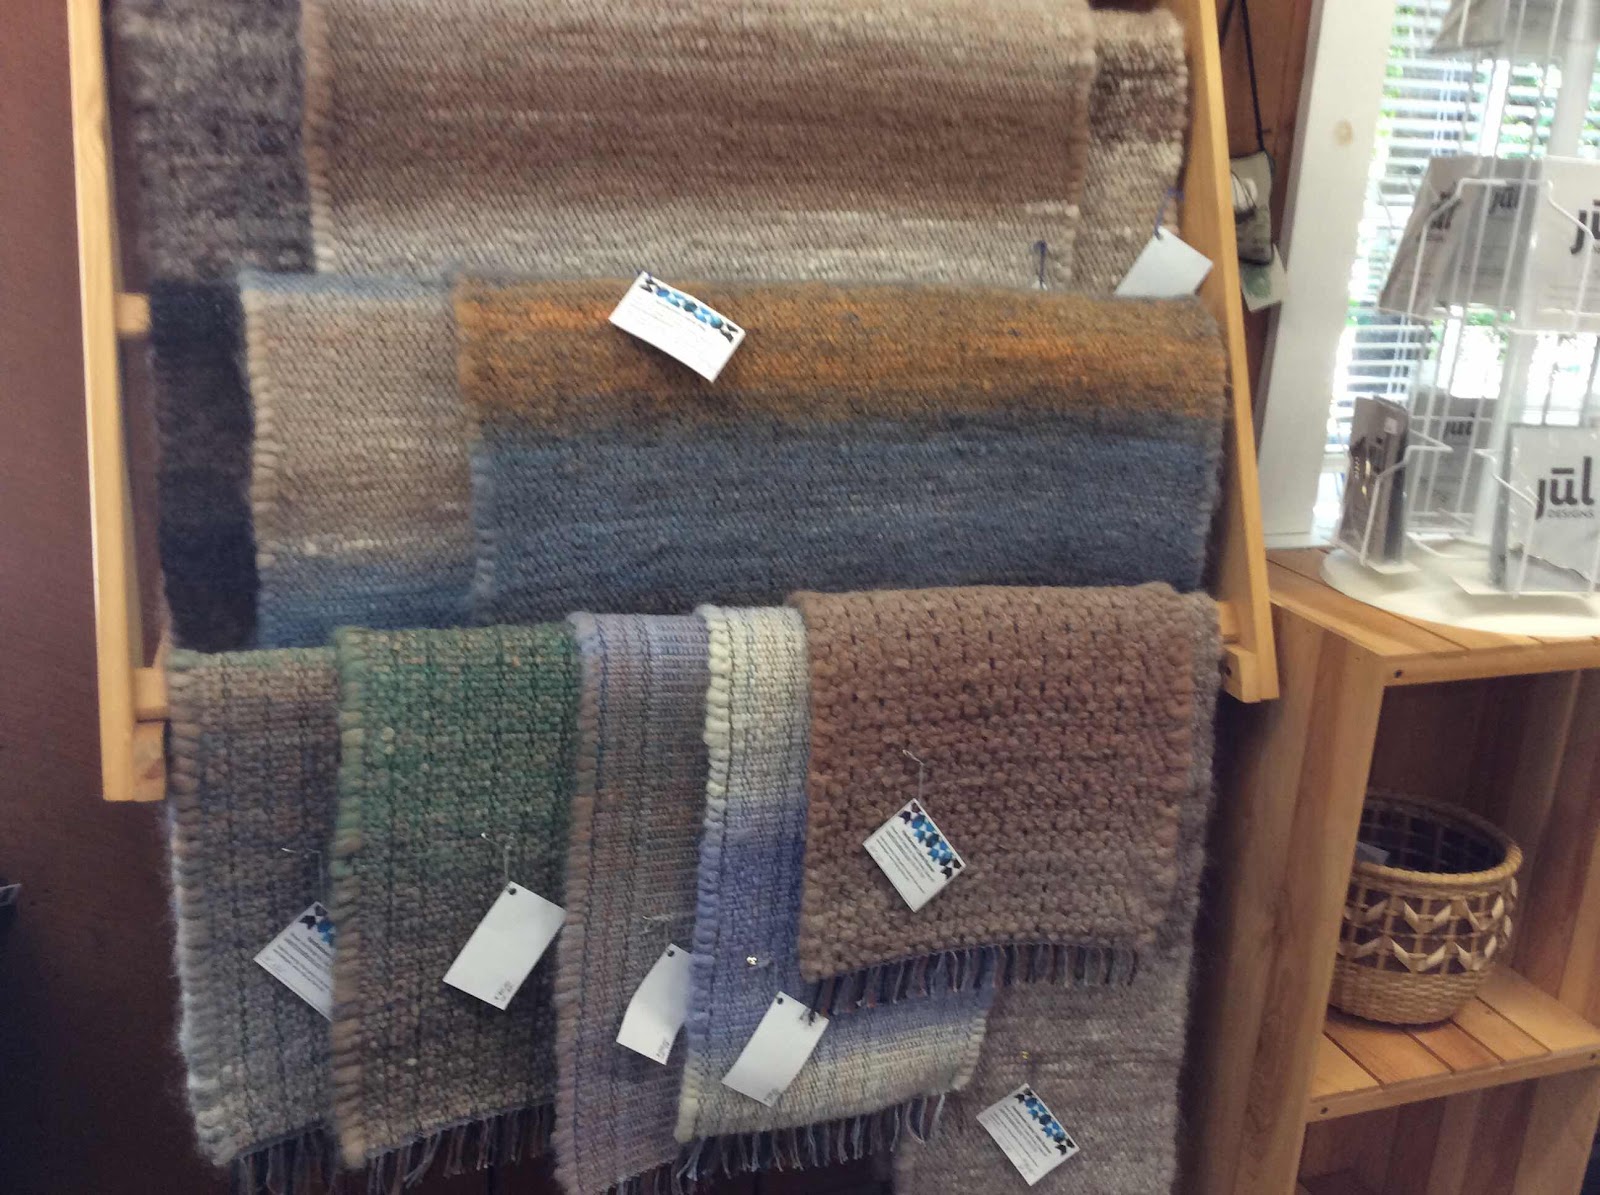
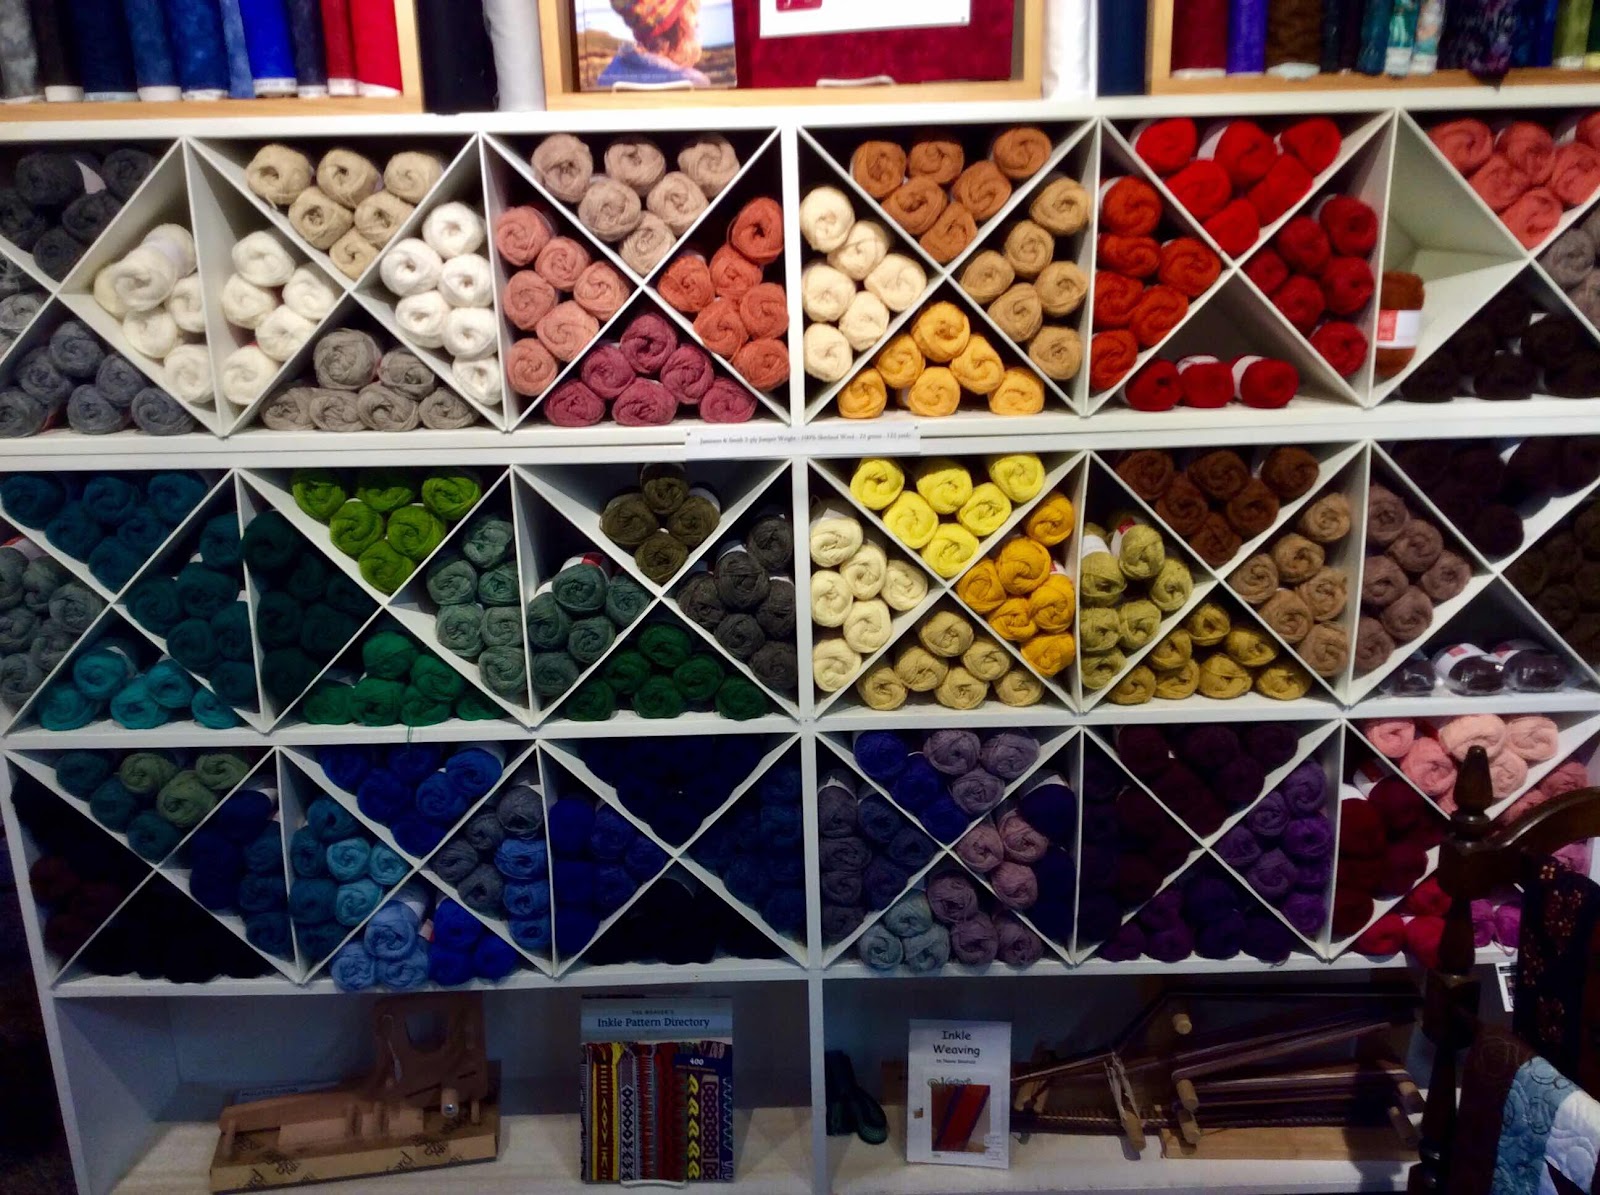
There were many temptations inside the Sievers Gift Shop!  These photos,
taken with permission, give you a glimpse of the wonderful goods available 
there.


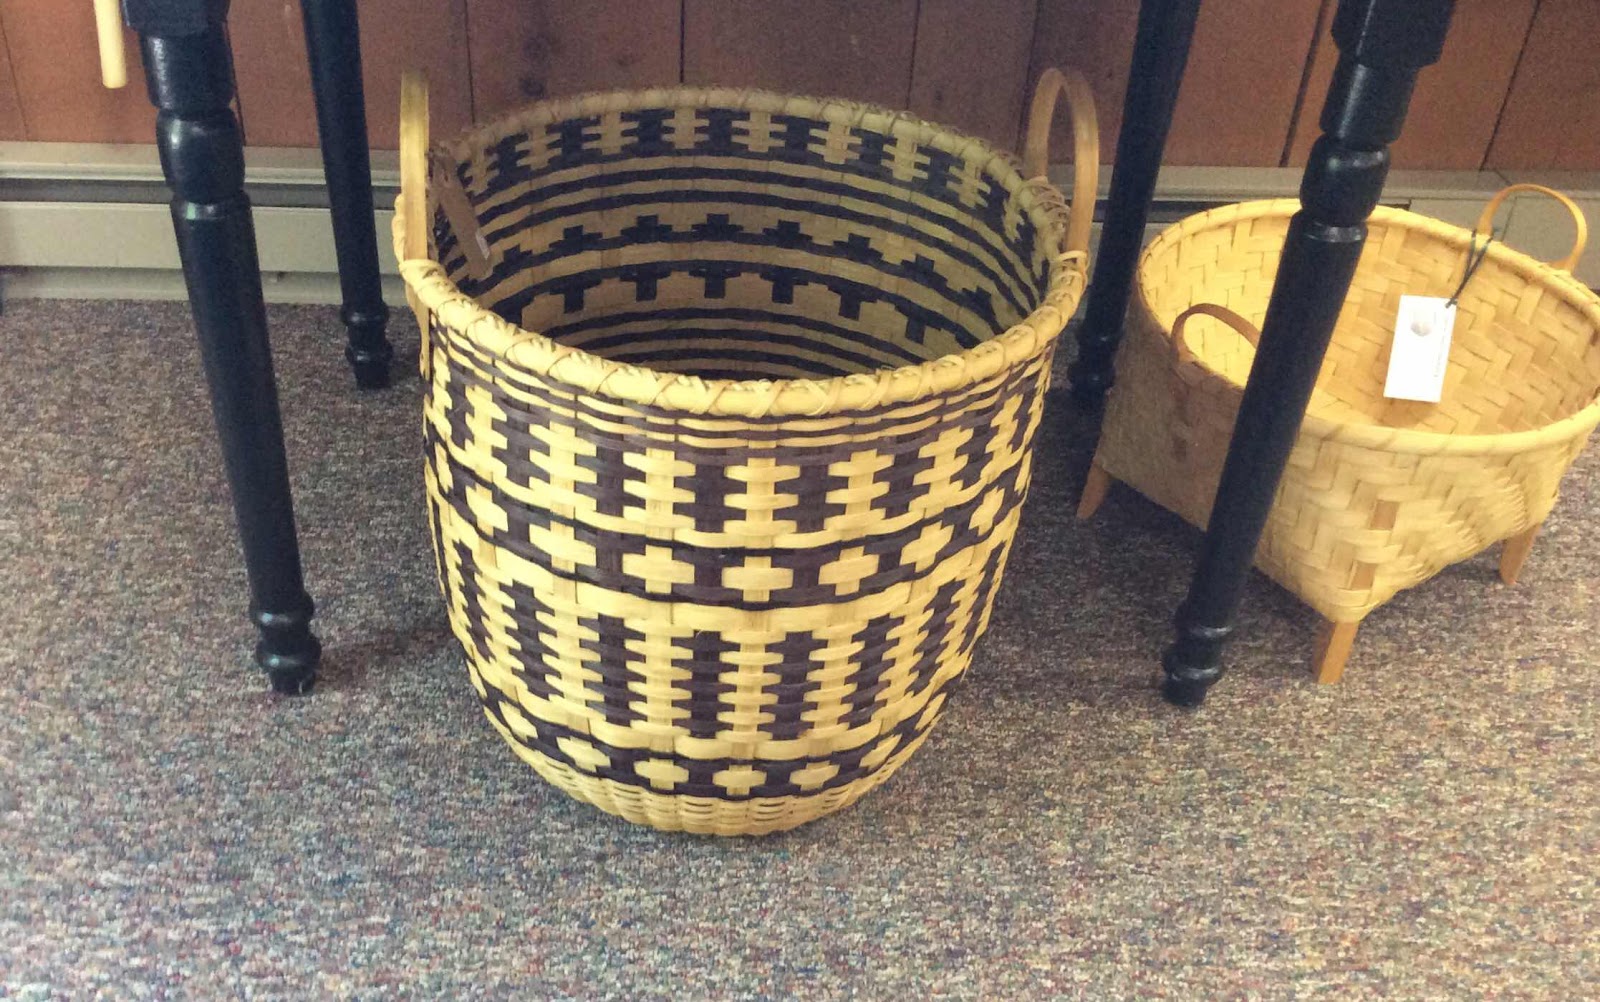
I kept visiting this beautiful basket (below).  In the end, the large basket came home with me!


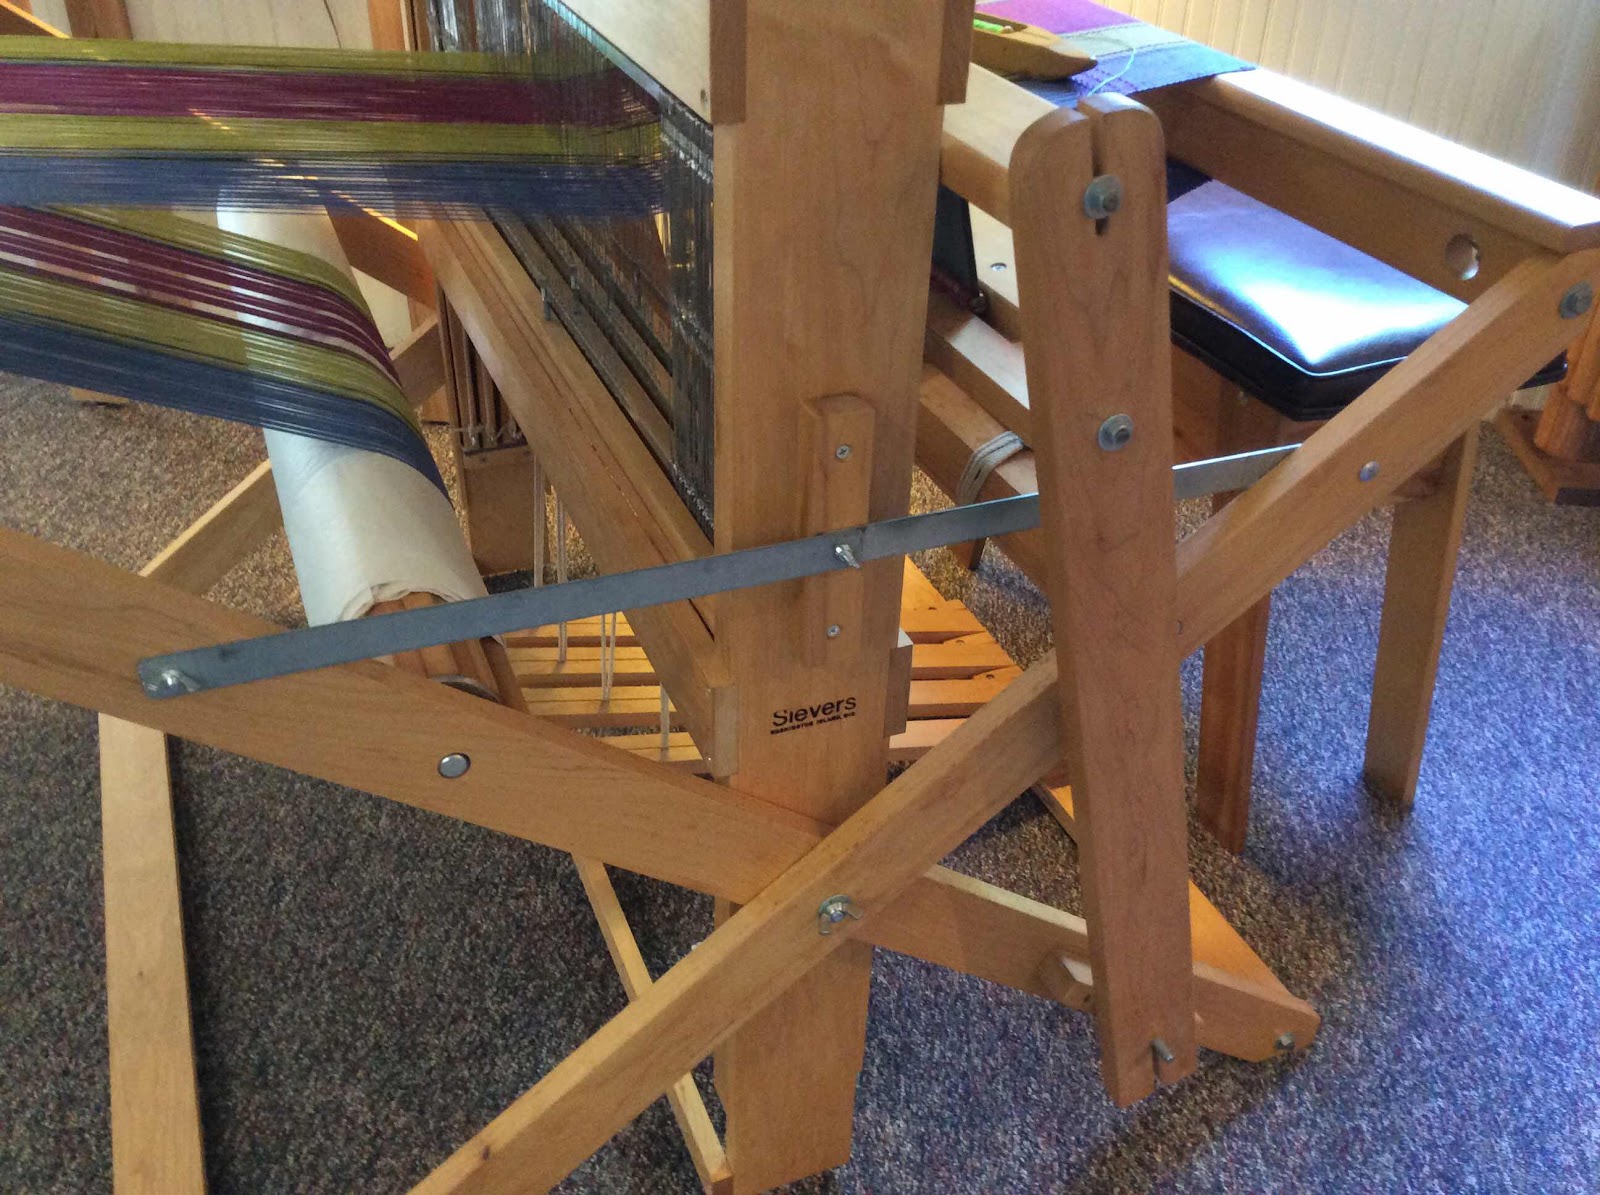
A Sievers loom is on display in the gift shop!  Weaving demo’s are done on 
this loom.


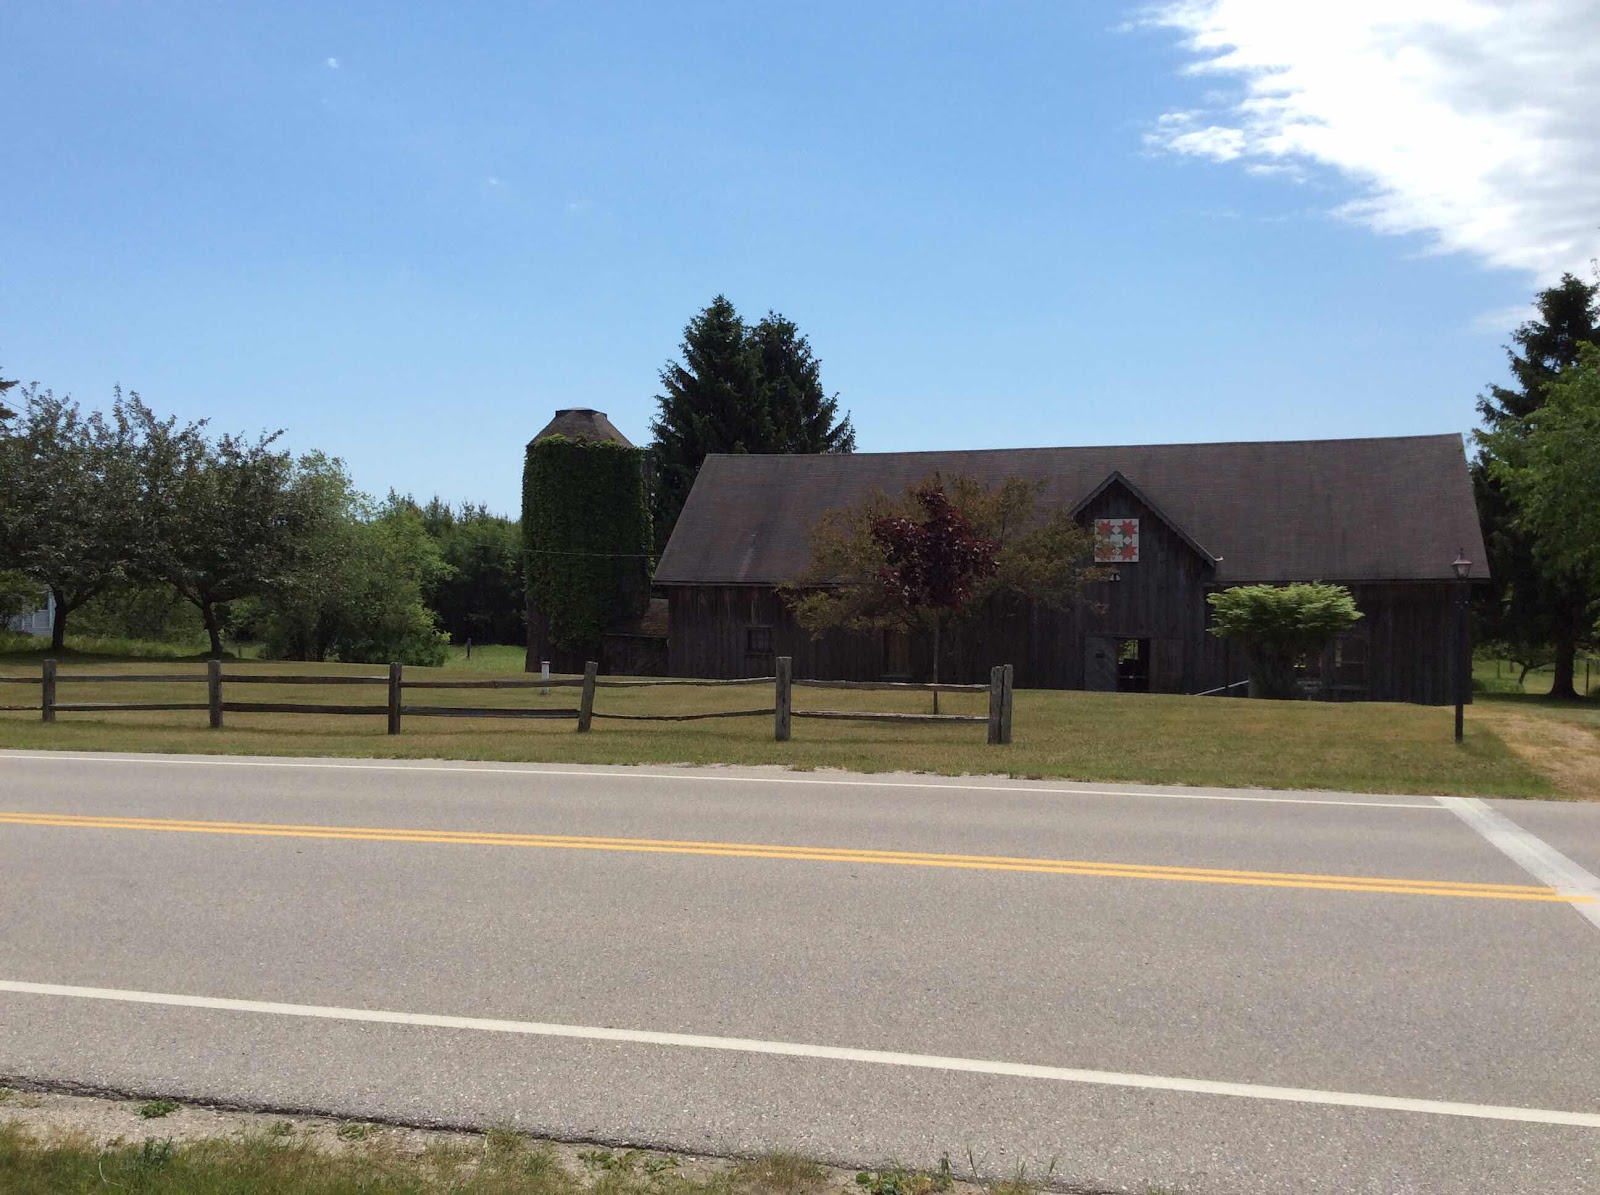
The refurbished barn across the street offers event space and a women’s dormitory.


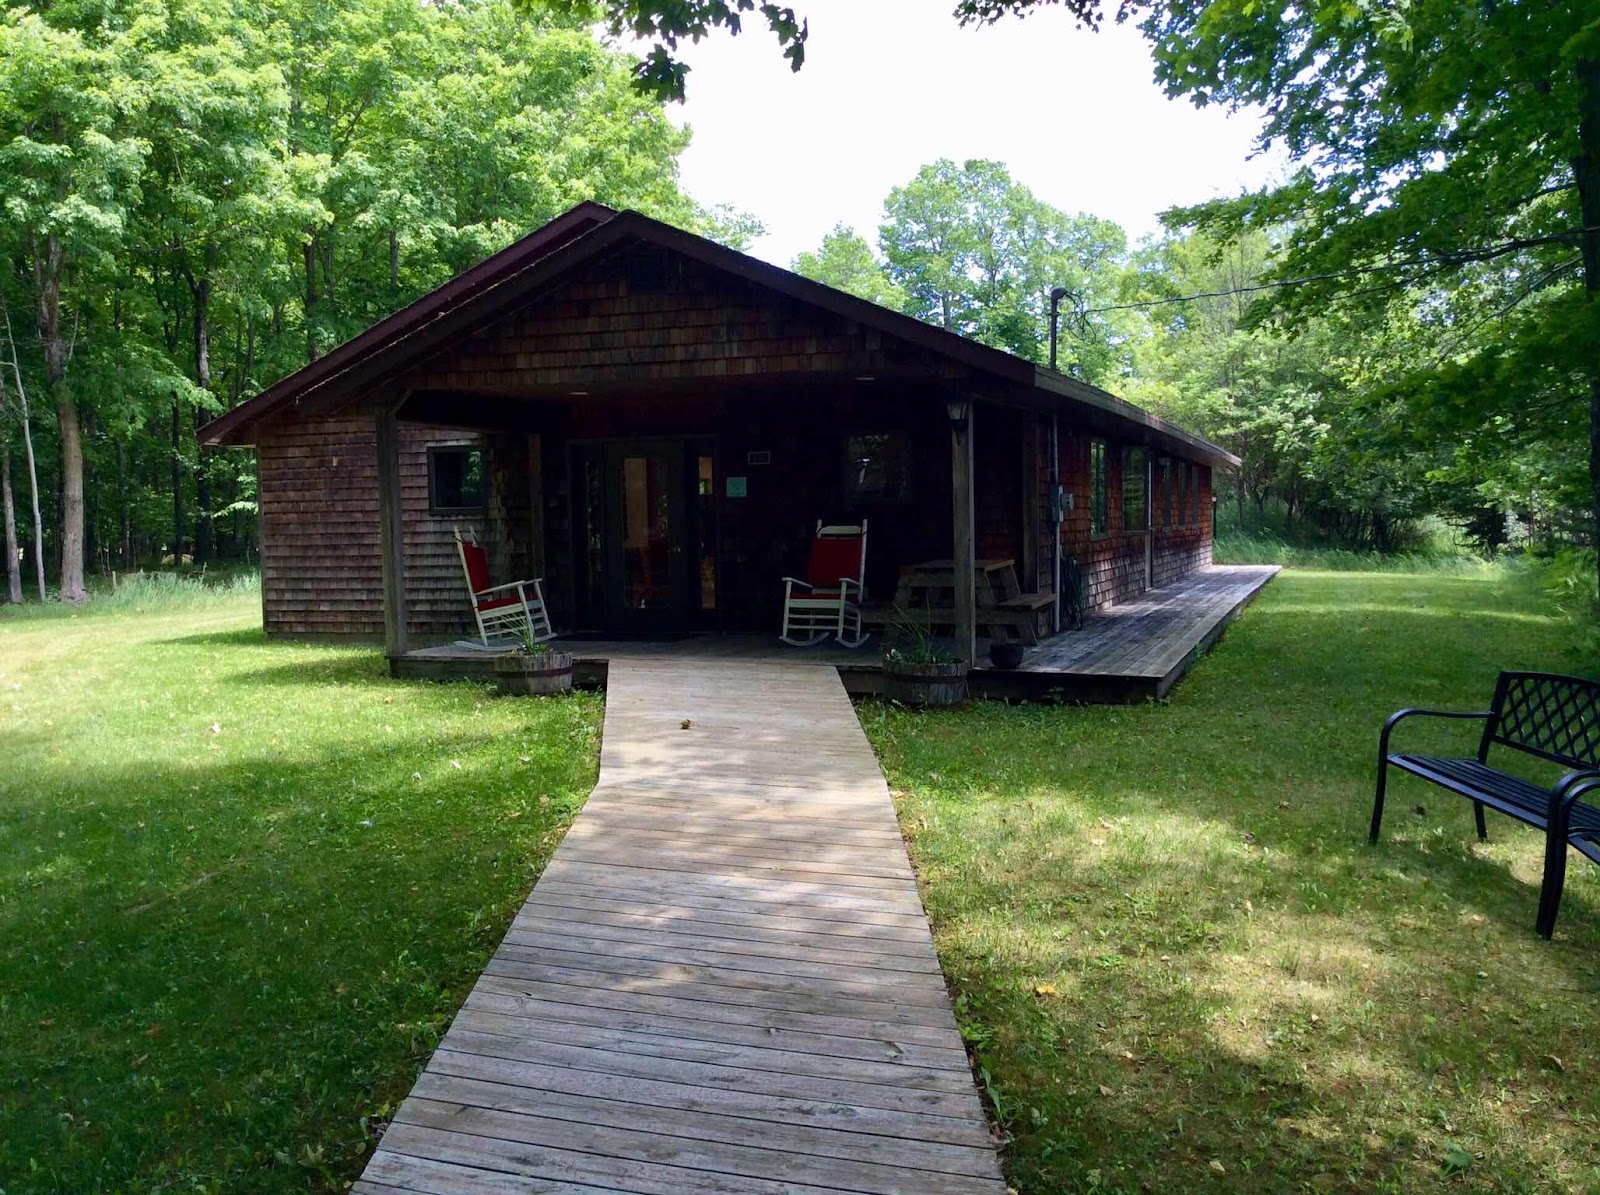
This building is the “Teacher’s Cottage”.


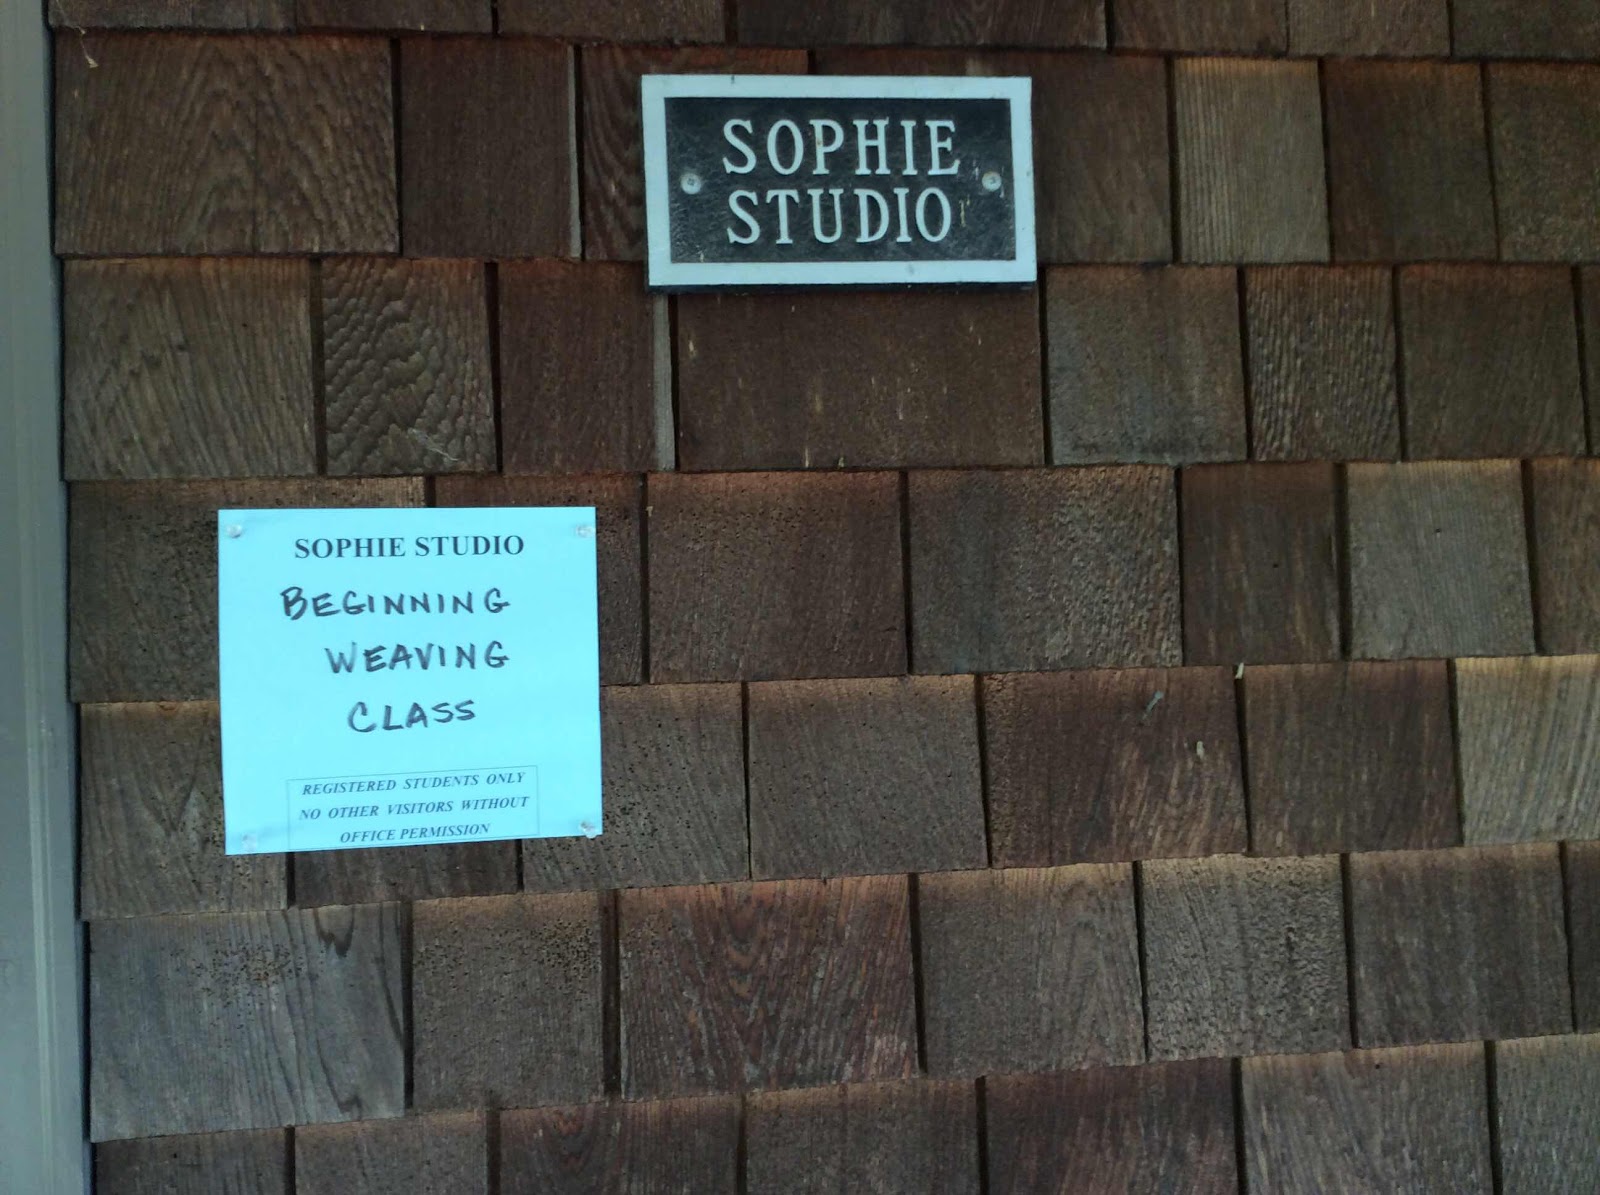
The Sophie Studio houses looms for weaving classes.  My next blog post will
feature many photos taken inside this studio.


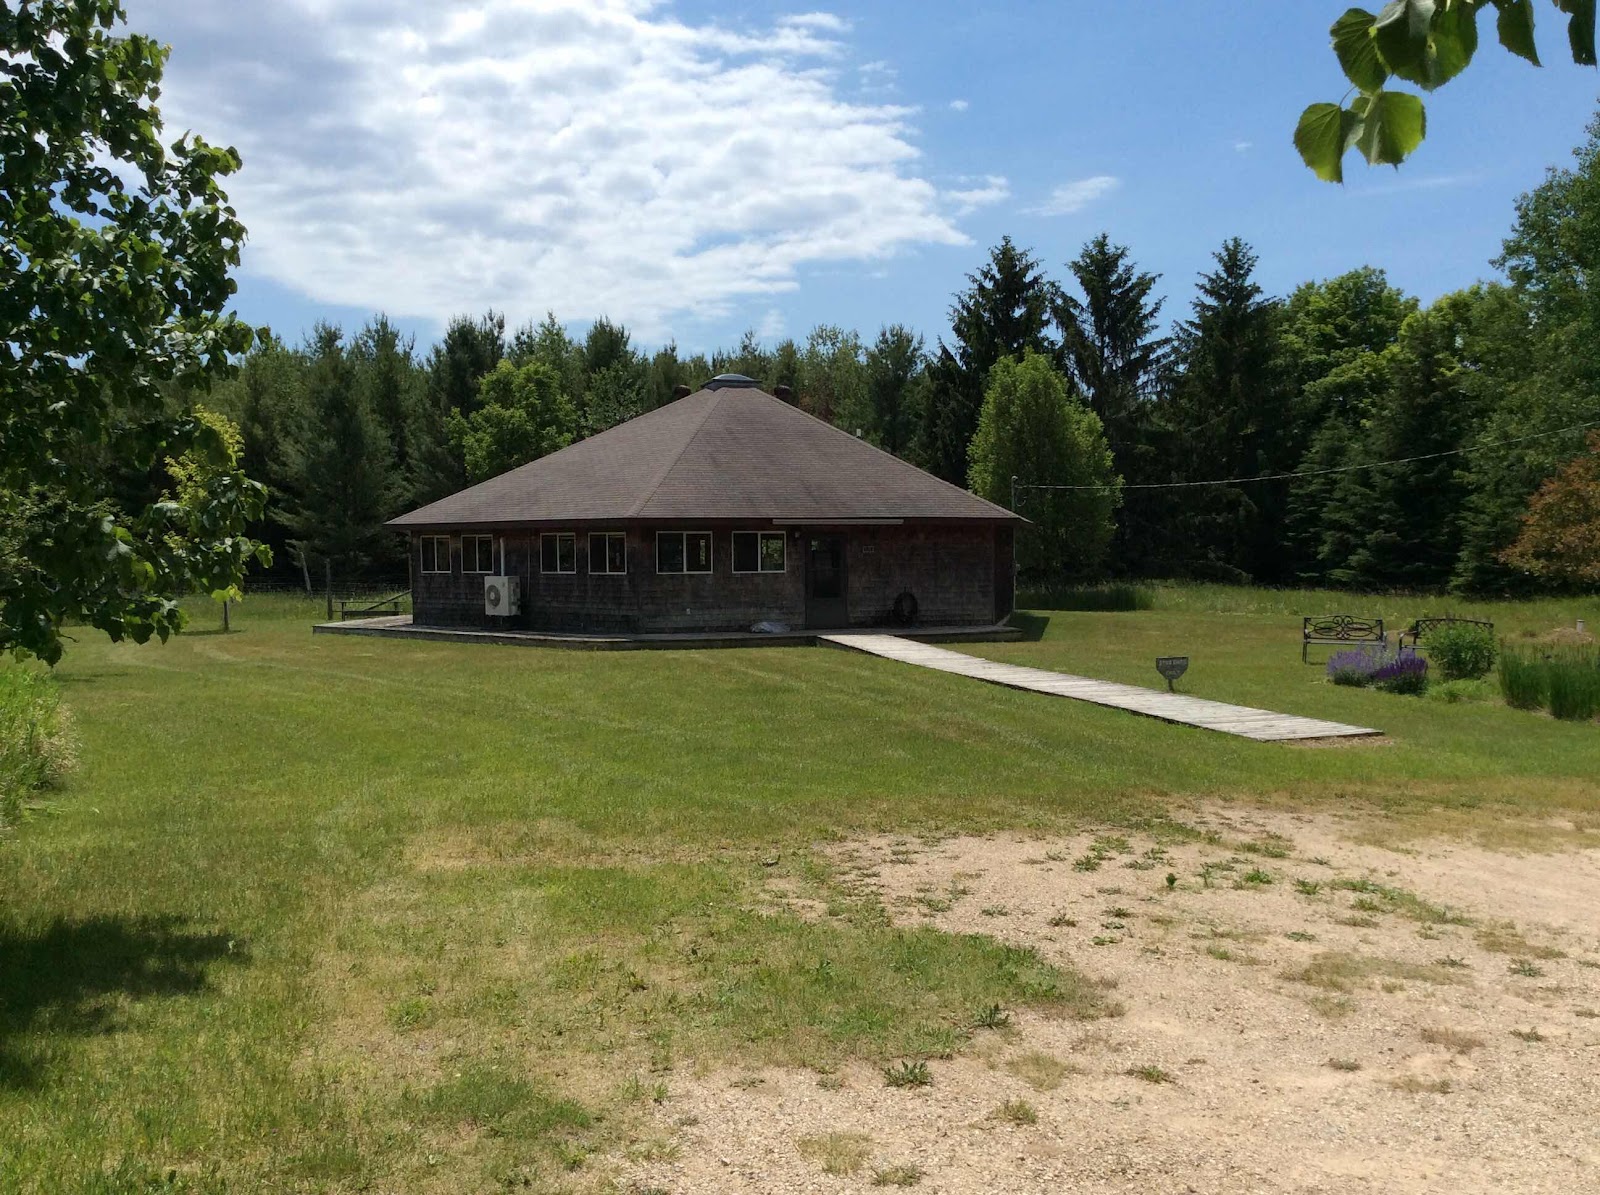
Walter Studio is adjacent to the the large barn.  A Shibori Dyeing class was being
held in this studio.


Friday, July 30, 2021

Scenic Washington Island, WI


I took many photos while on my trip to Washington Island, WI last month. 
Here are some photos for you to view!
 
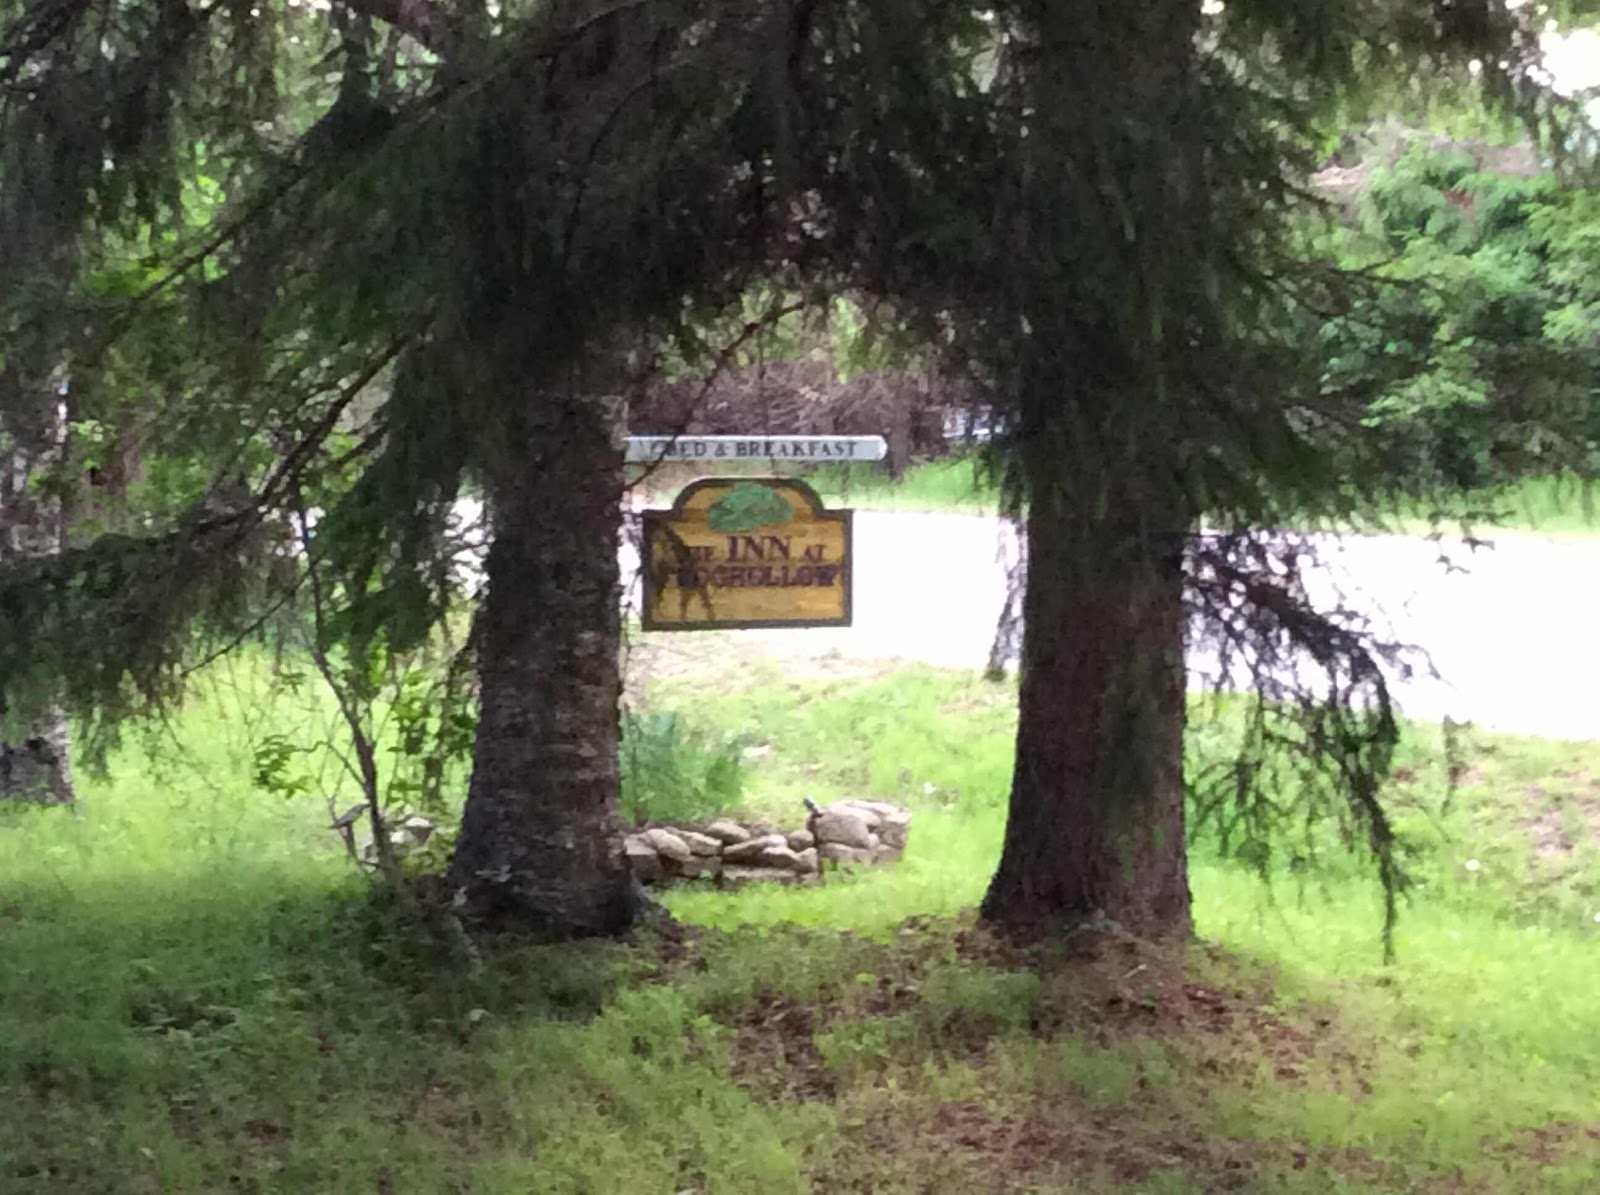
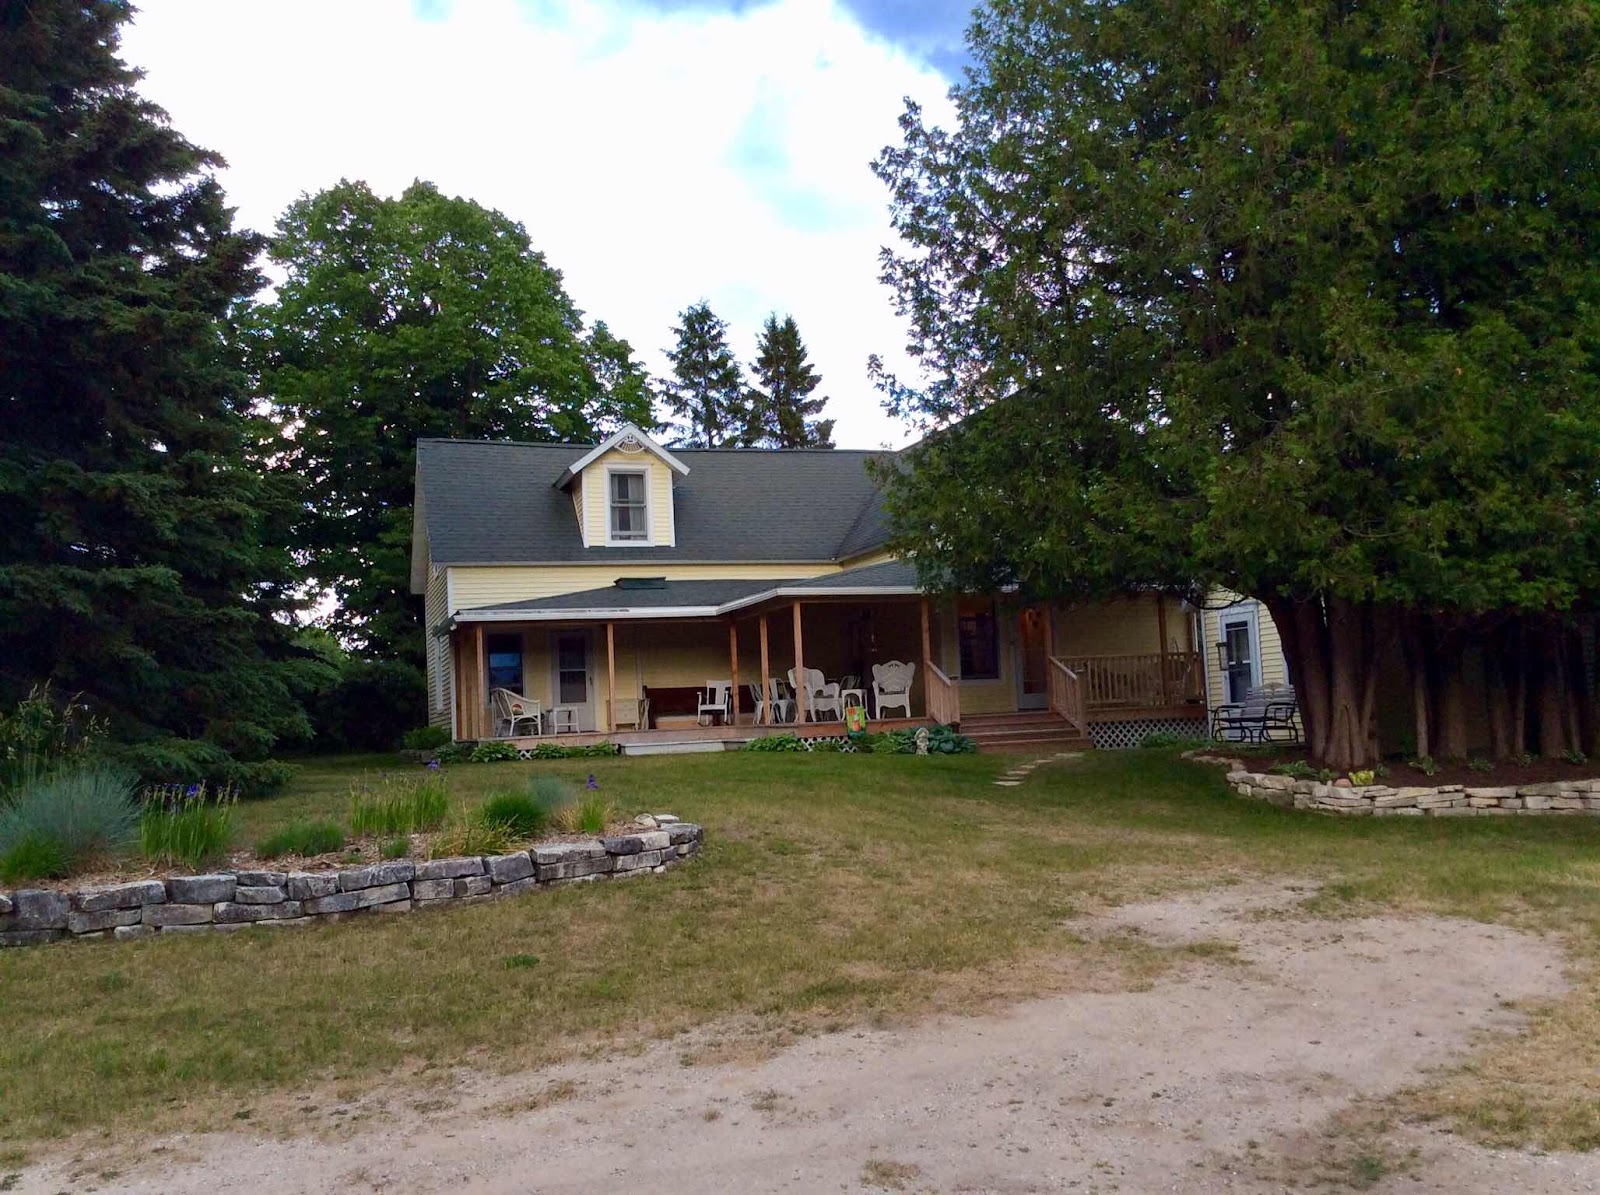
I stayed at the Inn at Frog Hollow, while on Washington Island.


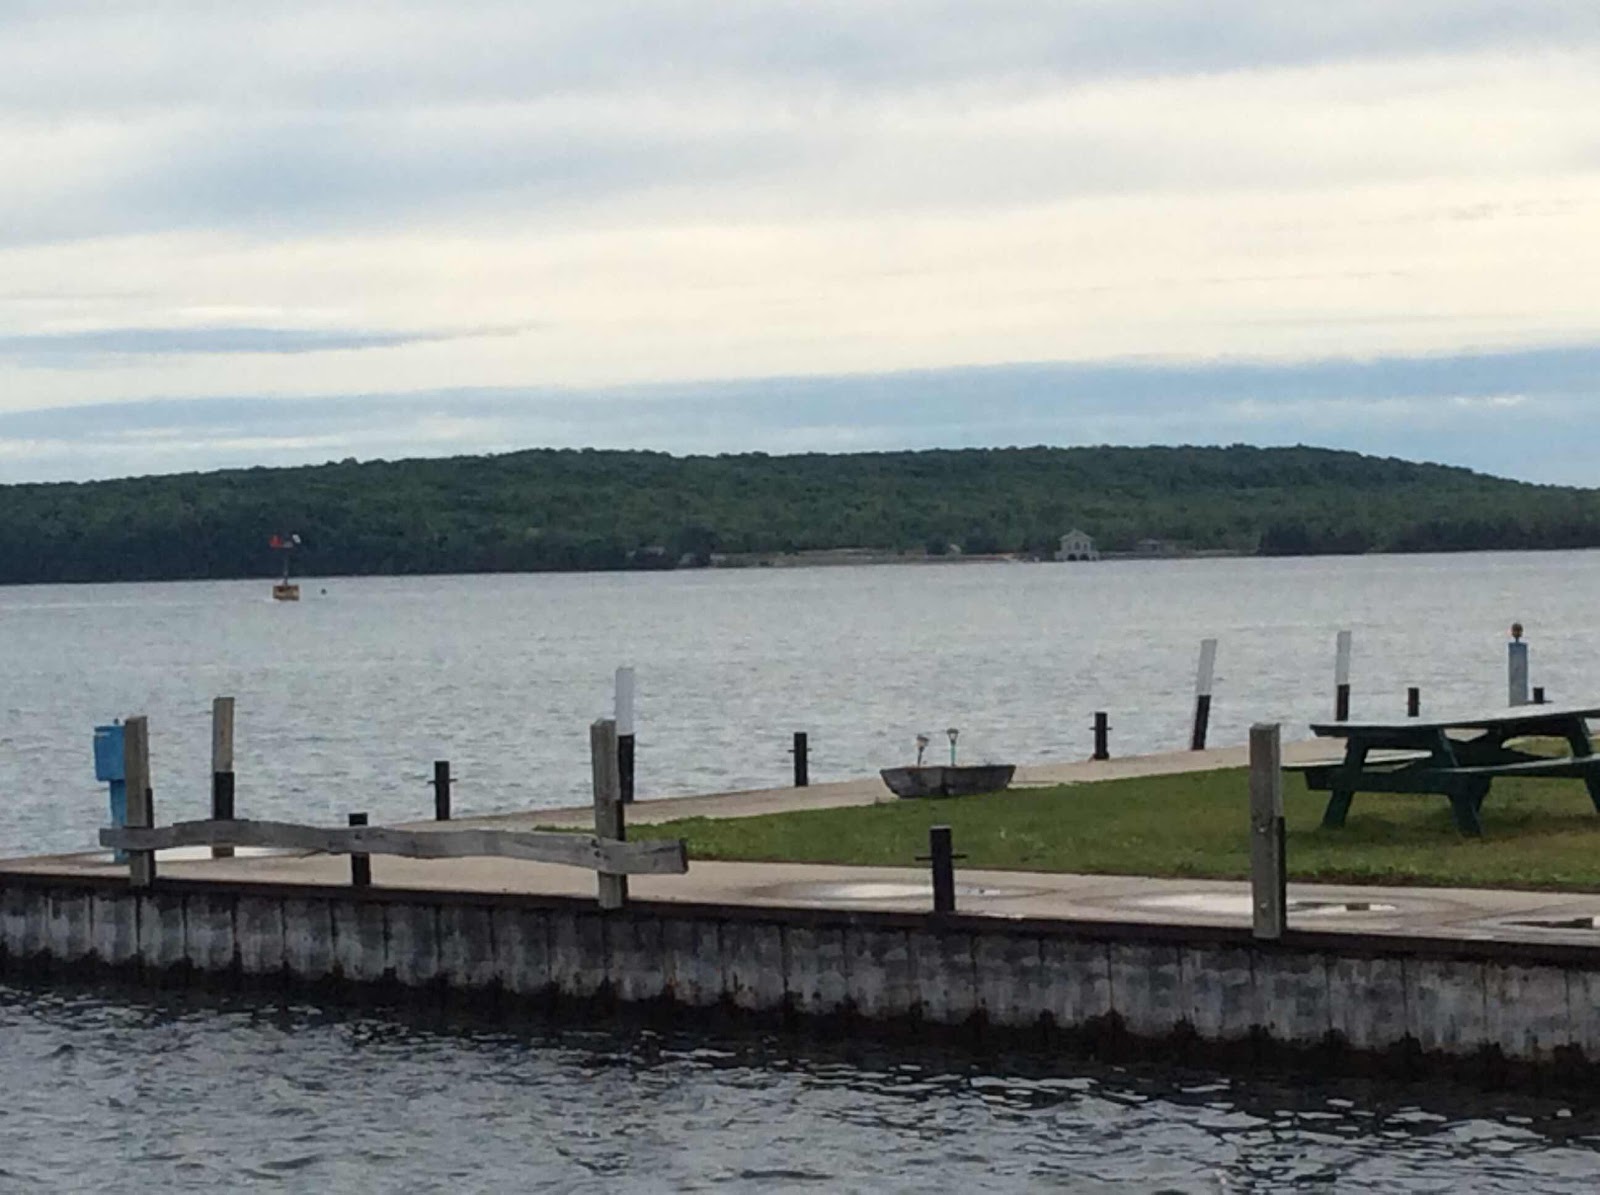
Jackson Harbor, an old fishing village, is pictured below.  Rock Island is in
the distance in the first photo.


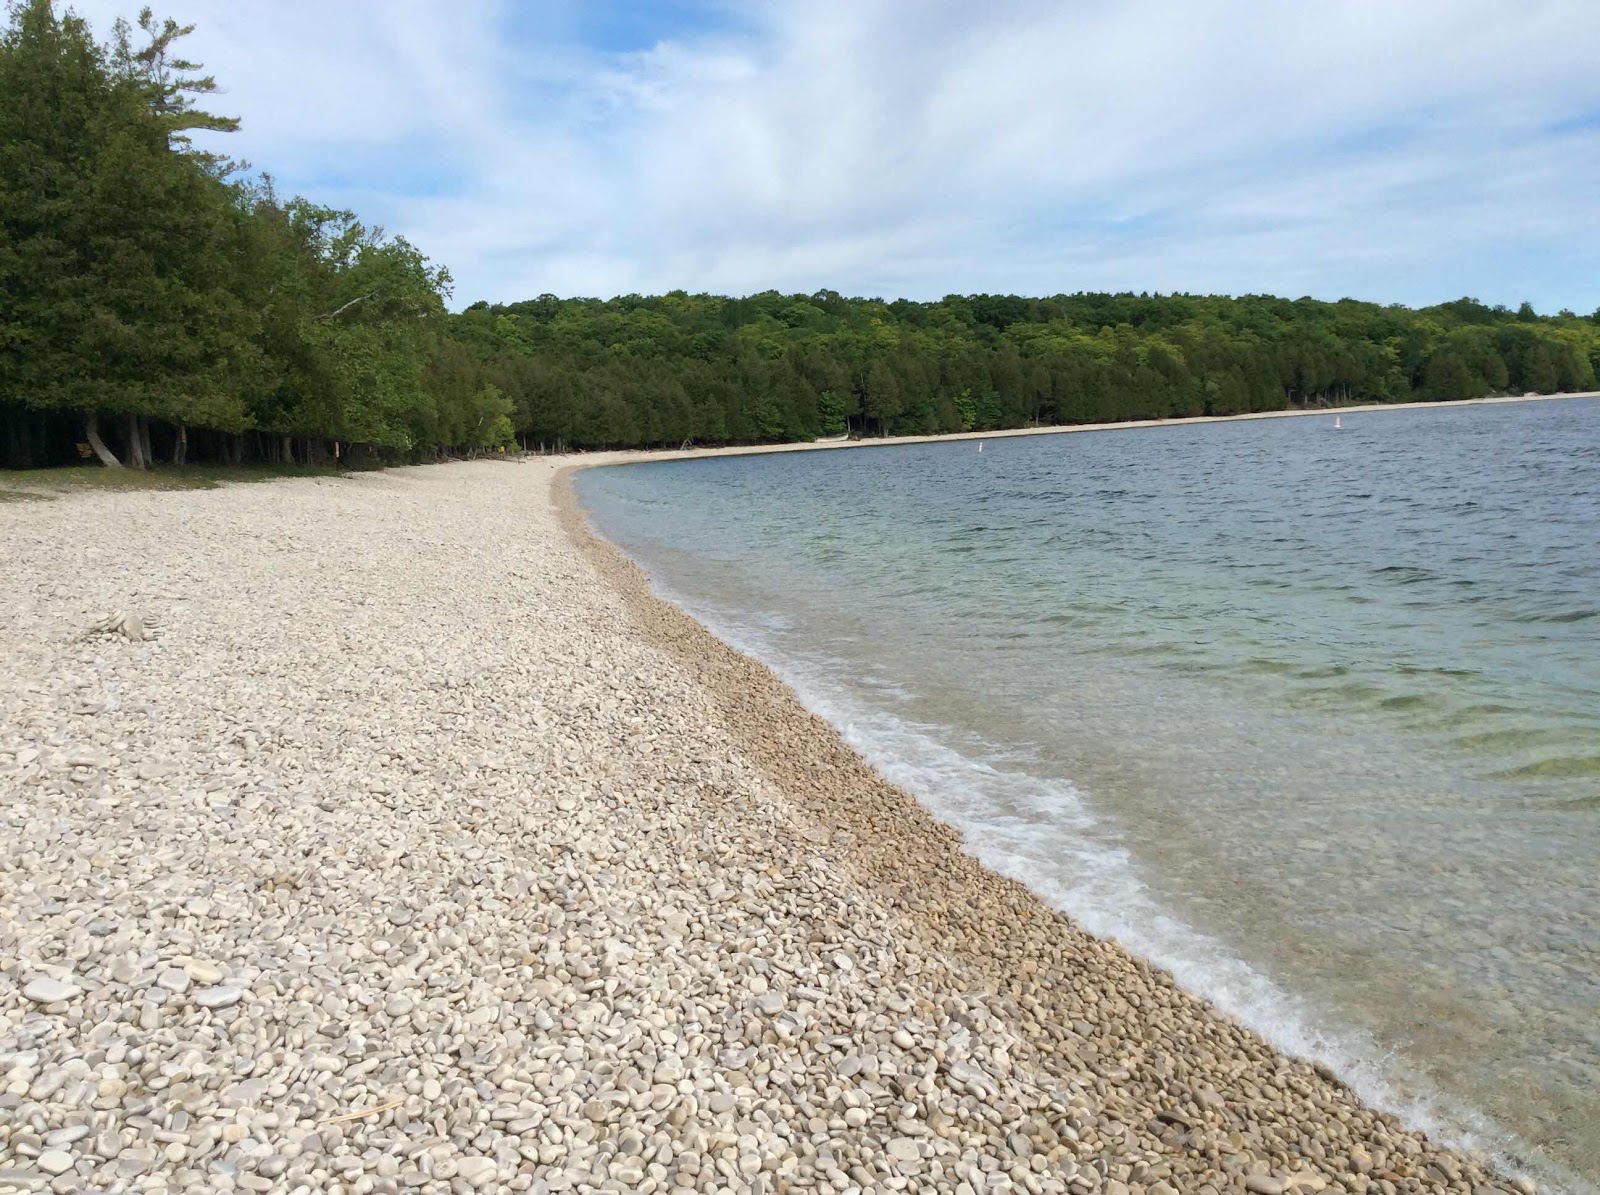
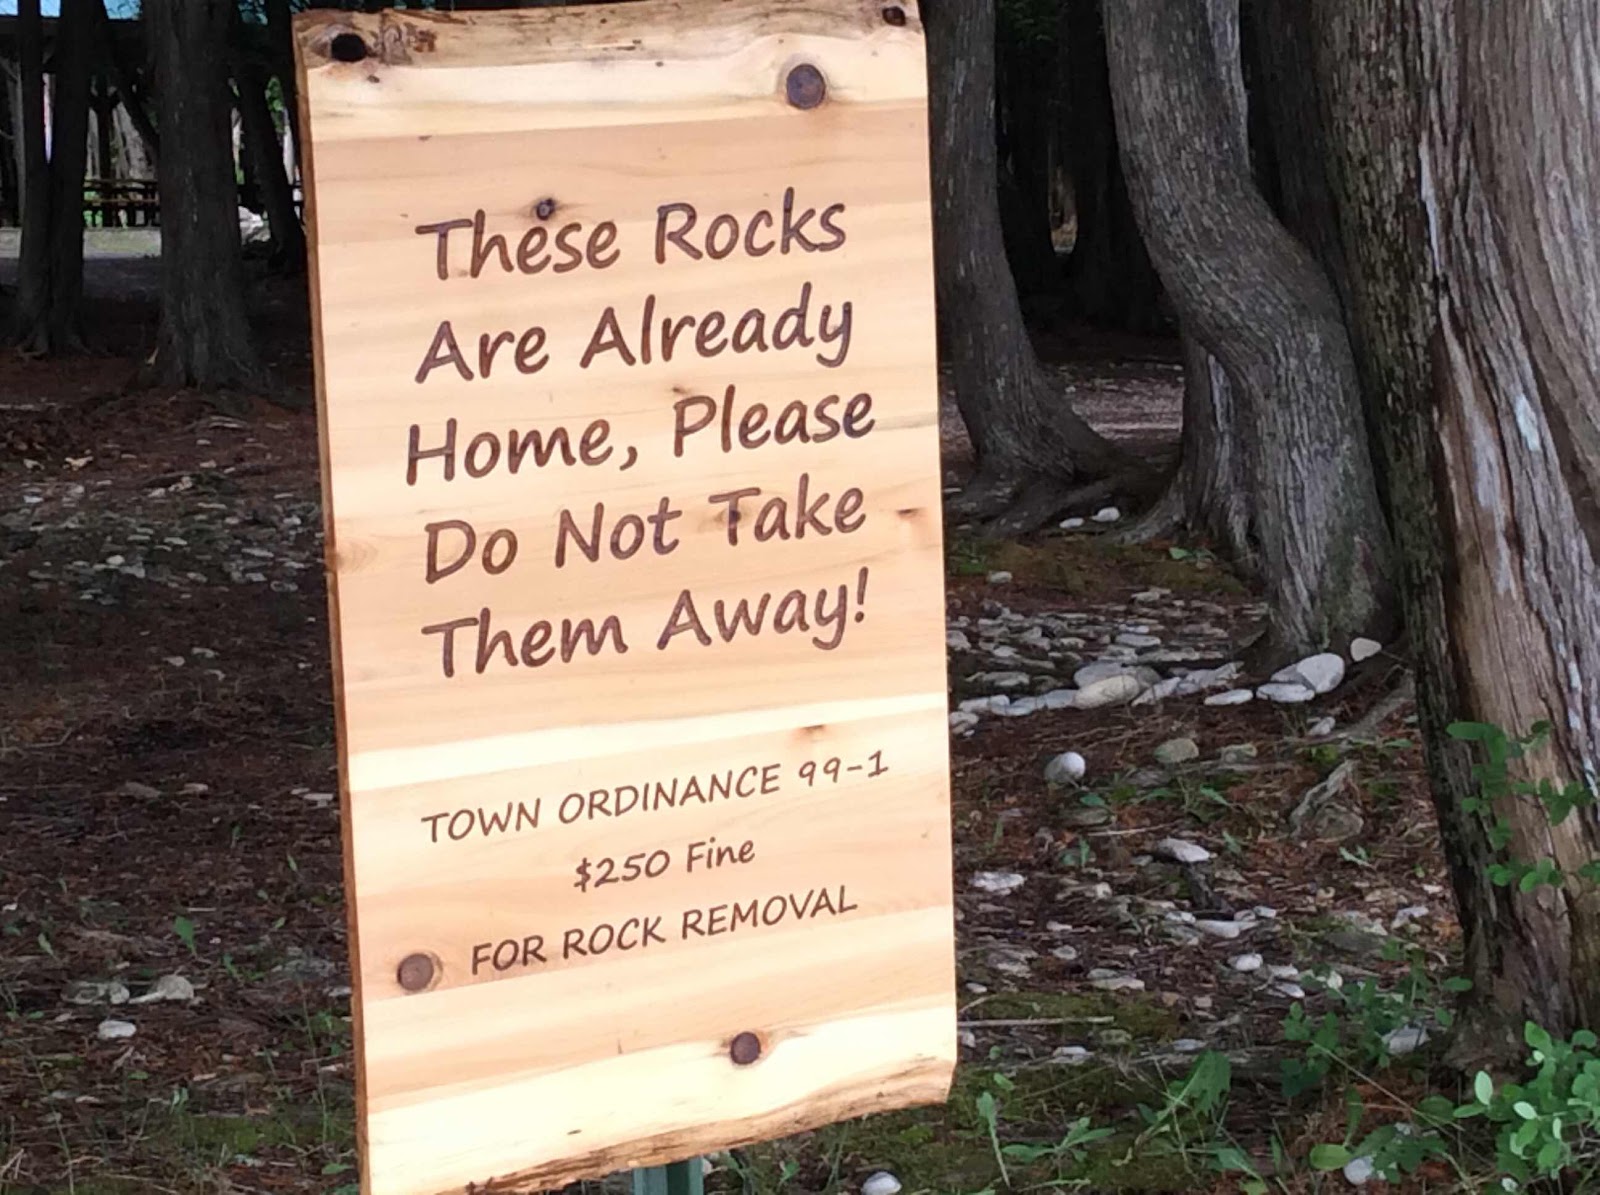
Schoolhouse Beach, on the north side of Washington Island.  The smooth
limestone rocks that line the beach are quite unusual . . . and protected.


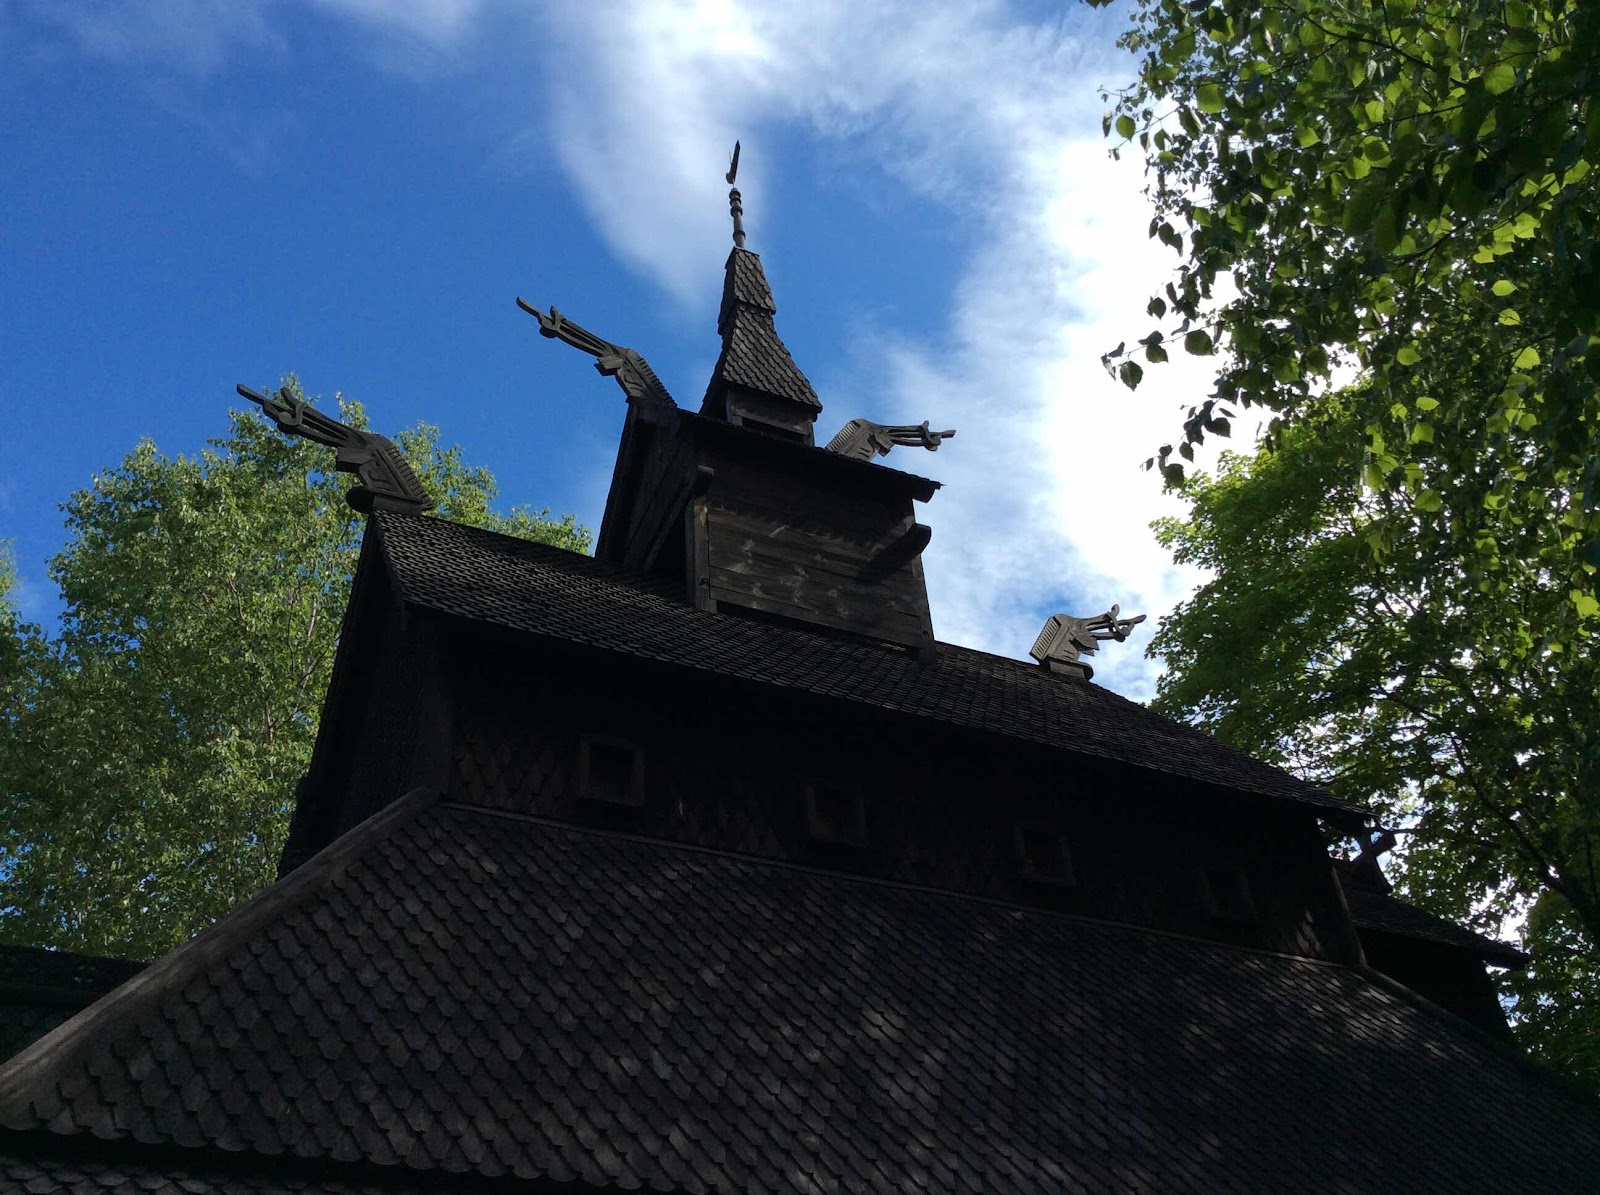
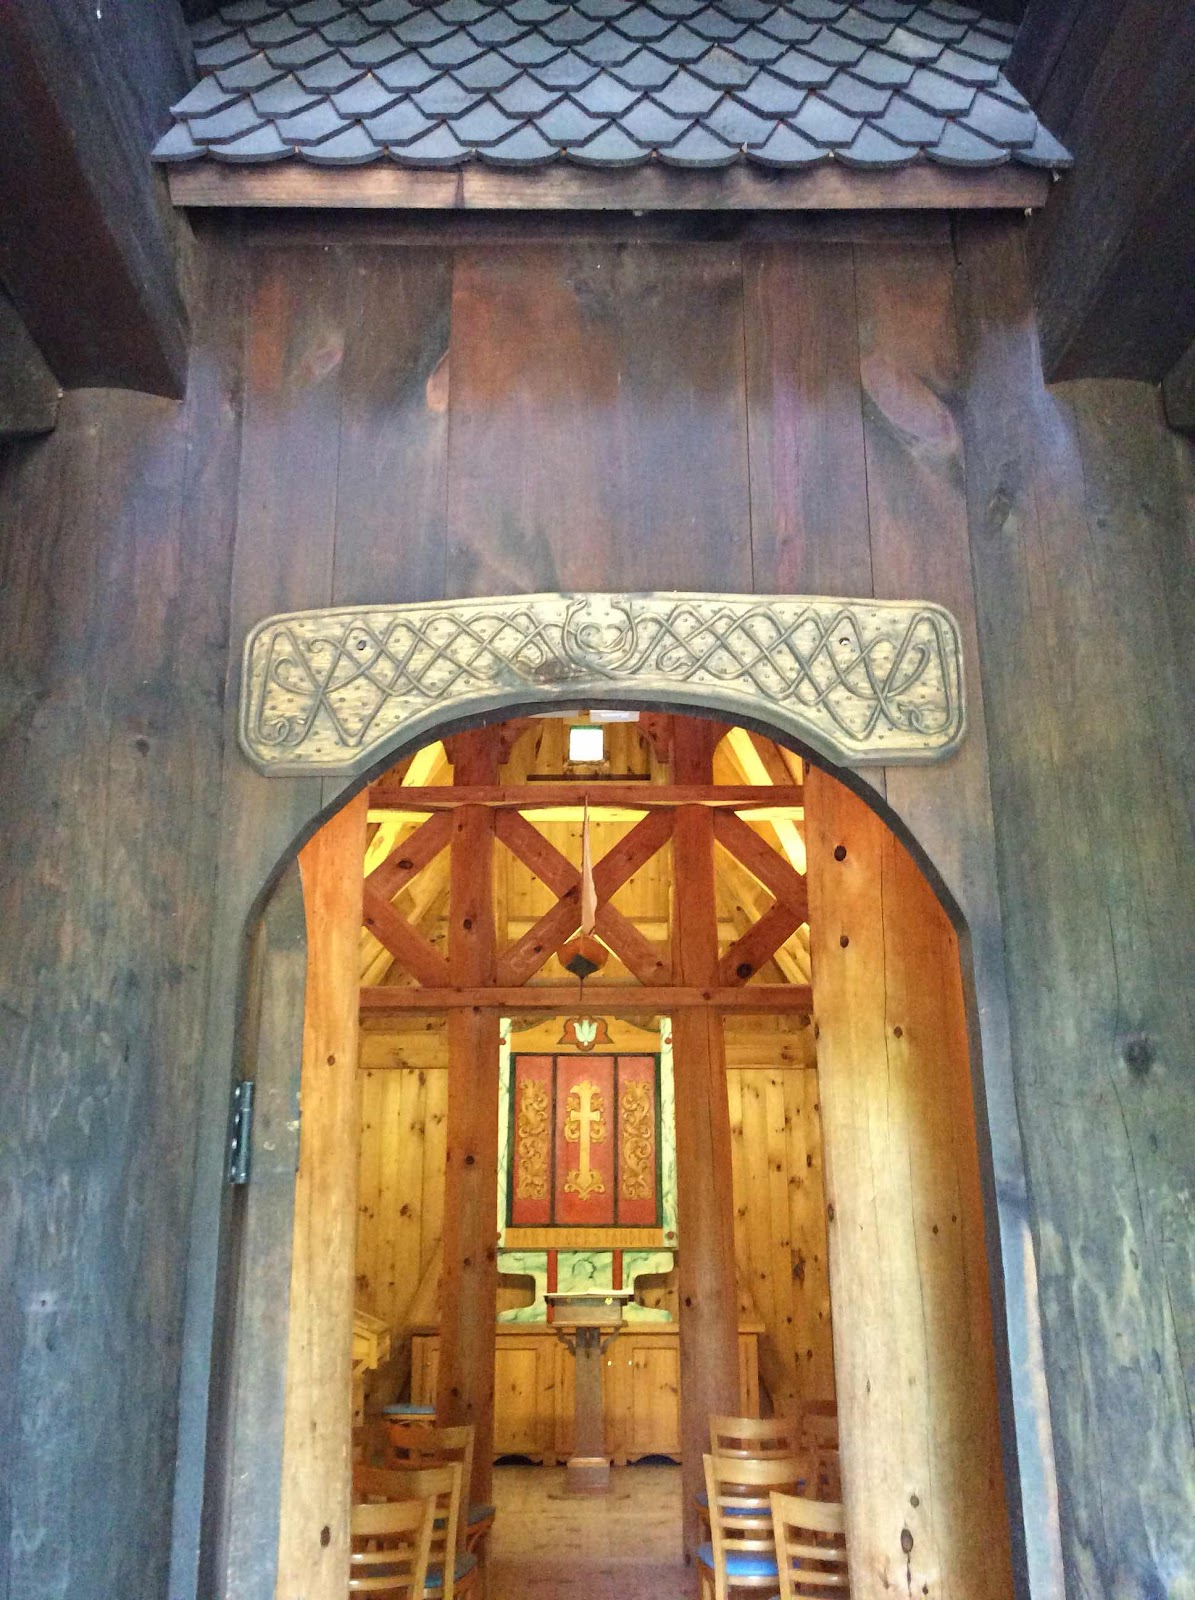
Norwegian Stave church.


Wednesday, June 30, 2021

Trip to Washington Island, WI


I recently traveled northeast, from Madison to Washington Island.  I was last there 
in 2017, enjoying a weeklong vacation!  The purpose of this trip was to take a 
weaving class offered by the Sievers School of Fiber Arts.  I will cover Washington 
Island sights, and Sievers and the weaving class, in the next few blog posts.

The class started June 14th.  My travel started early on Sunday morning June 13th.

I took a slightly scenic route from Madison to Manitowoc, and on to northern 
Door County.  After stopping in Manitowoc for coffee and food, I headed north.  
My original plan to stop in Two Rivers was shelved due to major road work 
on highway 42.  I created my own detour around the construction, ultimately
arriving in Kewaunee.  A pretty Lake Michigan coastal town, Kewaunee offered 
an interesting antiques mall for exploration.  It didn’t look large from the outside, 
but it is, in fact, quite cavernous!

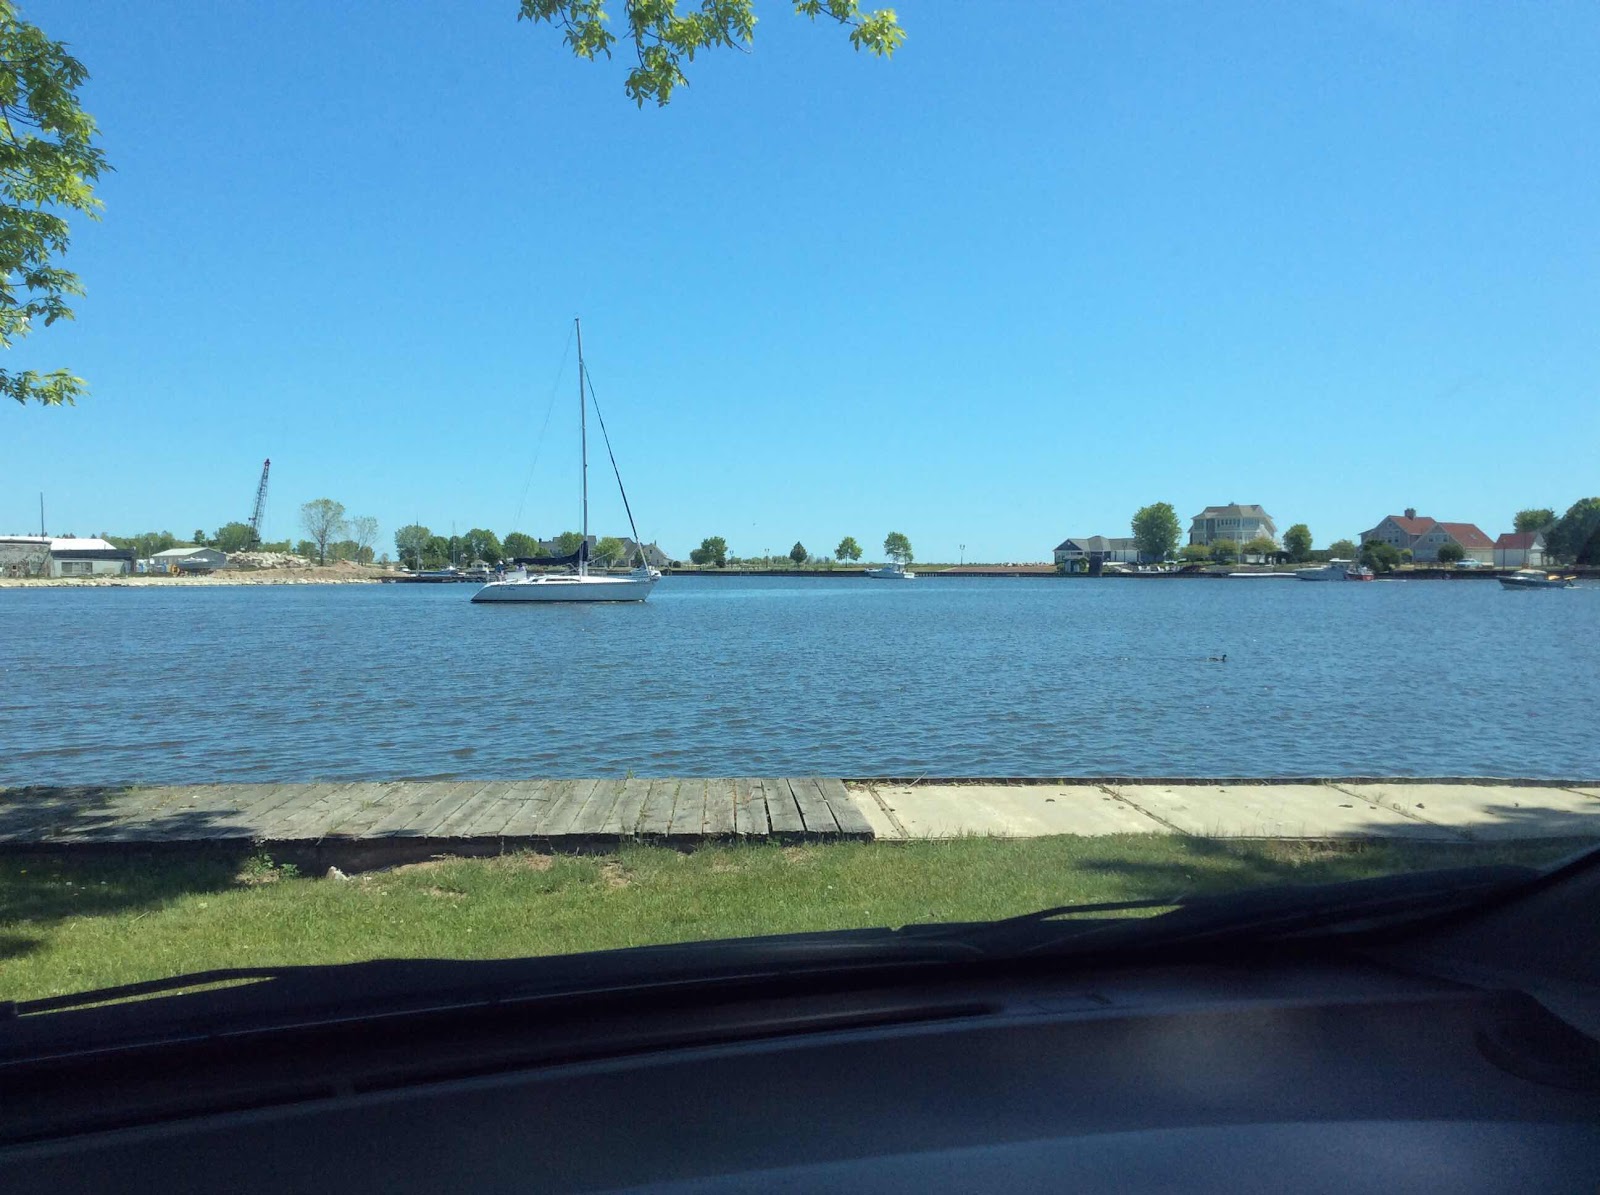
Photo: Lake Michigan breakwater, at Kewaunee.  As you can see, I had a 
beautiful day for my road trip!


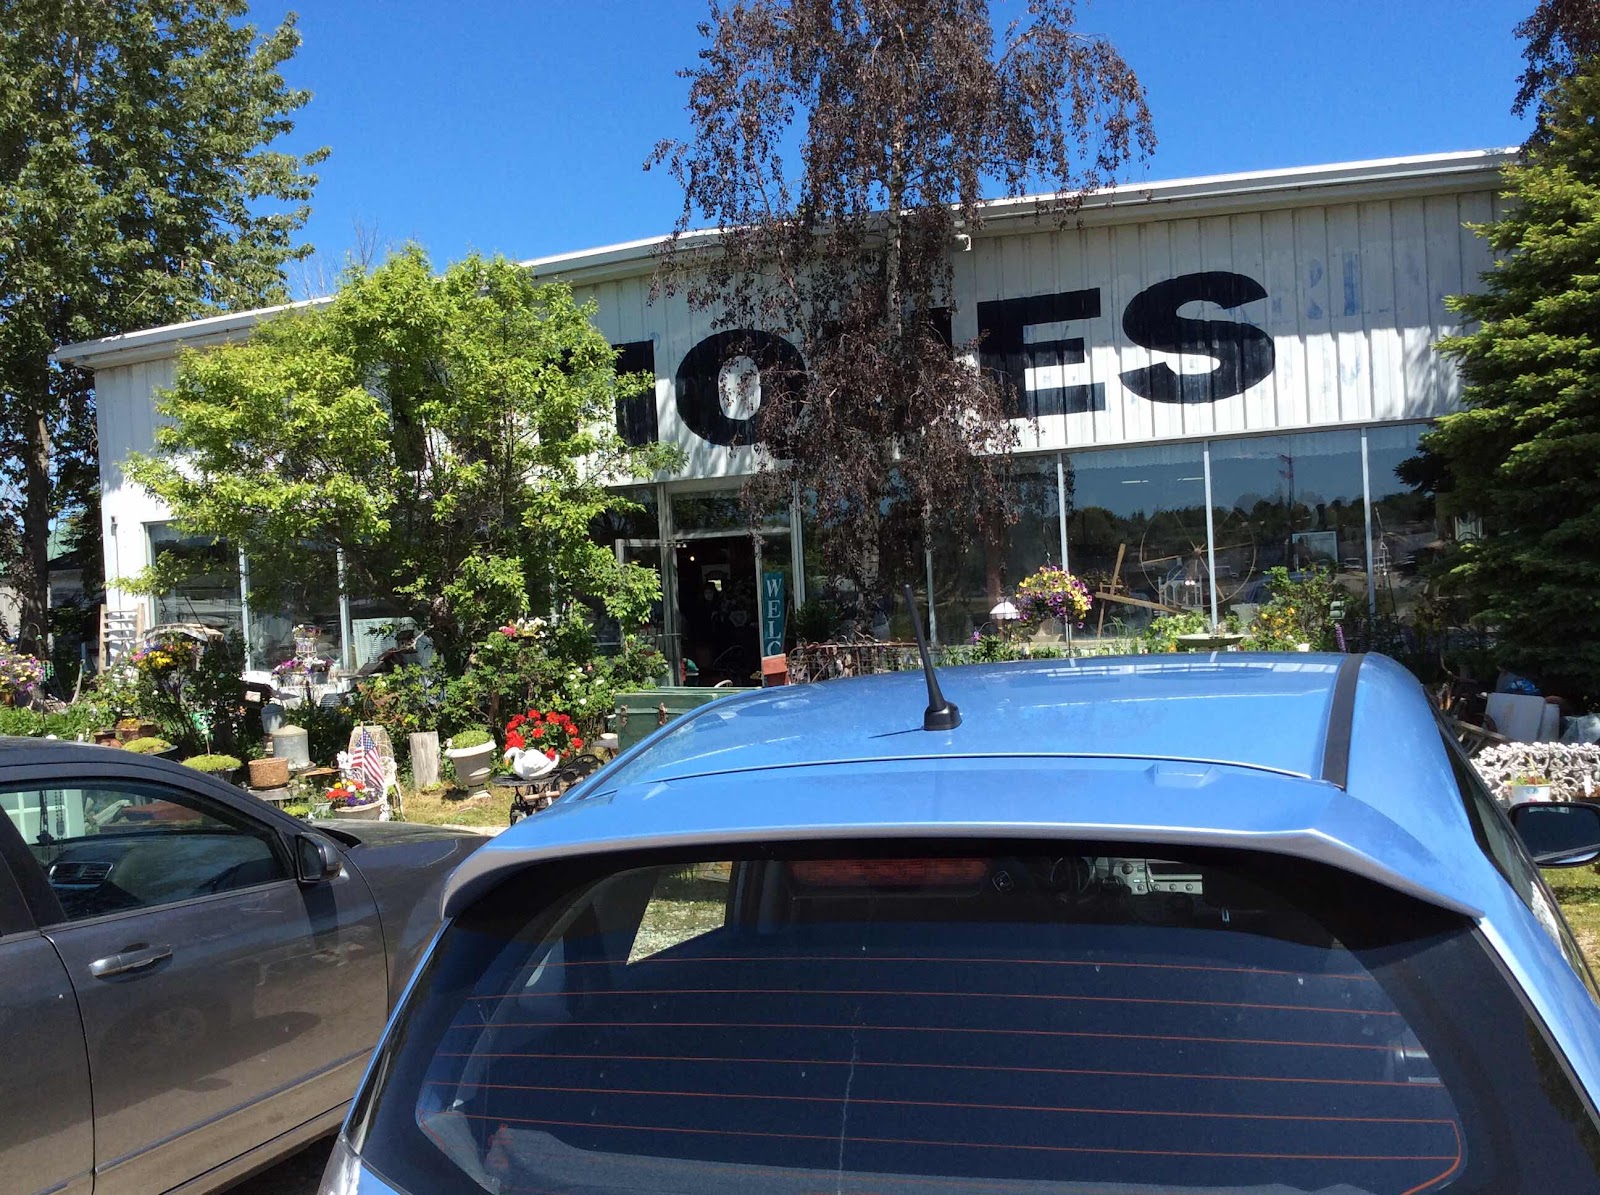
Below:  Kewaunee Antiques Mall
I found a nice vintage tablecloth at this mall.


After my stop in Kewaunee, I drove on to Algoma.  My “must see” list
included the Quilted Fish, a small store packed full of fabrics and other goods.
The owner and fellow customers were very friendly and welcoming.


After my quilt shop stop I “put the pedal to the metal” to make up for time lost
due to slow service at my earlier restaurant stop and, due to road construction.
I beelined through pretty Door County towns.  I made a stop at a grocery 
store in Sister Bay to pick up some refrigerated goods (I had a cooler with me).

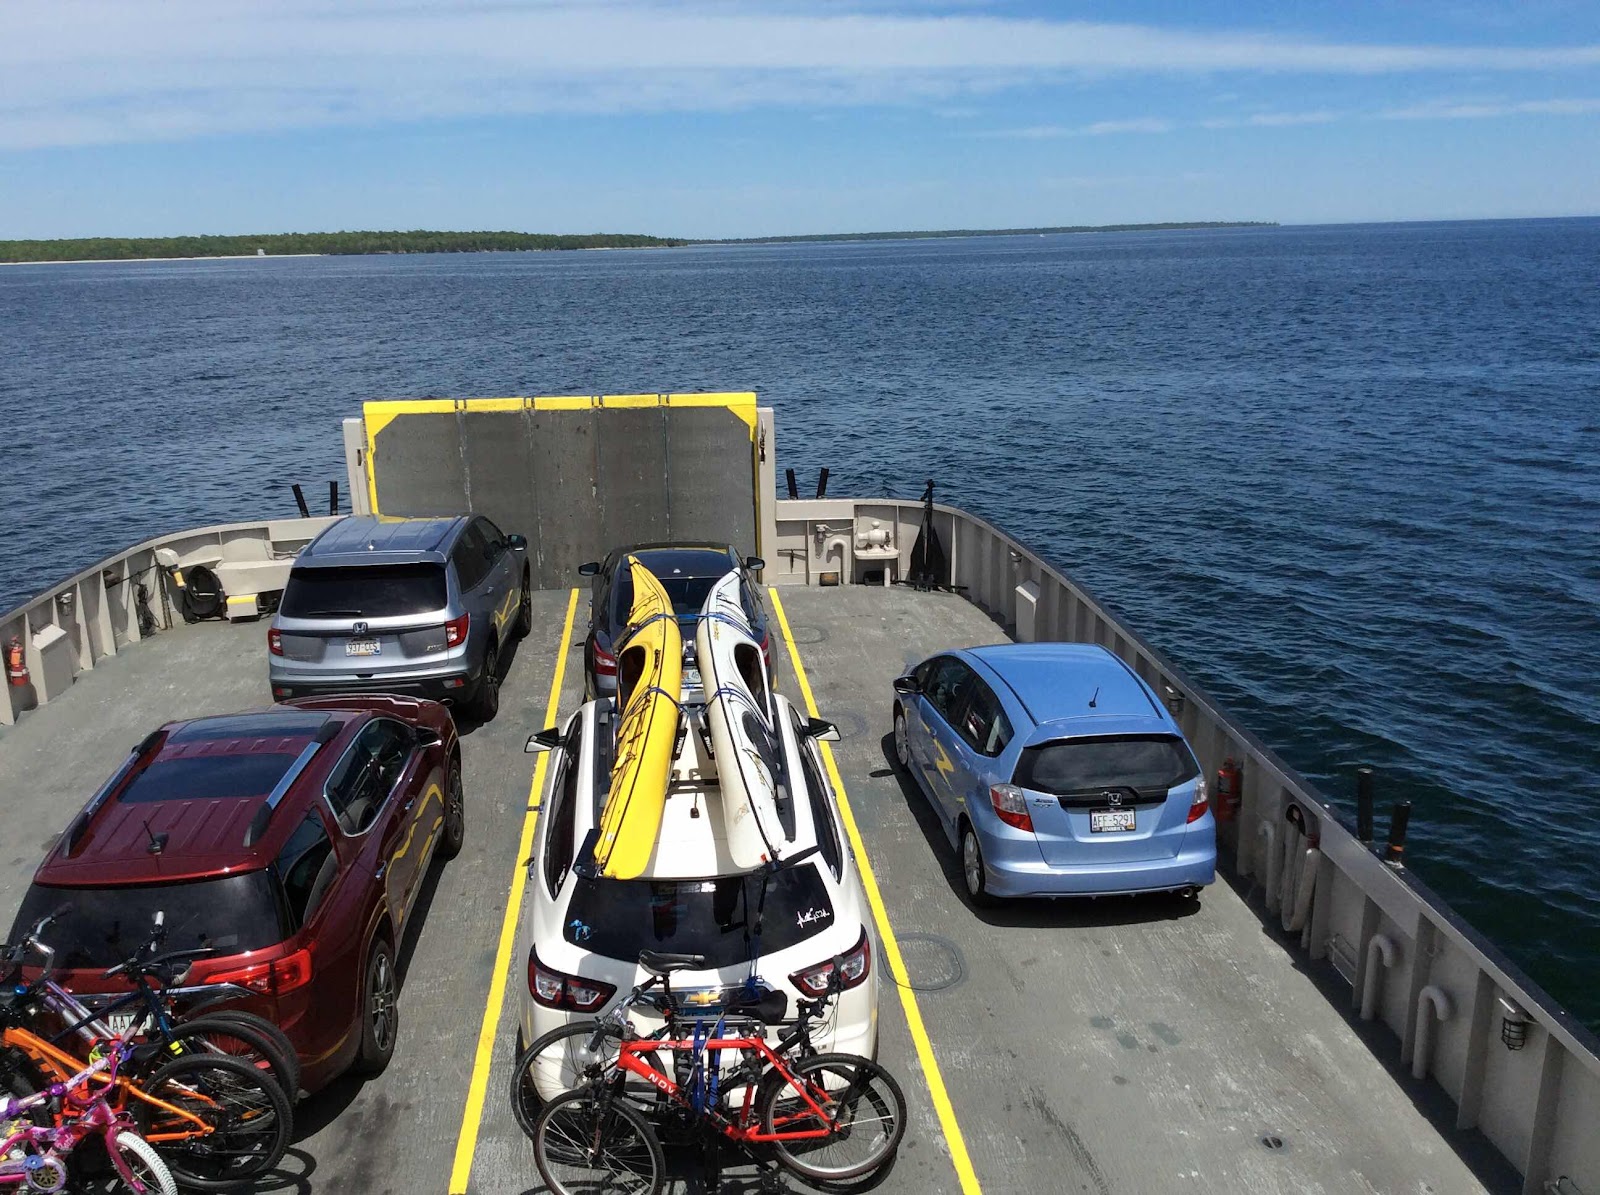
When I reached the Washington Ferry Dock, in Northport, a ferry had just
arrived.  I had less than a five minute wait before driving onto the ferry!
Current roundtrip cost for a car and driver is $41.  A ferry employee told
me that on summer weekends, the ferries travel back and forth as quickly as
possible . . .the printed schedule basically doesn’t apply.  This worked out
well for me, both coming and going!  The half hour ride to Washington
Island is quite pretty!

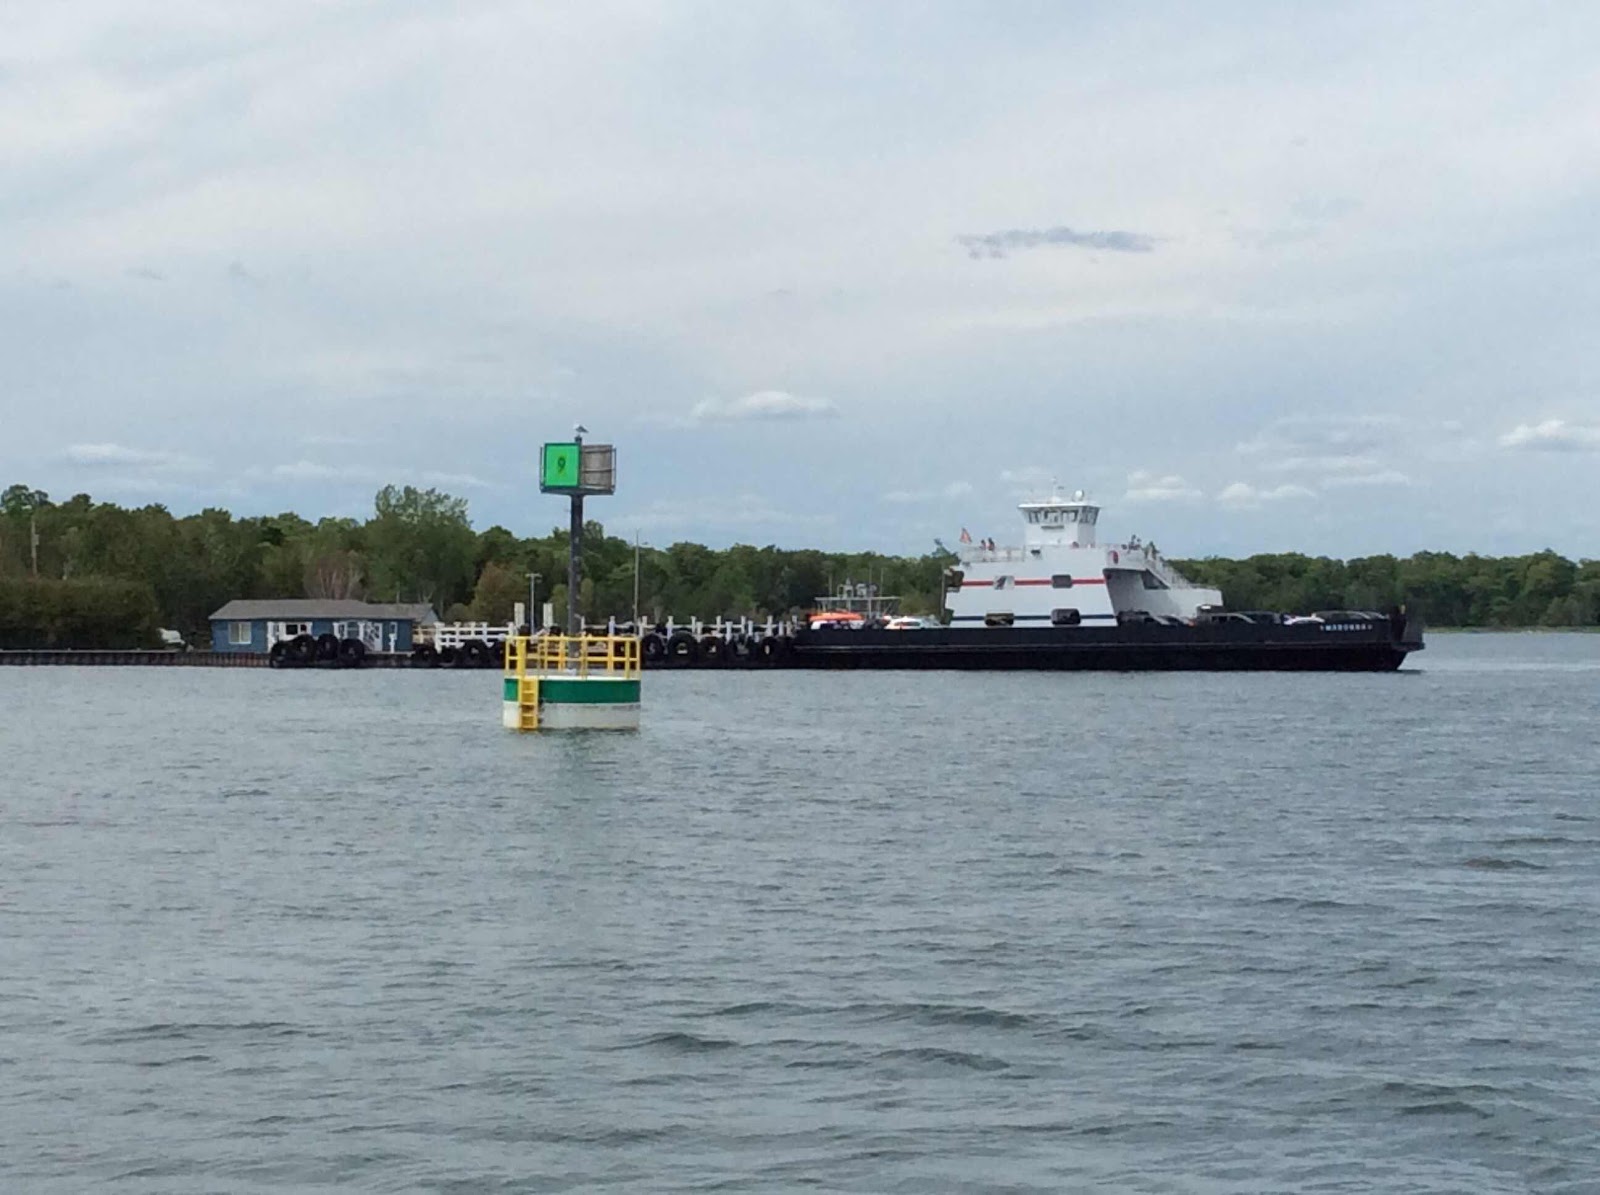
Photos below:  onboard the ferry, approaching the Washington Island ferry dock.


Wednesday, May 26, 2021

Fun With Frame Looms


Frame loom weaving is addictive.  These portable looms allow you a chance to 
try weaving with a selection of yarns and trims.  The only downside is that the
size of your woven piece is generally limited by the size of the loom.  

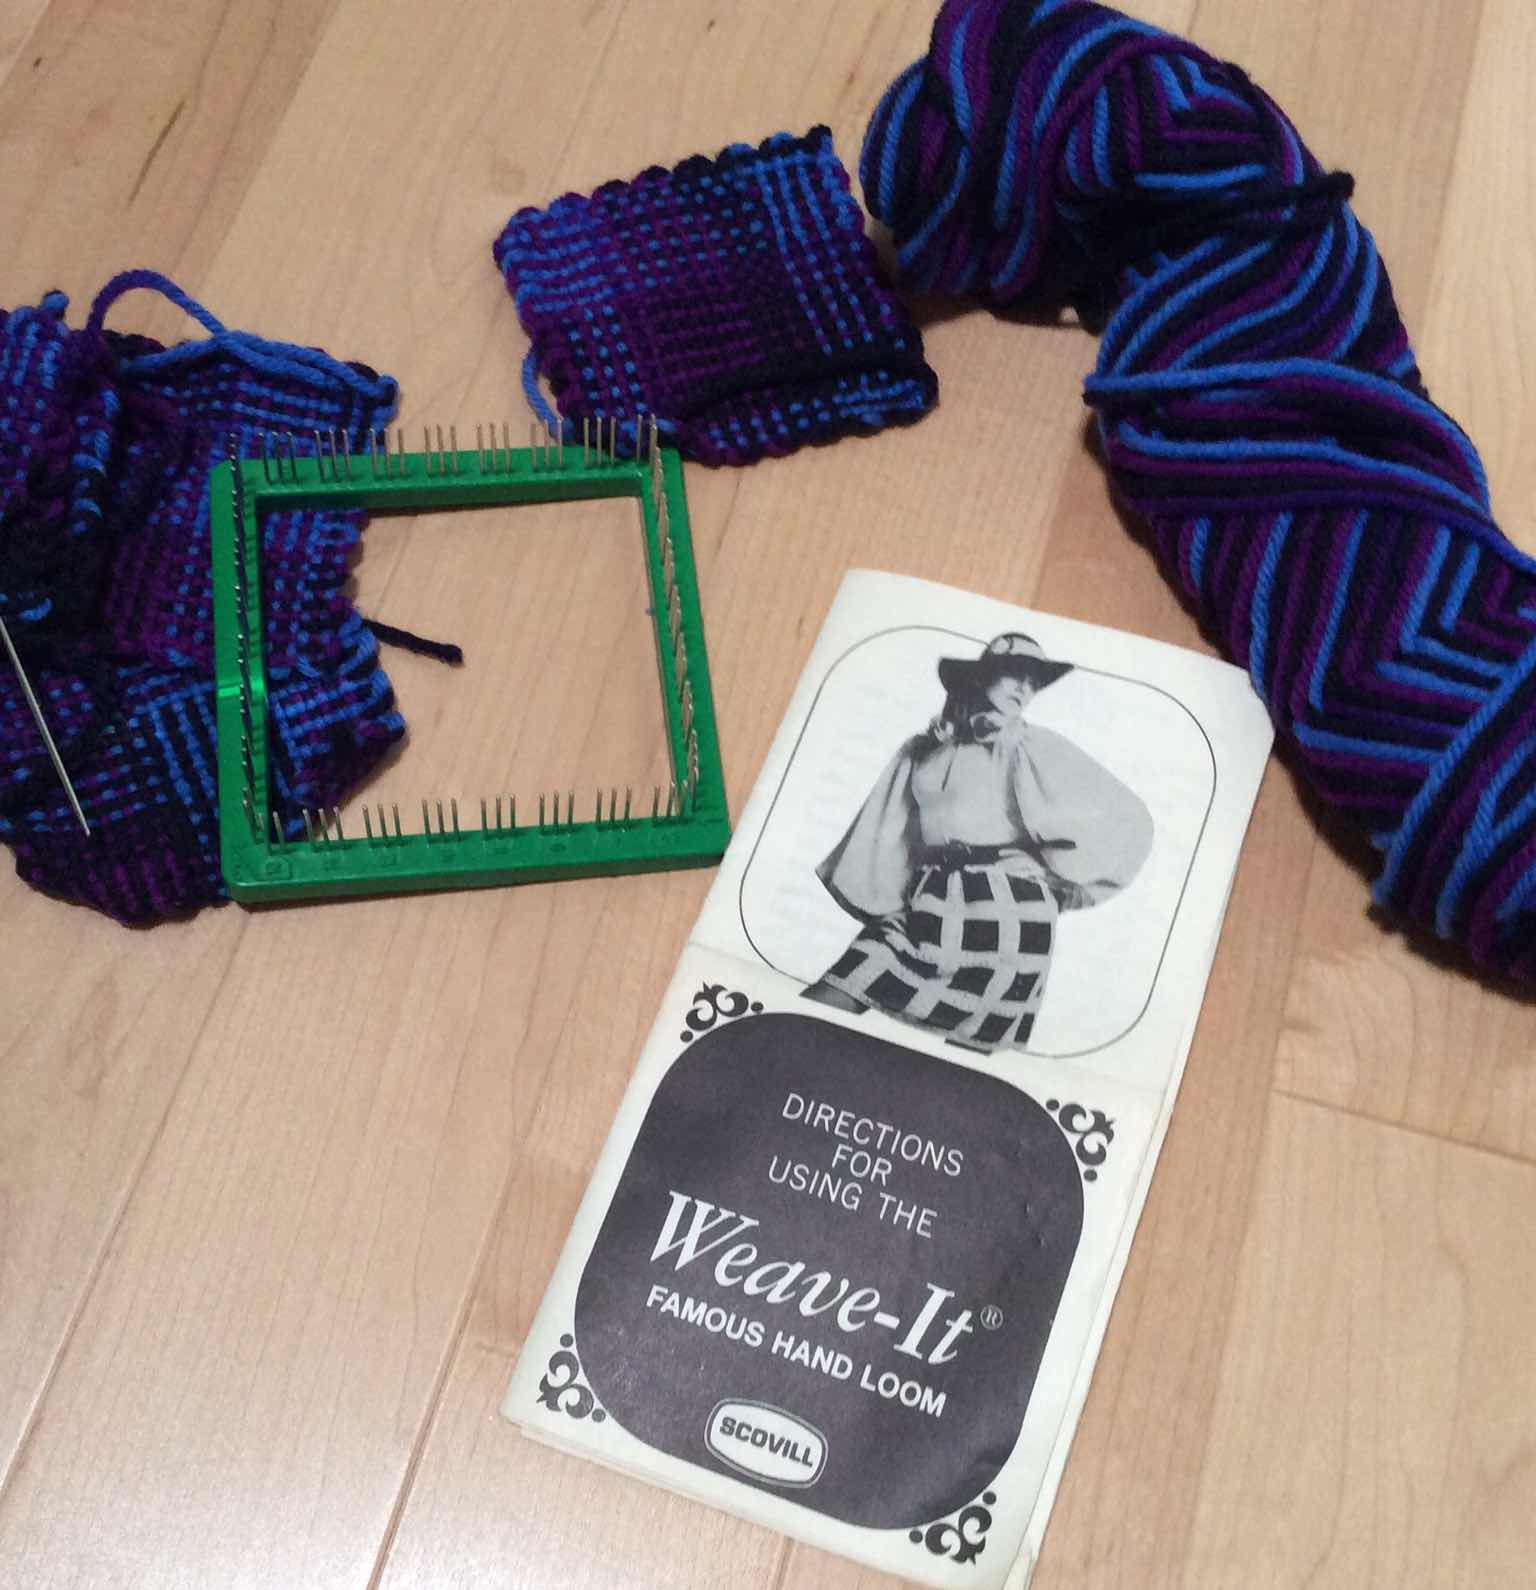
One of the original frame looms is the Weave-It loom.  Weave-It looms date back
to the 1930's.  They are sometimes called "pin" looms.  I recently unearthed mine
in the basement!  You can make one square piece or multiple pieces.  Sew the 
squares together if you want!  Photo below shows my Weave-It loom and some 
squares I made a l-o-n-g time ago.


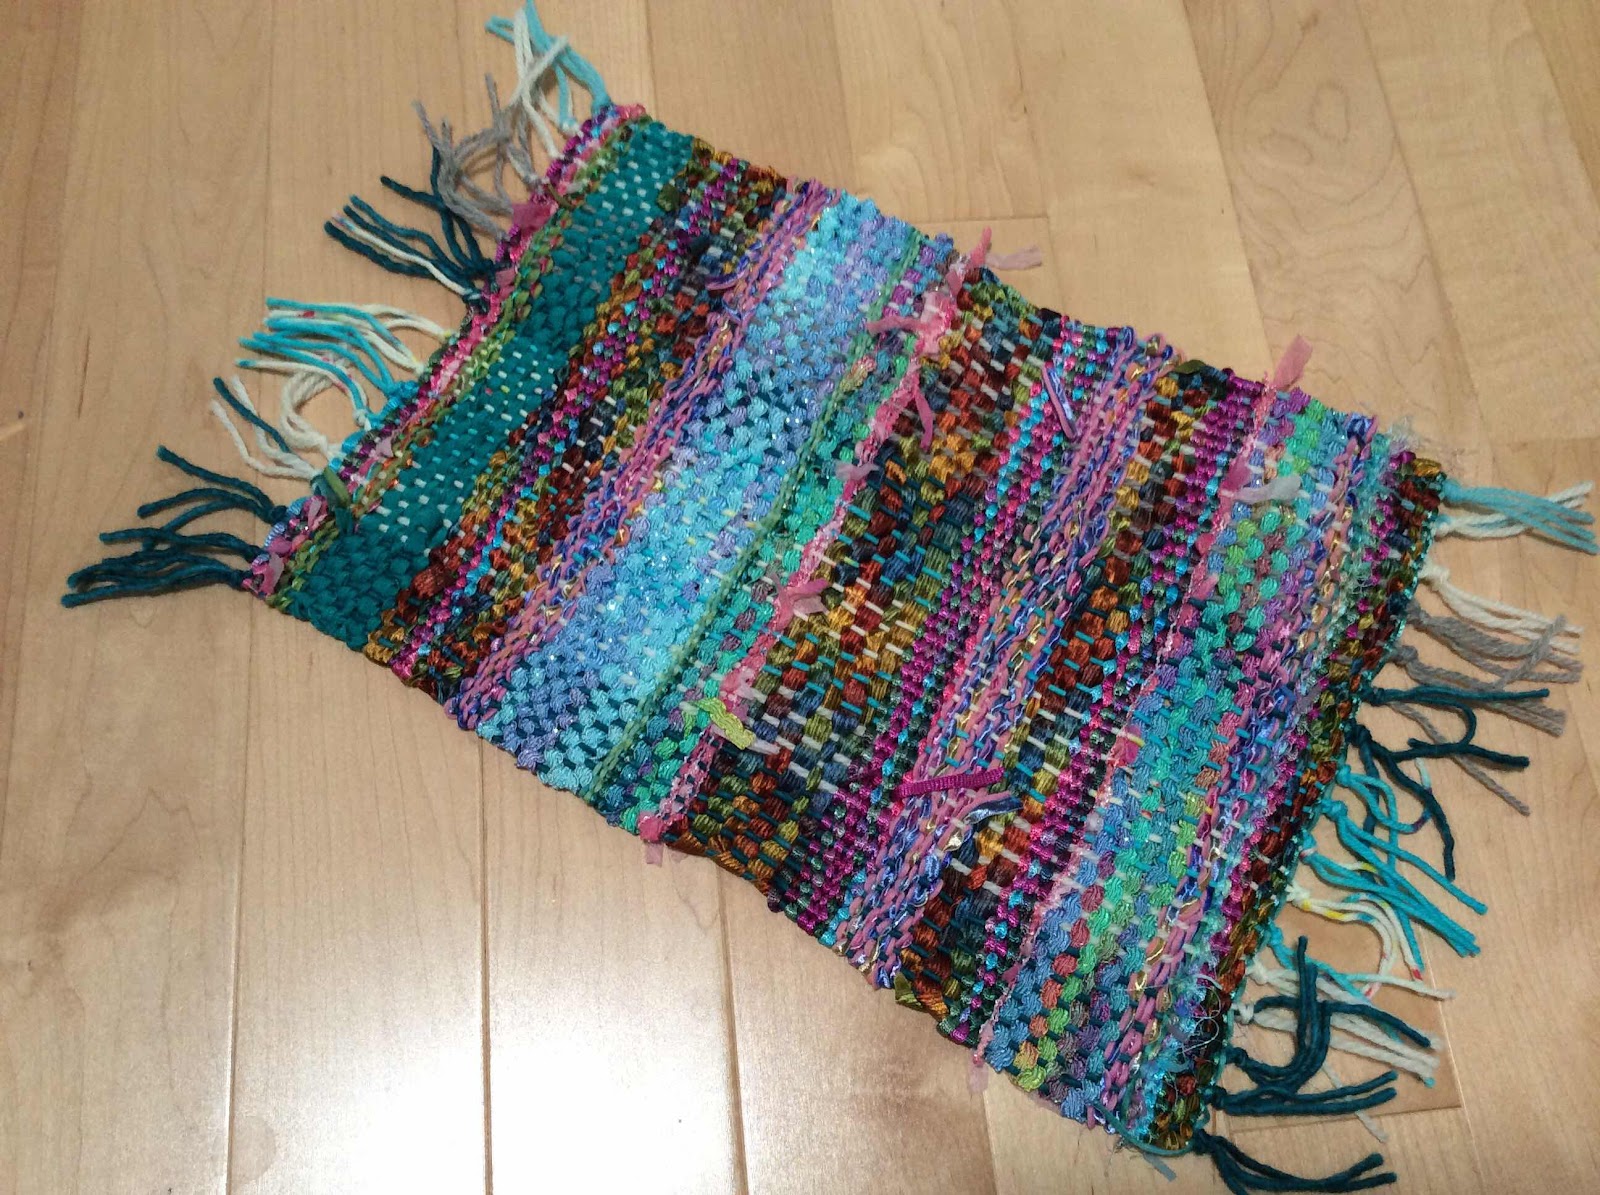
I have a small collection of Purl & Loop frame looms. Sadly, the Purl & Loop
Company ceased operation at the end of February.  Their largest loom, the 
“placemat” loom, was the first one I purchased.  It is shown below, along with 
a piece I wove on it using novelty yarns and trims.  The weaving width varies 
on this free form piece, as some of the weft yarns are bulkier than others. 


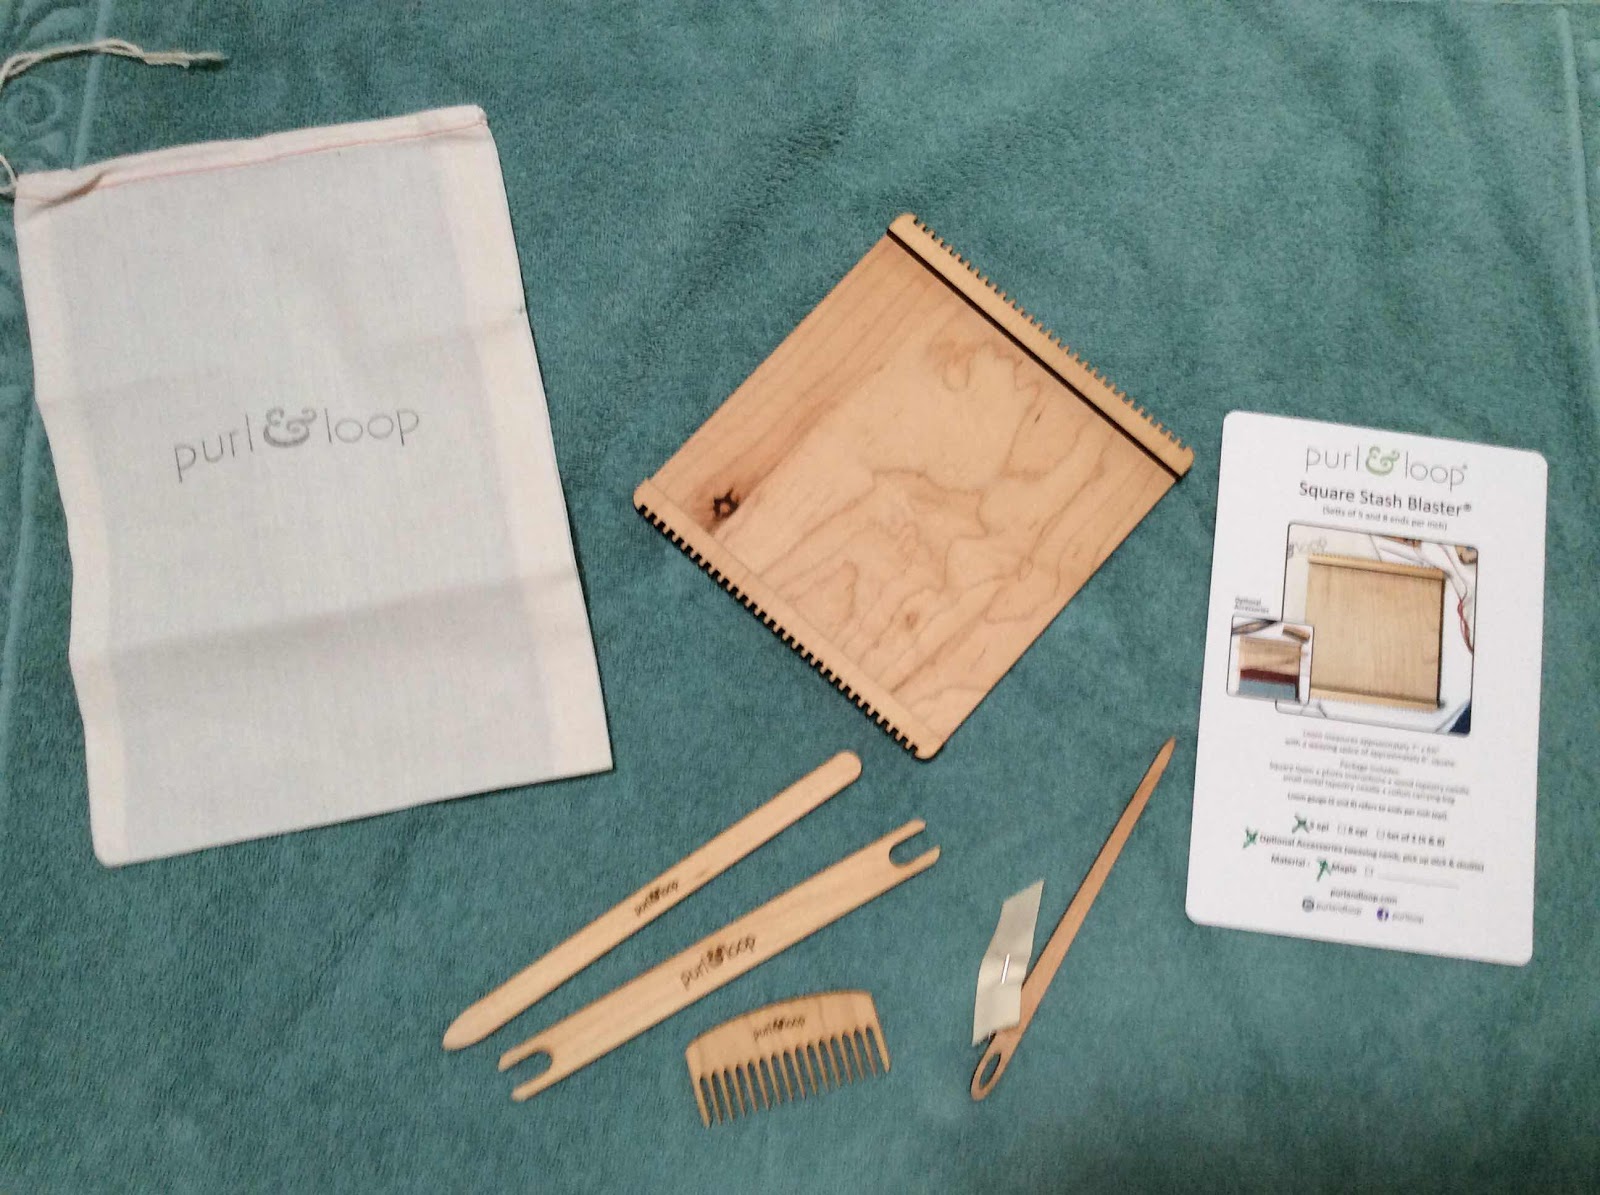
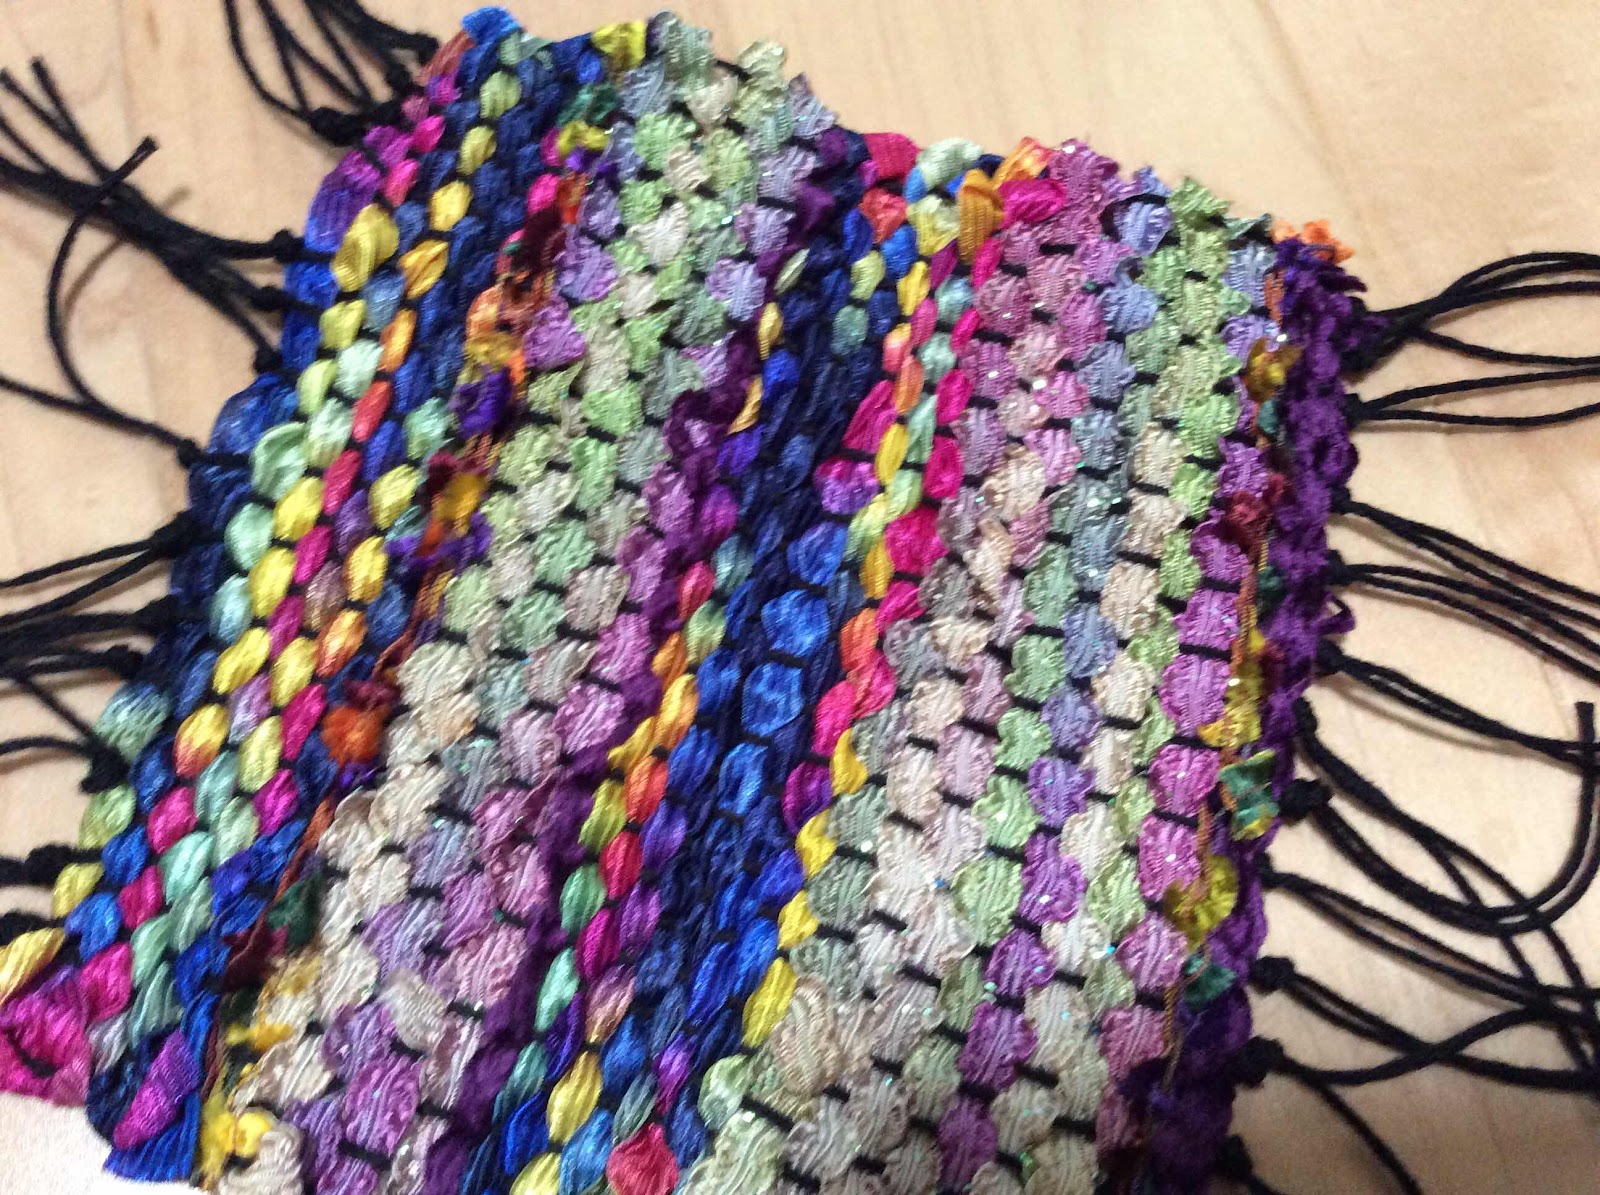
I also have a “Stash Buster” Purl and Loop loom.  It’s shown below, along with a sample
of some weaving done on it.  The loom measures ~7” x 6.5”.


The “Wee Weaver” is the remaining Purl & Loop loom I currently own.  The Wee 
Weaver loom is 4” x 4.5”.   It’s for making coaster-sized squares.  Finished weaving 
size varies according to the types of yarns you use!  


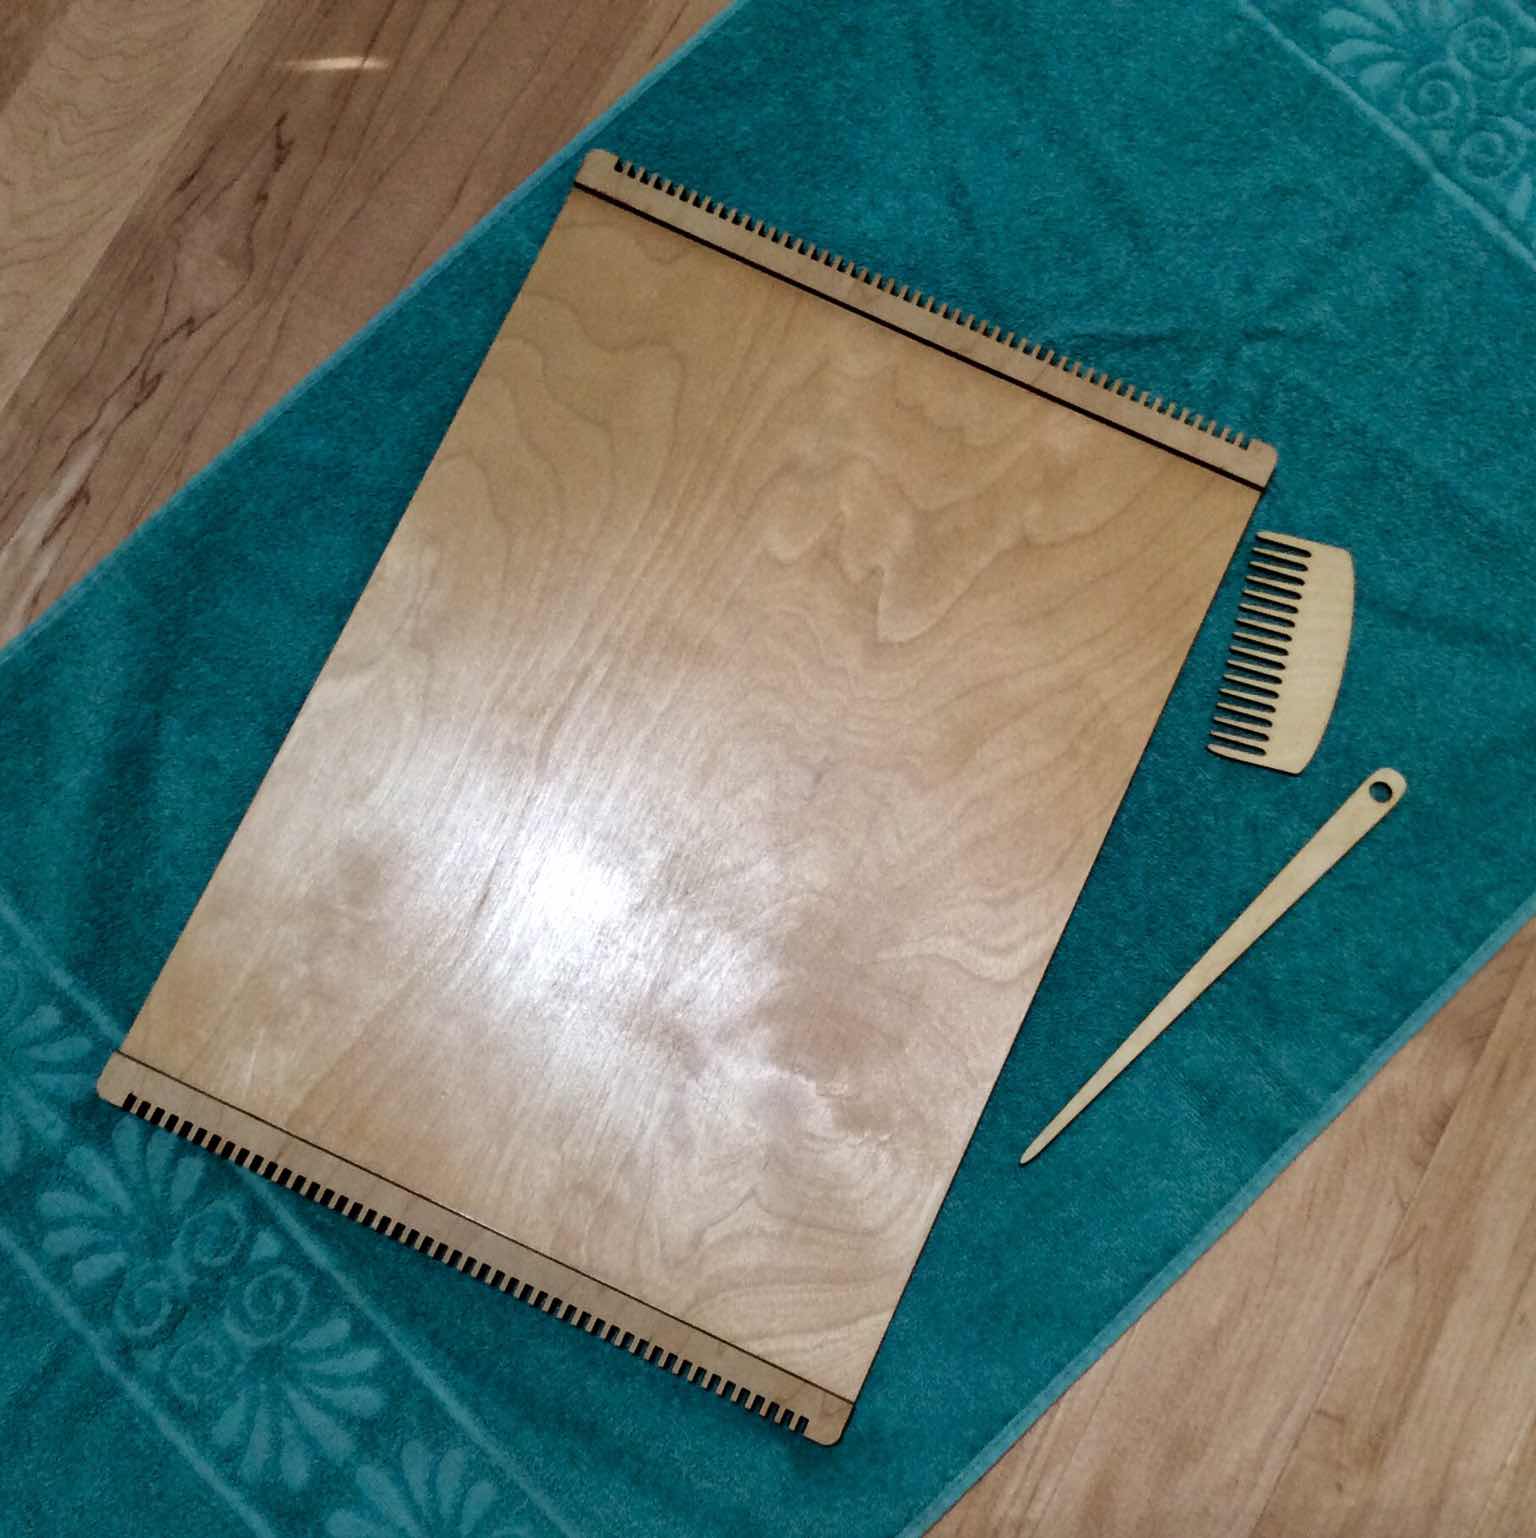
My last currently owned frame loom is a small loom with a moveable heddle.
The heddle is rocked back and forth to lift alternating warp threads.  This loom
is made by Funem Studio, in Belgium.  The loom came with two stick shuttles.
I purchased the other accessories and manual separately.  A piece woven on this 
loom is shown in the second photo.  This loom measures ~ 10” wide x 14” long.  
While I was lucky to buy the loom from a local supplier, you can find it, and 
others, on the Funem Studio etsy site.  I purchased a PDF of the instruction 
manual on the etsy site.  This loom can be disassembled, stretched out, and 
clamped to the edges of a table to extend the length of the warp.


Wednesday, April 28, 2021

Art Supply Chest: From Boring to Beautiful


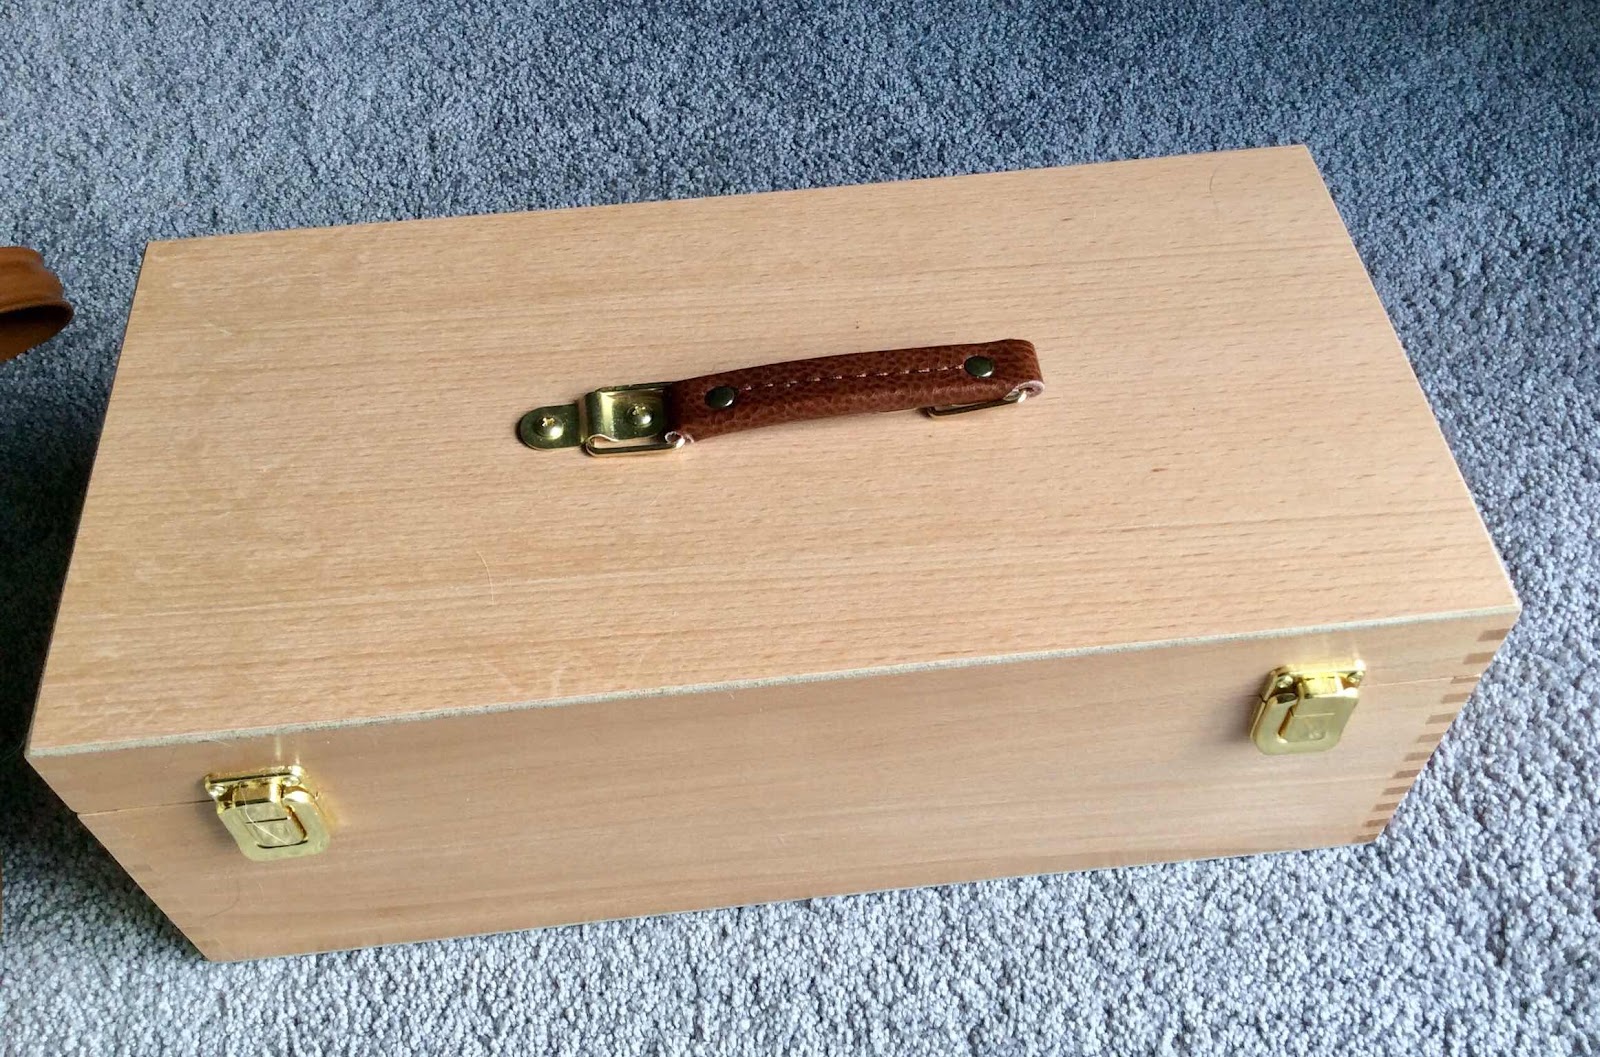
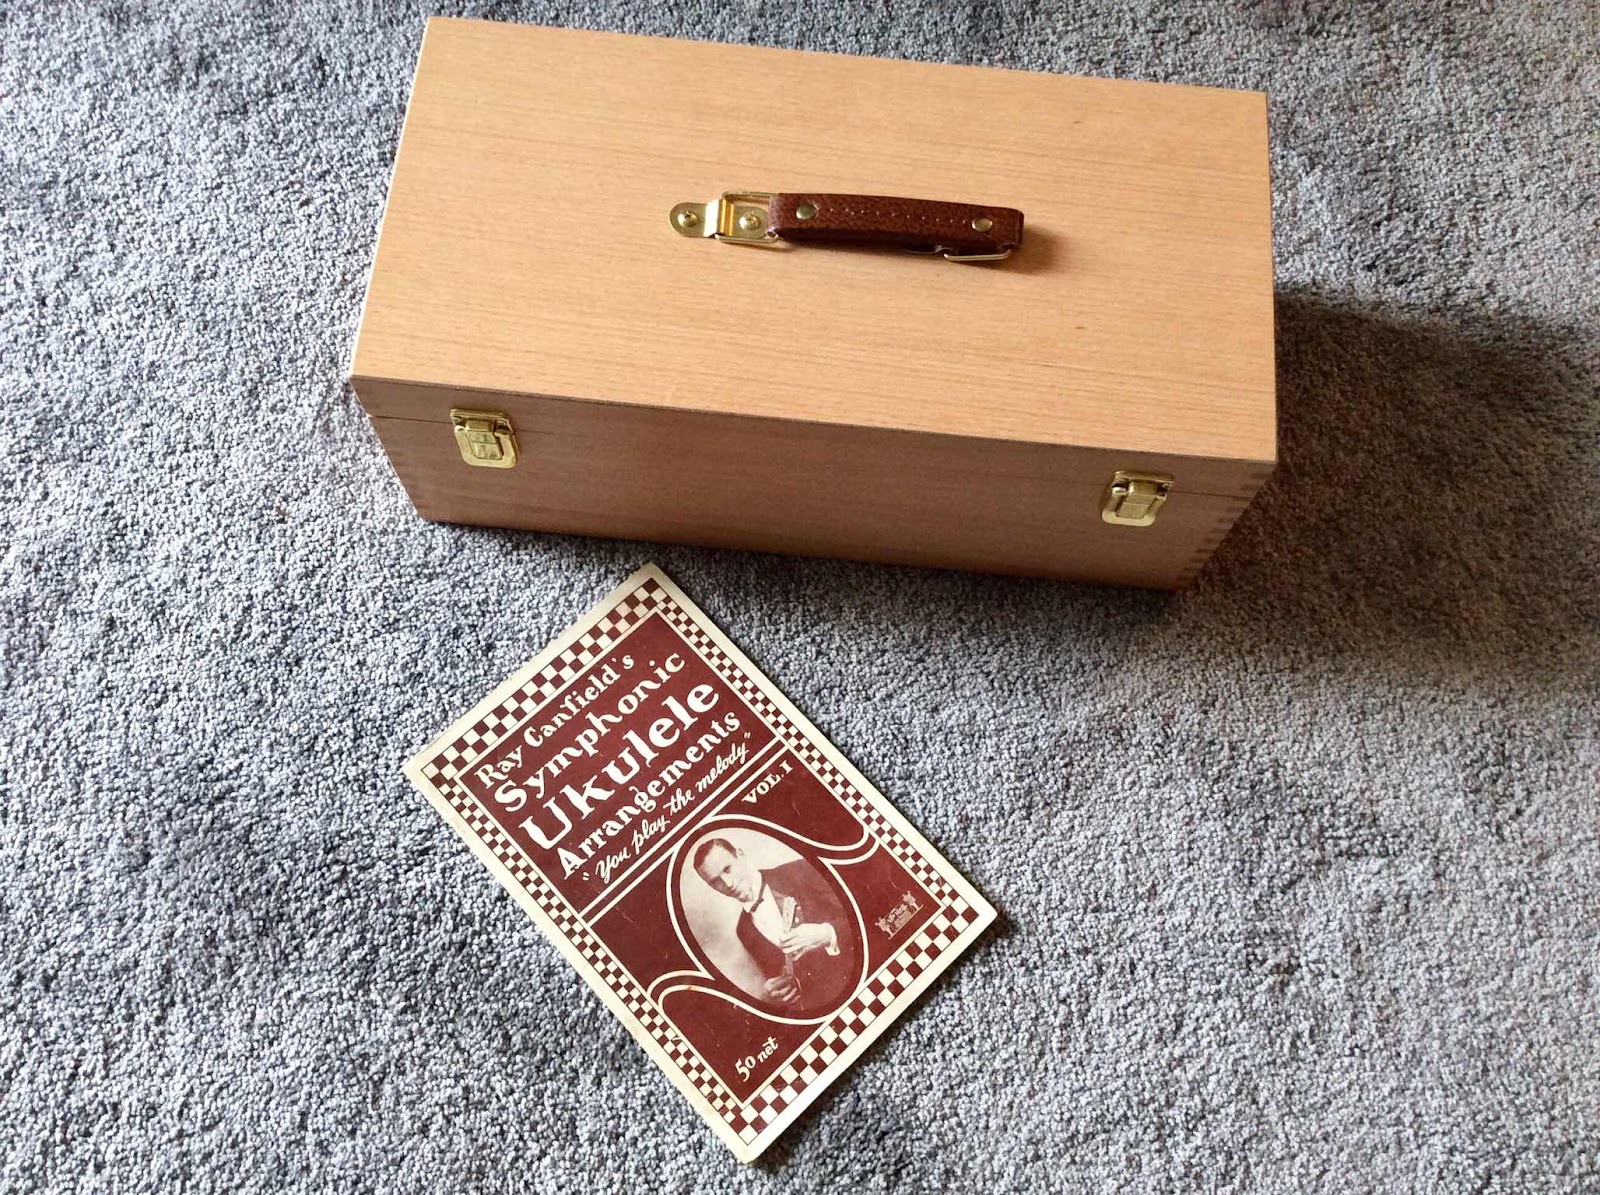
I recently purchased an art supply chest, using a Dick Blick gift card.
Deciding that the chest looked too plain for me, I opted for collaging the
exterior of the wood box.

Chest, on the day of delivery (below).


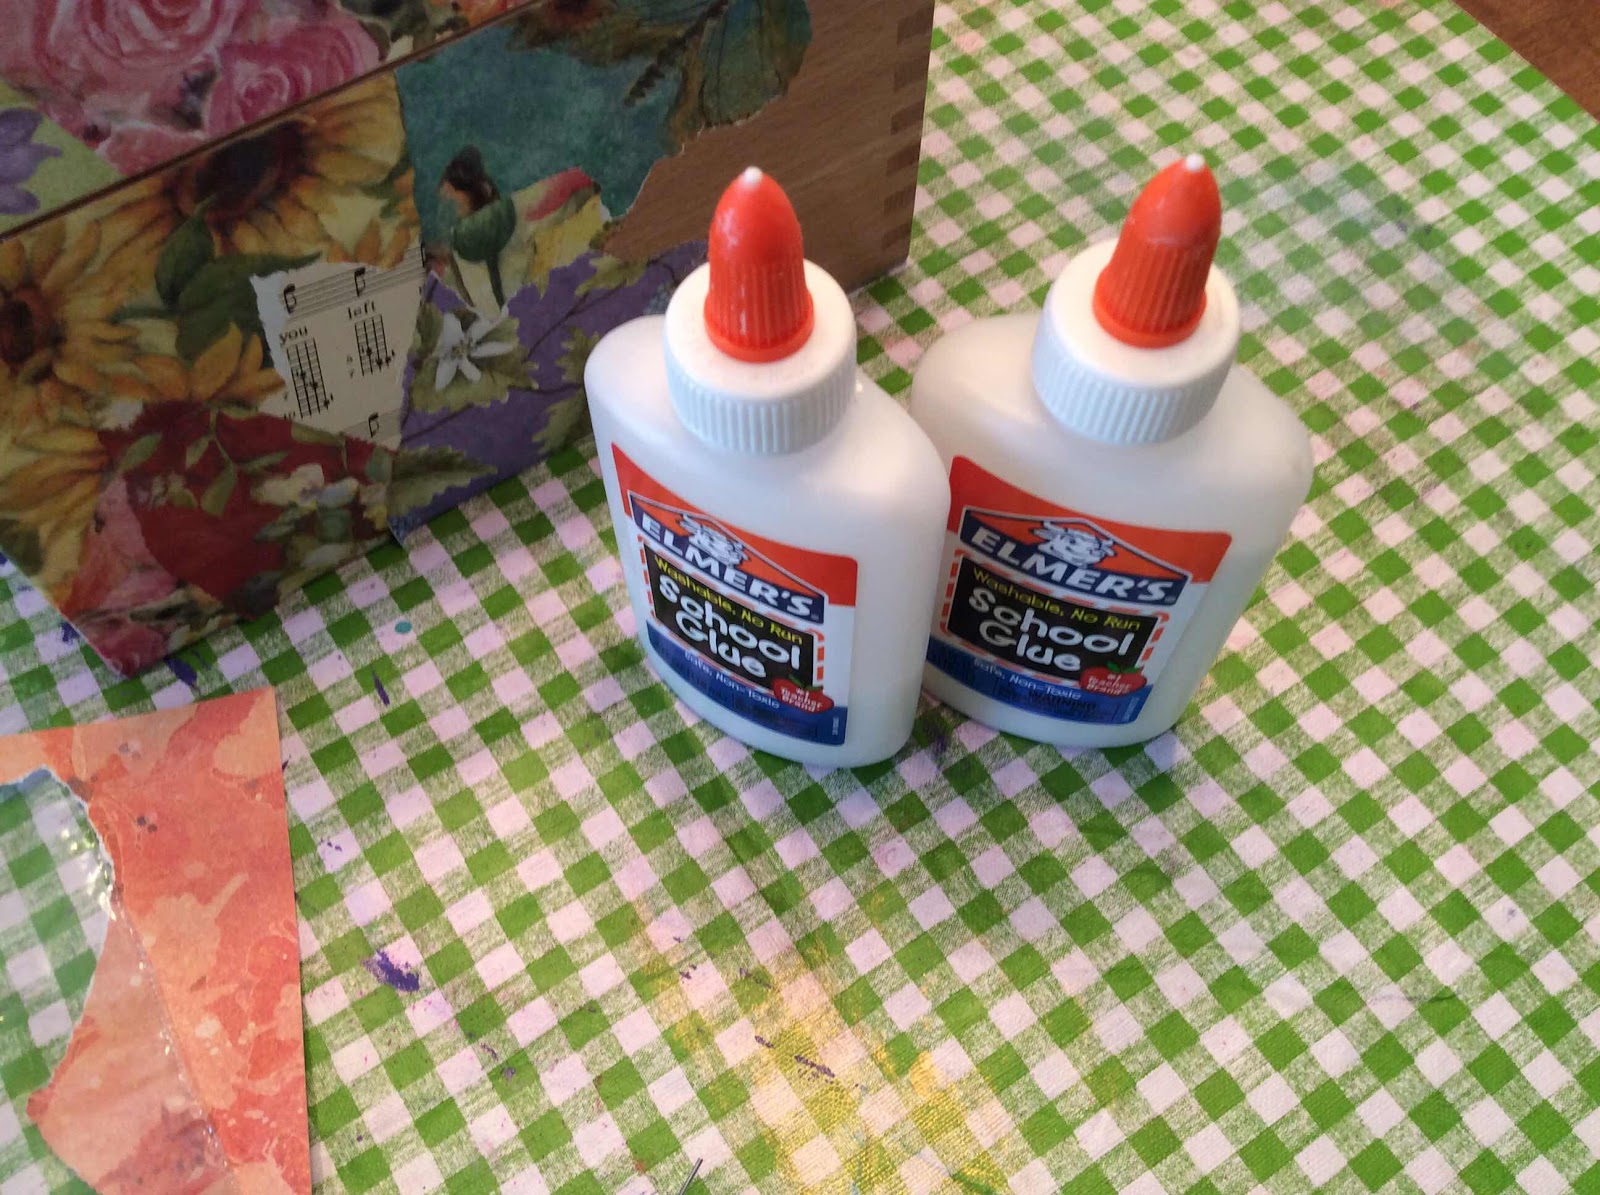
Supplies are gathered.  An old music book (gift from a friend), a thick tablet of
cheerful scrapbooking paper, and Elmer’s glue.


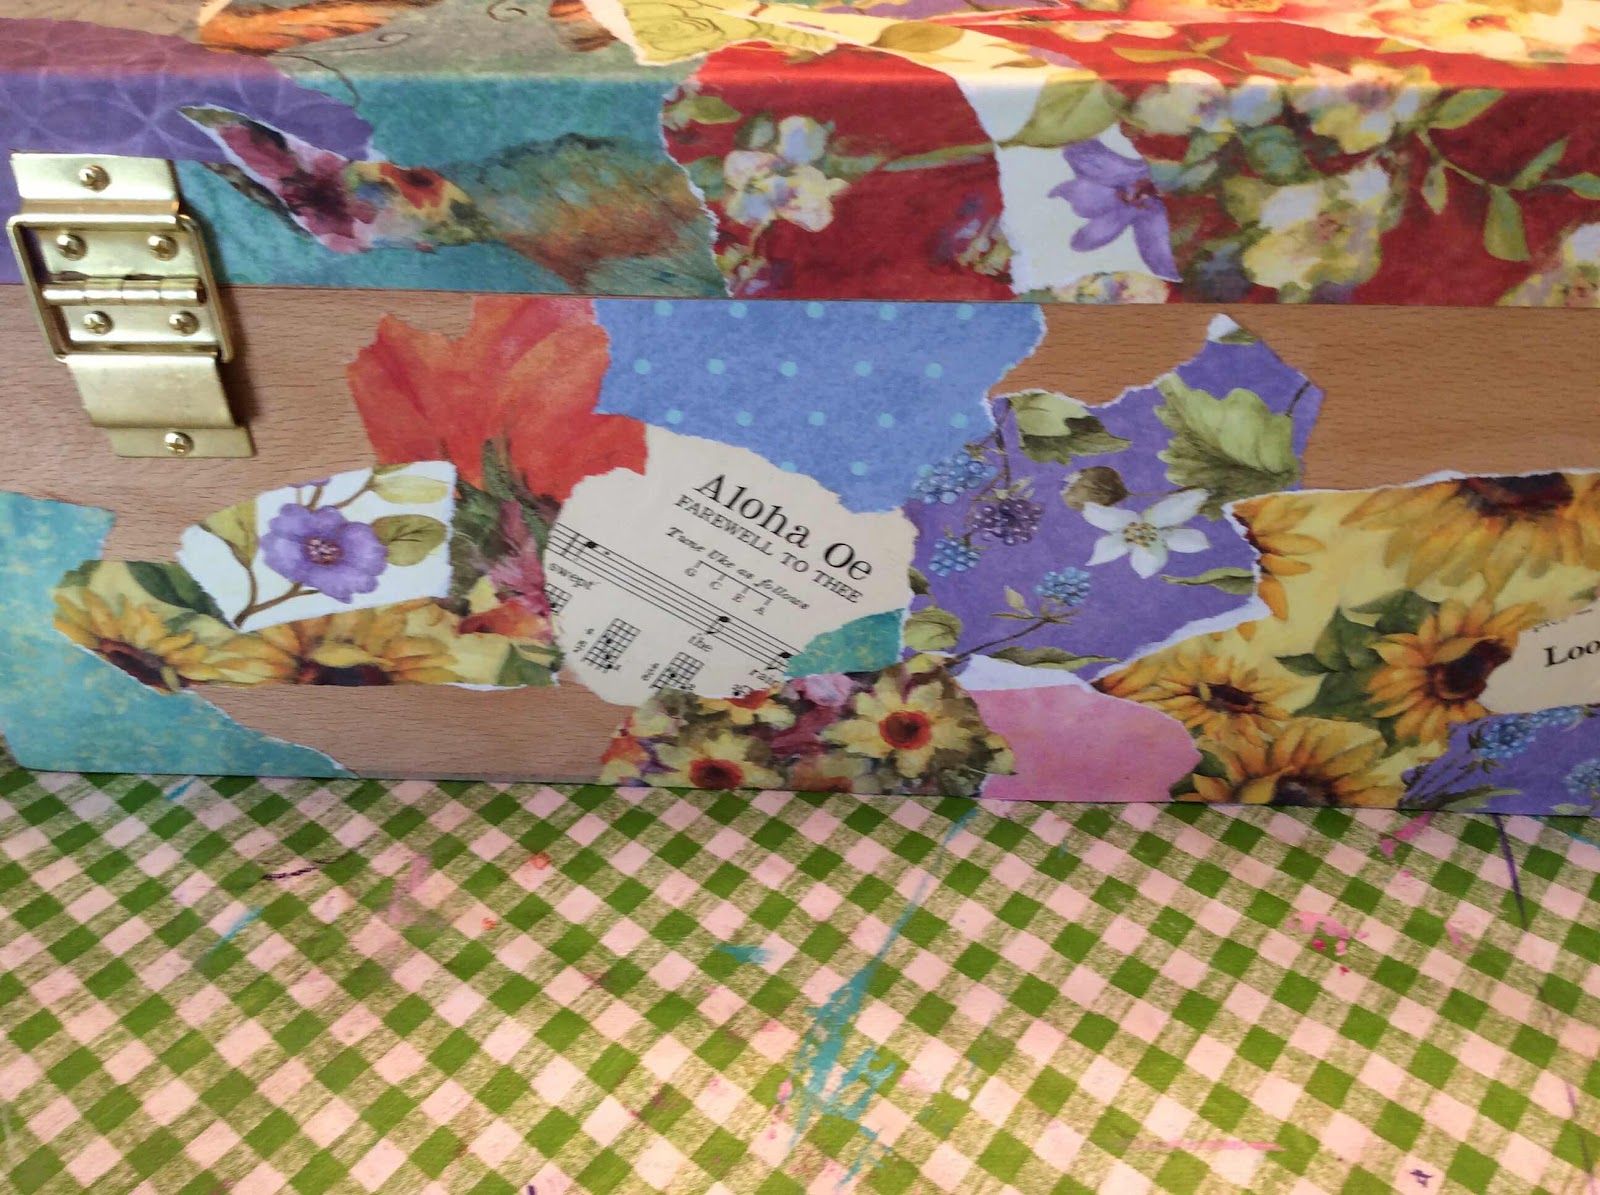
The scrapbooking paper was torn into small pieces, as were some pages from 
the music book.  I did not sand or prepare the outside of the wood box in any way. 
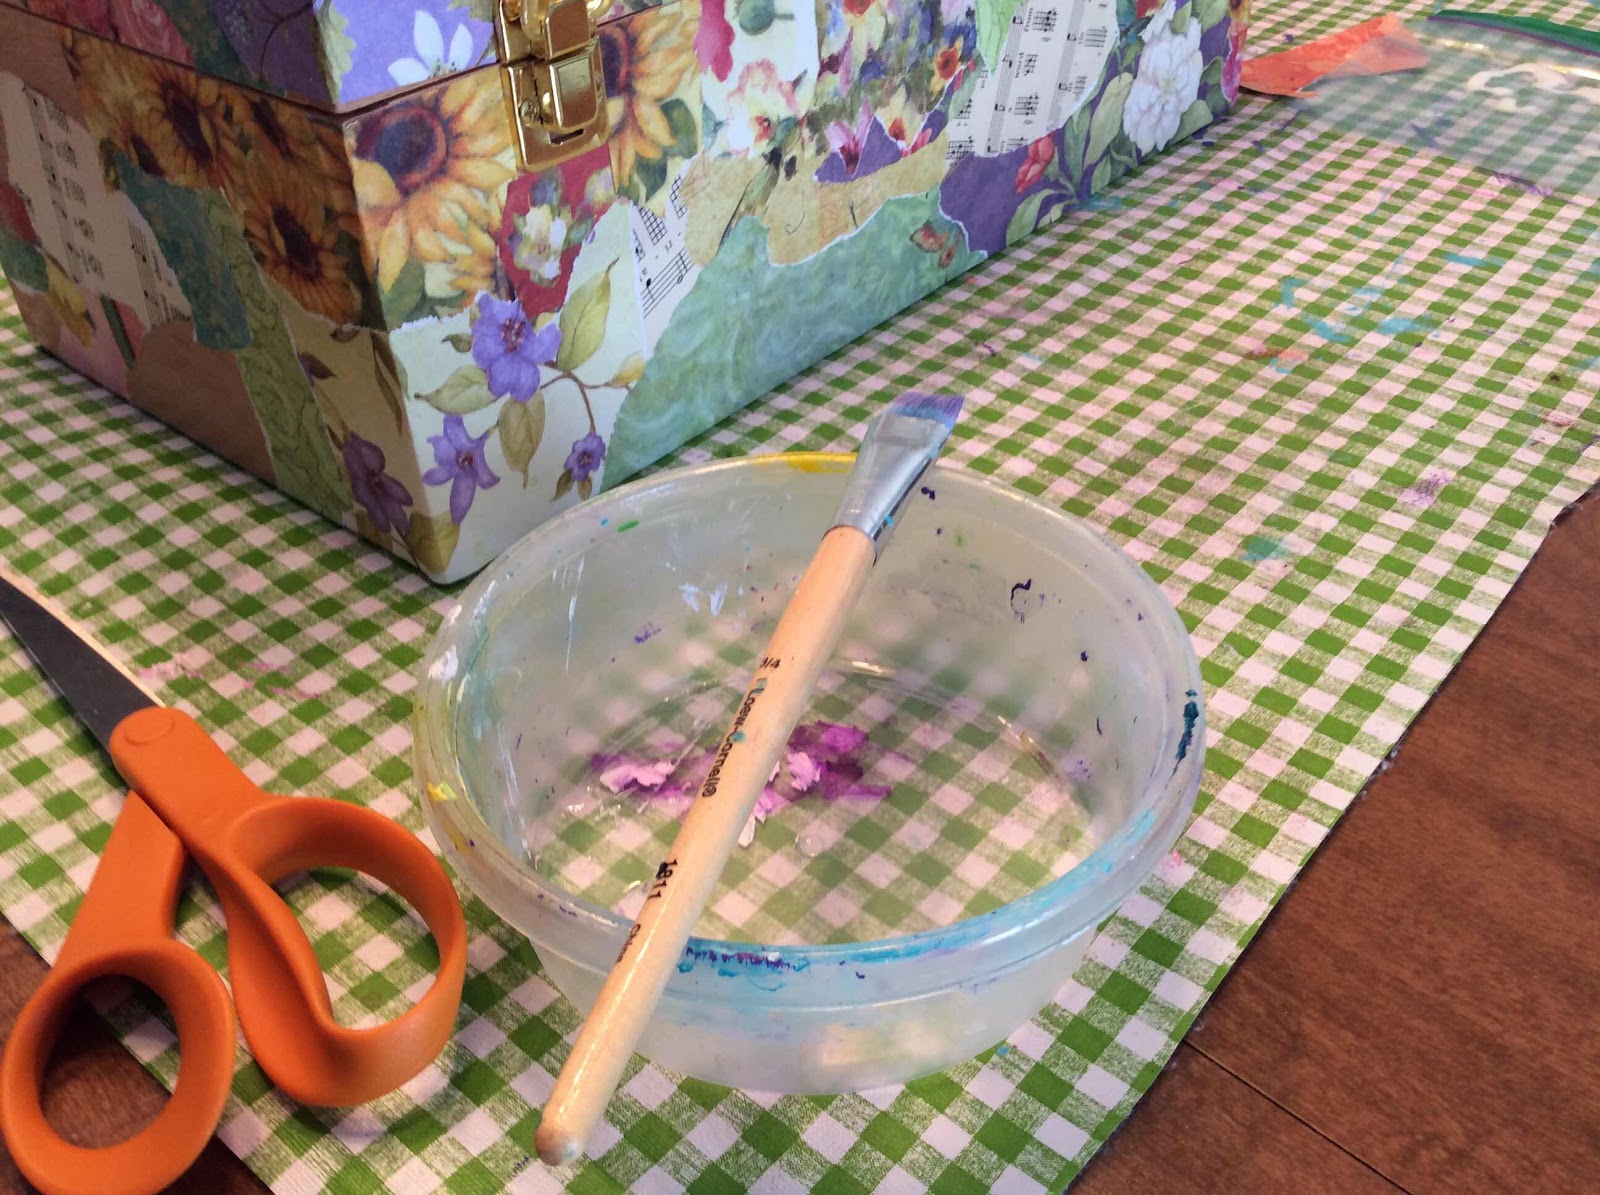
I did remove the tray from inside the box just to get it out of the way.  I started to 
apply the paper pieces using a brush and glue.  Initially, I added the paper 
in a scattered, random fashion.  Then I filled in empty spaces.  I glued pieces up
to the edges of the box lid and bottom, trimming with scissors to get straight
edges where needed.  Pieces were overlapped to fill in empty spots and to go 
around corners.  The raw paper edges add interest!


Once I had the whole box covered with collage and the glue had dried, I coated it 
with Delta Dreamcoat Gloss Varnish.  I applied a second layer of varnish the next day.

Below:  finished box, ready to travel to its first art workshop!


Paper & Book Camp 2.0, Shake Rag Alley, April 2026

This multi-day workshop was held April 24th - 26th at beautiful Shake Rag Alley in Mineral Point, WI.  I take many classes there.  I'm a...